
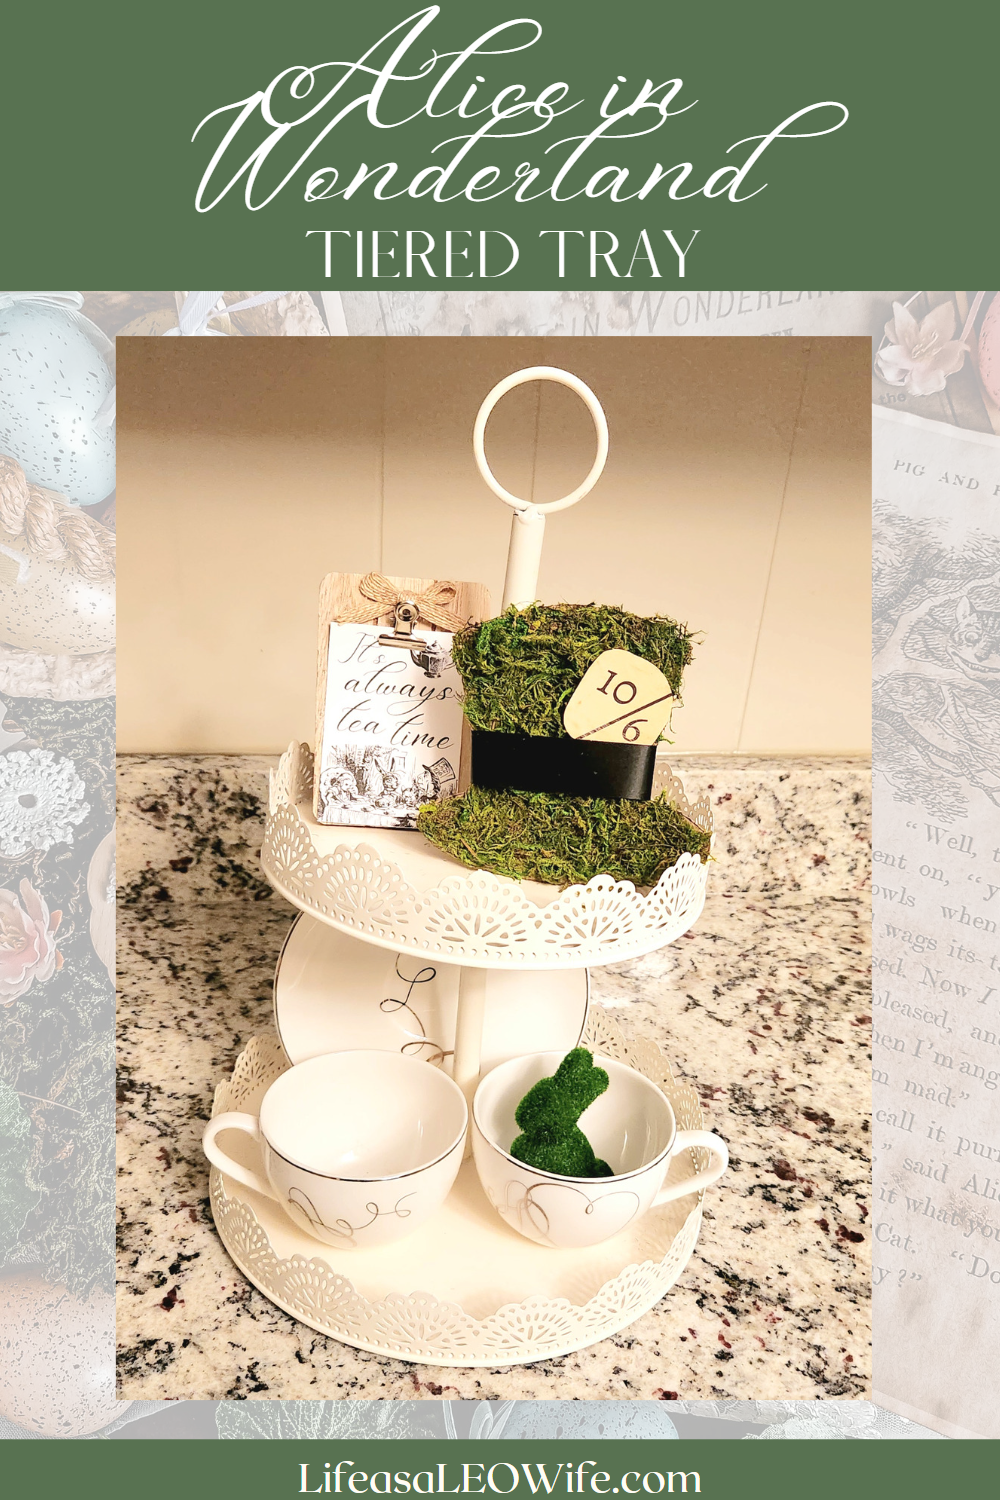
Welcome friends! I am so glad that you’re visiting today because we are going on a tour of twenty fabulous blogs, sharing our takes on trays for tea time. When I began to think about a tea tray, the first thing that came to mind was Alice in Wonderland. As my tray started to come together, I wanted to create a new piece to add to it, and a DIY Mad Hatter hat was born. In addition to my tray, I’m also going to share the tutorial so that you can make your own hat!

Several times a year, my dear friend Katherine of Katherine’s Corner is kind enough to coordinate a themed tray tour with many bloggers creating trays to give you inspiration for your own. This month our Tea Time on a Tray Tour includes twenty bloggers, and I know you’re going to love every tray shared by these talented ladies! If you’re coming over from Calypso in the Country, I’m so glad you’re here! Wasn’t Shelley’s tray beautiful?! At the end of this post I will direct you to the next blog on the tour. I hope that you will take the time to visit all of the ladies because they have set up beautiful trays. Perhaps you will even be inspired to throw a garden tea party this spring!
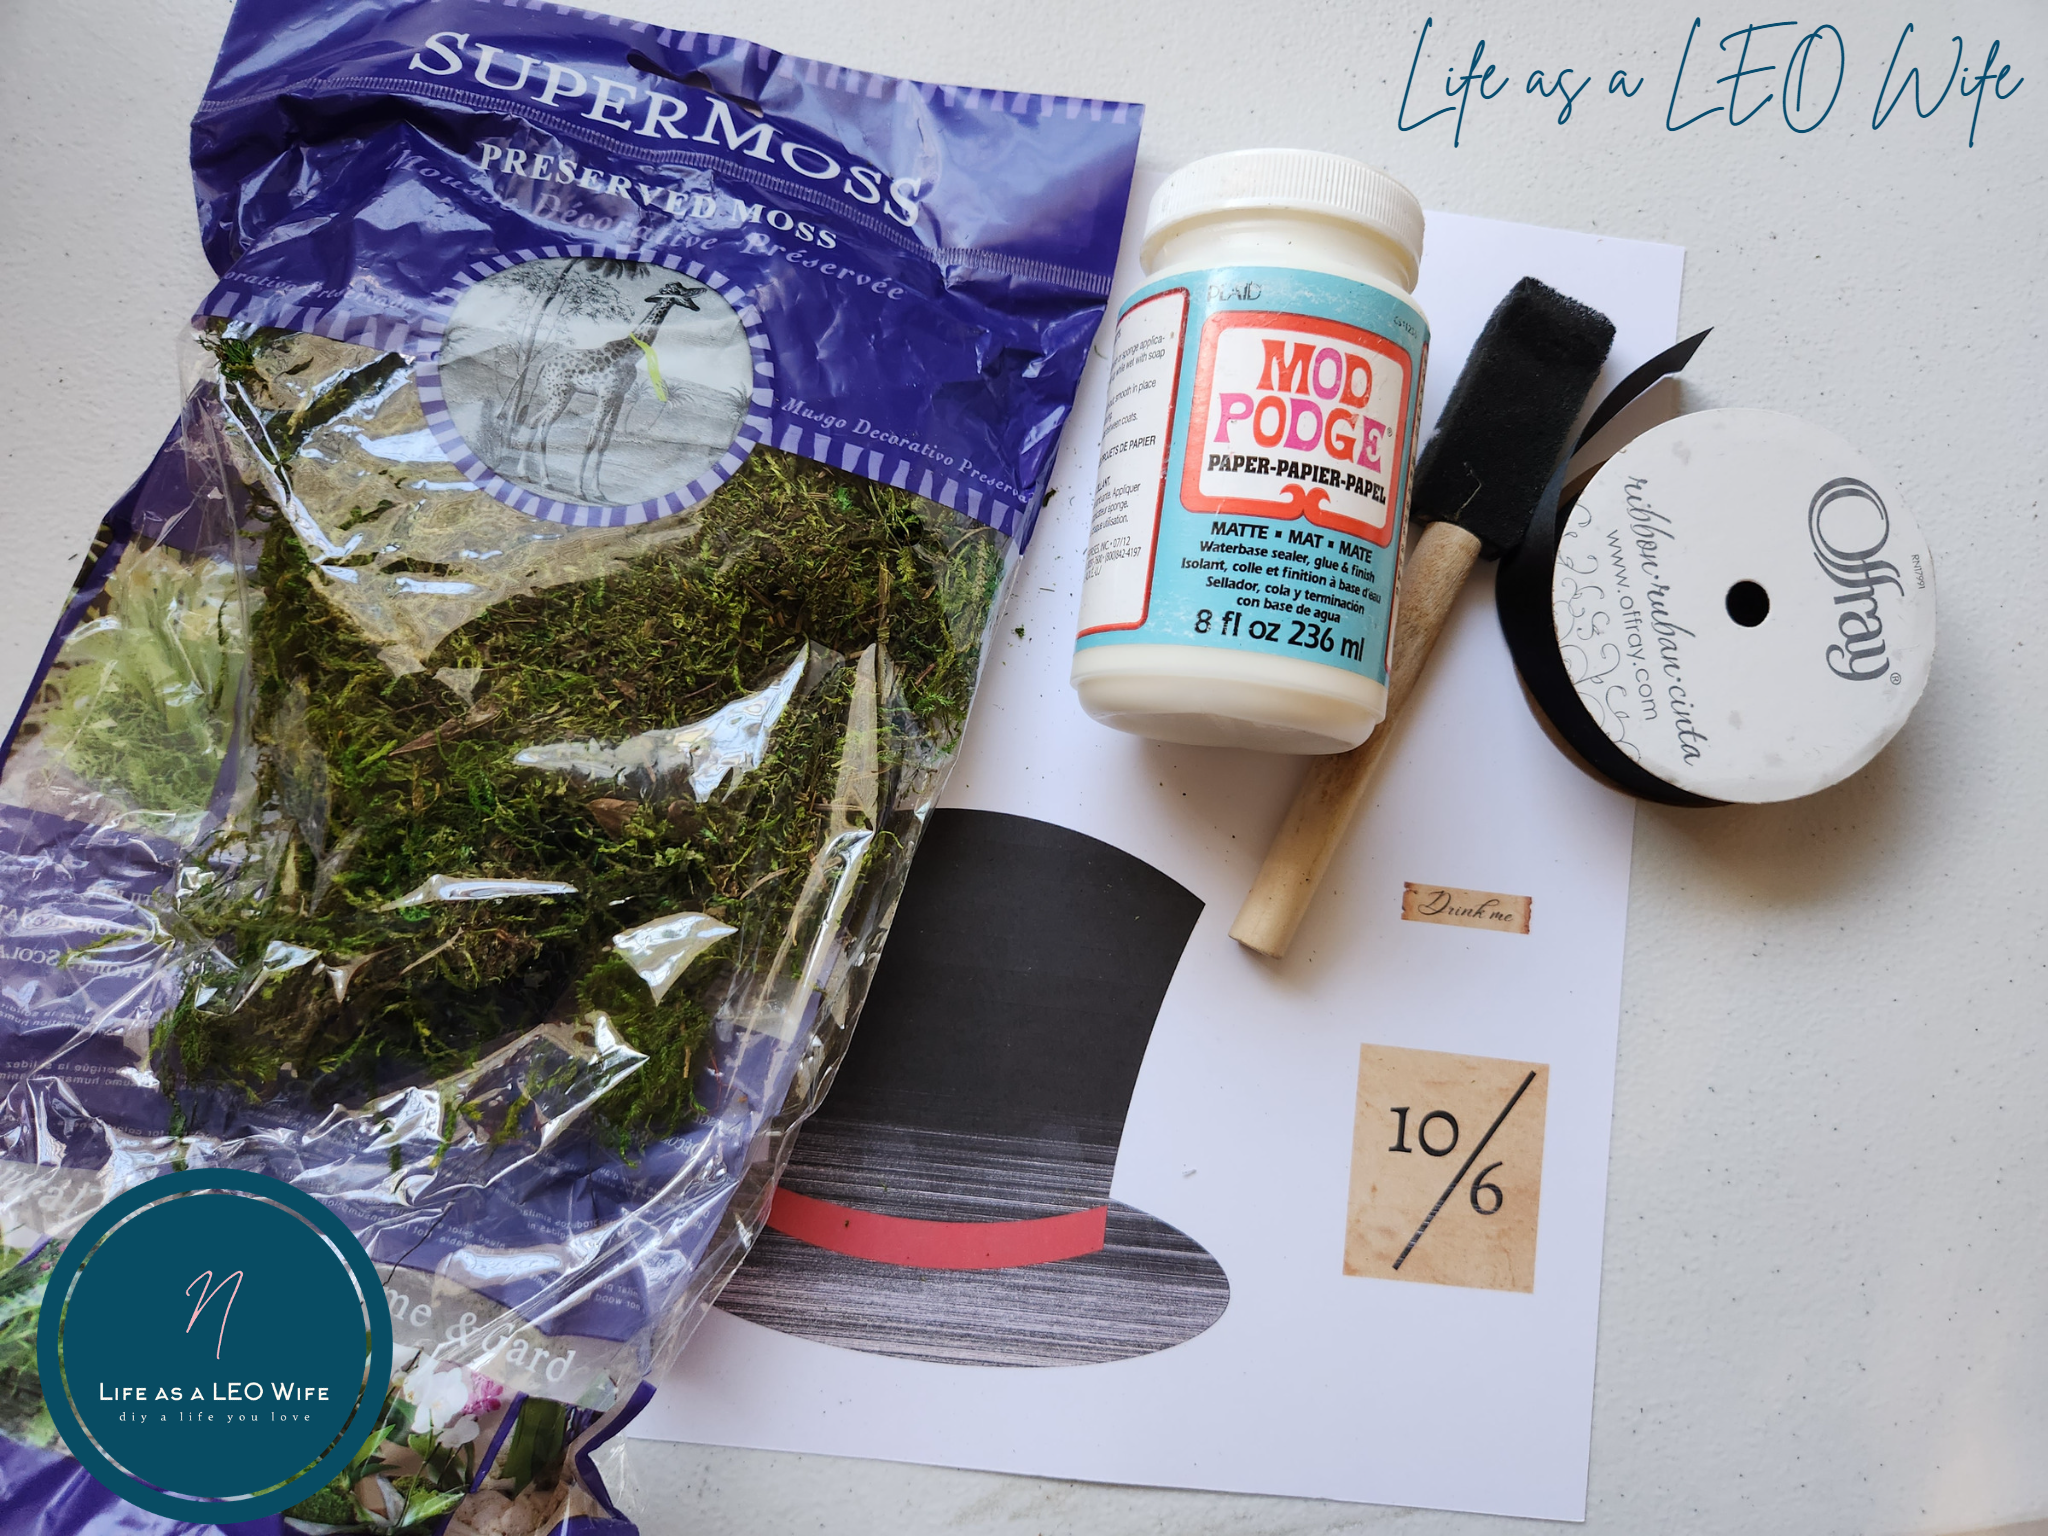
Supplies for an Alice in Wonderland Tea Tray & DIY Mad Hatter Hat:
- tray or tiered tray- I got the tiered tray that I used for this vignette from Dollar Tree for $5. If you’d prefer not to go to the store, you can order from Dollar Tree online, or this set of two, two tiered trays that are beautiful and are only $10!
- teacup(s)– I used teacups & saucers from our wedding China from Mikasa. The set is beautiful, & we use it every year for Valentine’s Day because the infinity designs with hearts are perfect for the holiday. It’s called “Love Story.” I linked a set of four of the teacups and saucers.
- saucer(s)
- moss bunnies from Dollar Tree
- preserved moss
- cardboard
- Elmer’s glue or glue stick
- hot glue gun & glue
- black 1/2″ ribbon
- white cardstock paper
- my Mad Hatter Hat & Tea Time printable designs
- 2.5″x3.5″ photo frame- I used a wood frame with a clip from Dollar Tree to add my sign. I’m ordering this beautiful frame to use in the future..
Disclosure: I am a participant in the Amazon Services LLC Associates Program and the Dollar Tree Affiliate Program, affiliate programs that allow me to link to the products that you can use to make this project quickly and easily. If you purchase any of these products I may receive a very small commission at no cost to you! That commission helps me continue to bring these great decor DIYs, free printables, and all of the other goodies on this site to you. Thanks so much for your support!
Free Printable Design Use
For personal use only. All of my free printables & cut files are copyrighted material. Feel free to download these free designs and print them or use on your Cricut projects for your own use at home. They are not for commercial use, not to be placed on items for sale. That helps me keep these printables, SVGs, and PNGs coming to you for free! Another note: you will not my logo overlay on your downloaded design. It is there to keep people from downloading the images straight from Google, or others from stealing them to use on their site. Thanks for understanding! Feel free to share this post for your friends and family to make their own projects with this design!
Download & Print Alice in Wonderland Designs
I created several designs to use on my tea tray, and of course I’m also sharing them with you to use them on your own Alice in Wonderland tea tray! I suggest printing them on white cardstock because they look better framed and the 10/6 for the hat band will work best.
The printable has a small sign that reads, “It’s always time for tea,” which is a quote from Alice in Wonderland. It is 2.5″x3.5″ to fit into a small frame that will fit on either tier of your tea tray.
I planned to find a small vial to attach a “drink me” tag to, but I couldn’t find the ones that I have. You may have one so I included the small tag for you.
Finally, there is a top hat and a 10/6 design to fit in the DIY Mad Hatter hat that we will be creating to place on the Alice in Wonderland tea tray. Remember that my logo overlay won’t appear on your downloaded design. I am having a really big problem with content theft (word for word, my exact blog posts with my photos!), so I am forced to be more careful with my content.
Once you’ve printed the Alice in Wonderland designs to use on your tea tray, cut out the “It’s always tea time” design. You can use the insert from a 2.5×3.5 frame as a guide to cut it properly. Then place it in the frame to add to the tea tray.

Make the Base of the DIY Mad Hatter Hat
Cut out the printed cardstock top hat.

Then cut out the 10/6 design. I created a more rounded design on yours so that it could be easier than just winging it like I did lol! You’ll see what I mean when you see the video tutorial.
Lay the hat on a piece of cardboard and trace around it.

Cut it out.

Add glue, either liquid glue or a glue stick, not hot glue, to sections of the Mad Hatter’s hat. In the video you’ll see that I used Mod Podge to add the moss at first, but that did not work well. I switched to an Elmer’s glue stick and that worked great! Spray adhesive would work too.

Press moss onto the glue on the cardboard.

Work in sections so that your glue doesn’t dry before you get to that area. My fingers got really sticky, so they started to remove some of the moss. I started to use the end of a foam brush and that worked well.

Add a Brim to the Mad Hatter’s Hat
Cut a piece of 1/2″ black ribbon wide enough to fit across the hat above the brim.
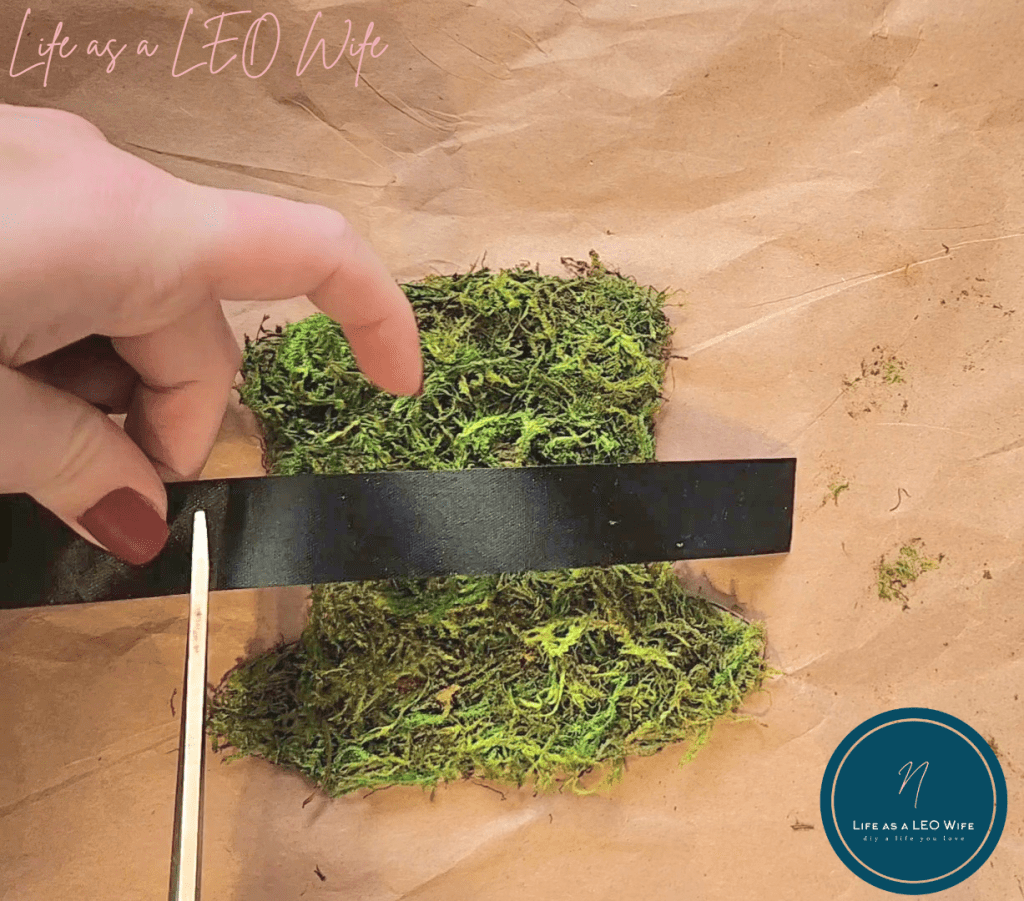
Lay the ribbon face down and place the hat face down on it.

Squeeze hot glue to each side of the hat, just above the brim. Press the ribbon onto the glue.


Cut out the 10/6 design and place it inside the Mad Hatter’s hat band. The paper looks yellow in this picture, but it’s actually the color of vintage book pages.


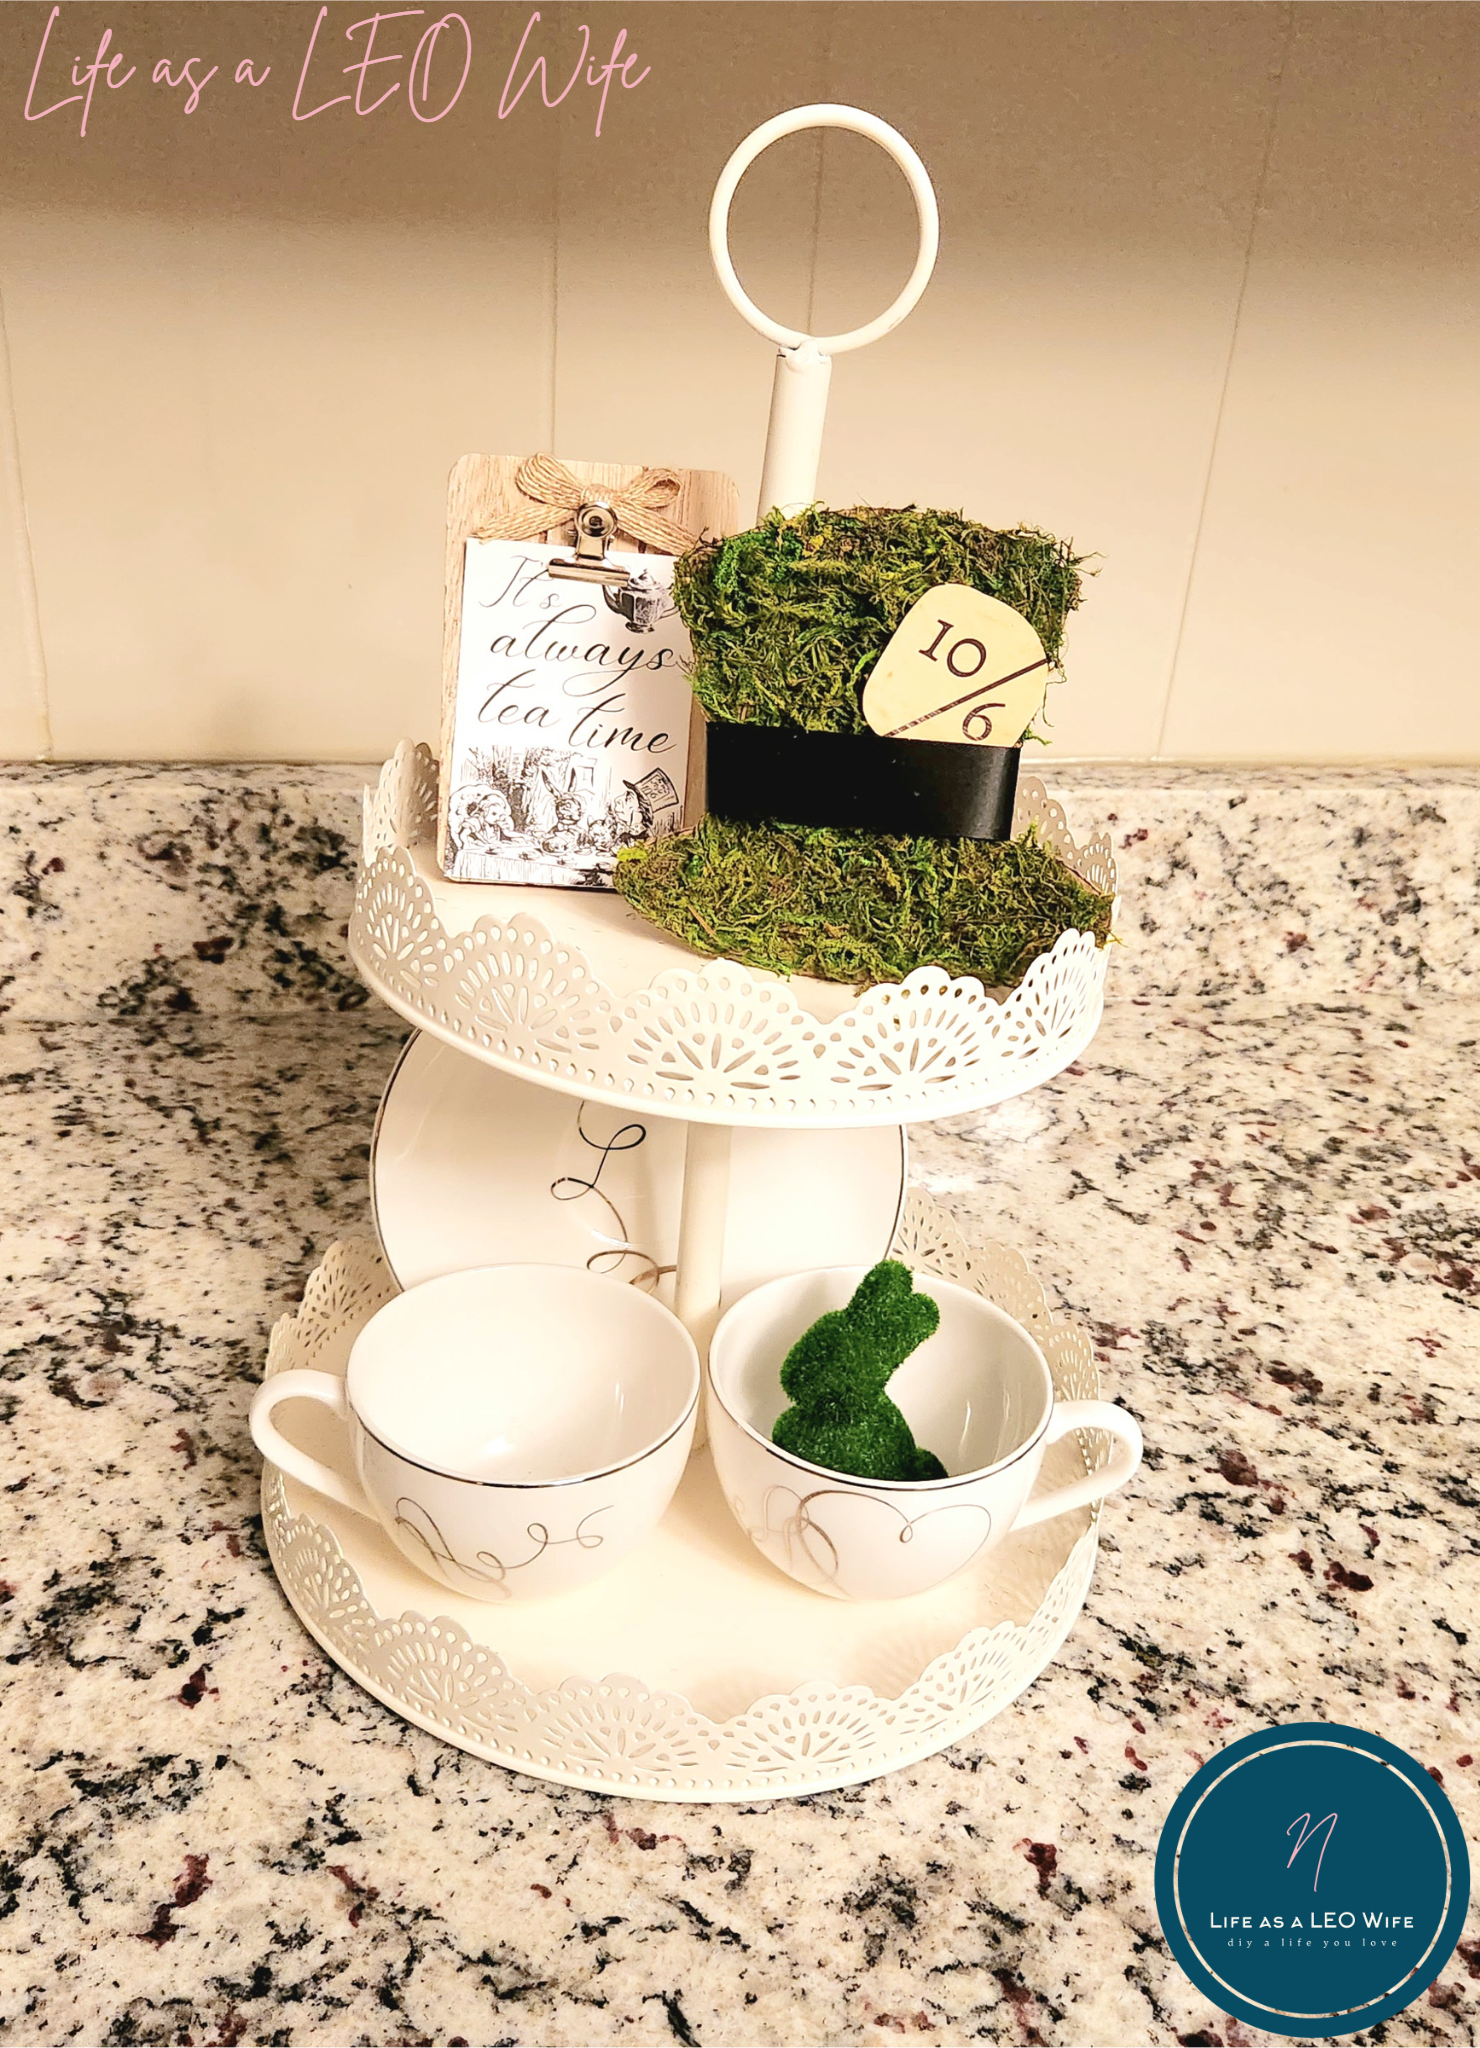
Assemble the Alice in Wonderland Tea Tray
This tea tray came together quite nicely, and it was so easy.
First, I placed a saucer from my Mikasa “Love Story” China set on the bottom tier of the tea tray. I placed a stemless wine glass behind it to hold it up vertically. Next, I placed two teacups from the same line of China. I turned them so they were facing in opposite directions, so that the designs on each side could be seen.

Finally, I decorated the top tier of my tray with my Alice in Wonderland decorations. The framed tea tray sign was placed on the left side. Then I leaned the DIY Mad Hatter hat against the pole connecting the two tiers of the tray.

Alice in Wonderland’s Mad Hatter DIY Hat Video Tutorial
Here’s a quick tutorial for creating your own DIY Mad Hatter hat. The next party I throw will definitely have an Alice in Wonderland theme because I really enjoyed making little things to add to my tea tray! Again, I used Mod Podge during the video, but I removed the moss and used an Elmer’s glue stick. I was able to get a thick layer of moss with ease using it.
What do you think? I love this easy Alice in Wonderland themed tea tray!
Remember to keep reading so that I can direct you to the next stop on our blog tour!
Remember to pin the image below or share this post with the buttons on the left side of the page so you can find it when you’re ready to start your project! Also, follow me on Pinterest for new ideas added weekly! Be sure that you never miss a great tutorial for decor like wreaths, signs and other home decor, free printables, crafts, and other fun posts! Enter your email address below to be notified of new posts! Use the buttons below to follow me on social media for other great content.
Shop my tea tray post:


Tea Time on a Tray Tour
I hope that you’re having a great time on our Tea Time on a Tray Blog Tour! The next stop on our tour is Beverly at Eclectic Red Barn. I know you’re going to love her tea tray style! After you check out her tray, she will direct you to the next stop on our tour. Have a fabulous day gathering inspiration for your next tea party!

Don’t go yet! There’s more to see!
There’s plenty more to see here on the blog! If you’re looking for something specific, use the search box in the sidebar to look it up. If not, you might enjoy these ideas. Don’t have time to read them all now? That’s ok, just click over to the posts using the pictures and pin them for later. You can also add Life as a LEO Wife to your favorites and check back for new ideas and free printables and SVGs every Wednesday, as well as link parties with tons of shared ideas on Sundays!


Your Alice in Wonderland themed tray is so creative and could not be cuter–pinned! Blessings, Cecilia @My Thrift Store Addiction
Thank you!
Niki,
I love the Alice in Wonderland Mad Hatter theme and that you even shared a craft!! Your Tea Time Try is so charming and whimsical!! Love it! Thanks for sharing!! I enjoyed “touring” with you today!!
Hugs,
Deb
Debbie-Dabble blog
You too! Thank you!
cute!
Thanks Melynda!
Niki,
I love your Mad Hatter tea tray. Great tutorial. it is just so precious. Glad to be touring with you.
Hugs,
Bev
Thank you! You too!
Love, love, love this Niki! Leave it to you to come up with the perfect DIY project for a stunning Tea Time tray! It’s just adorable and the perfect accent piece. I’m so glad to be touring with you today. Thanks so much for sharing such a fun idea! Pinned!
Aw, thank you Denise!
So cute Niki! I love the Alice in Wonderland theme and the way you made the moss hat is so clever! Down the rabbit hole we go!
Thank you! I thought about making my sign say that! I thought popping the little bunny in the teacup could be a little nod to going down the rabbit hole lol!
I love your Alice in Wonderland theme. As I was writing my post Alice in Wonderland did pop into my head so I am so glad you used it as your muse here. I love all the tutorials & thanks for sharing. XO- MaryJo
Thank you! It would’ve been funny if several of us used it as our theme!
So cute, Niki! The tiered tray setup is darling as well as the DIY wonderland projects.
Happy Spring,
Rachelle
Thank you!
Wow, you are so creative! I love how this turned out! Great touring with you!
Shelley
Thank you Shelley!
Alice in Wonderland is a favorite and who can forget the tea in that beloved story. Great tutorial for the hat. You make me want to bring out my copy of the book and brew a cup of tea to sip while I’m rereading the story.
Lynne
Thank you! Reading is always my favorite past-time!
I love your mad hatter, such a clever theme and so festive. Enjoyed reading about it.
Thanks Maria!
oh my goodness! Your them is over the moon fun. The bit of diy craftiness is awesome too. Thank you for joining in the fun. Pinned! xo
Thank you!
I loved your whimsical theme! And the Mad Hatter was the perfect choice! It was fun touring with you
Thank you! You too!
Niki, this is so fun! What a great way to create a tea tray. Loving the mad hatter theme. great job my friend. Have a wonderful week.- Meagan
Thank you Meagan! You too!
What a cute idea!! How creative! you styled your tray beautifully. Fun touring with you this week!
Thanks Rachel!
Alice in Wonderland is one of my favorite themes for parties and entertaining. Your little moss covered hat nd sign are just so cute! This is a great idea if I am planning on hosting a mad hatter tea party again in the future!
Thank you Chloe!
This is just too special, your so creative. I love this idea, its unque, achievable and inexpensive. Three of my favorite qualities.
You’re too sweet. Thank you!
This is such a cute idea and theme! Love the parts you crafted for it!
Thank you Kristin!
Your Alice themed tea tray is the best! I love everything about it, the dishes, tray, and all the creative elements you added! So adorable!
Thank you so much!