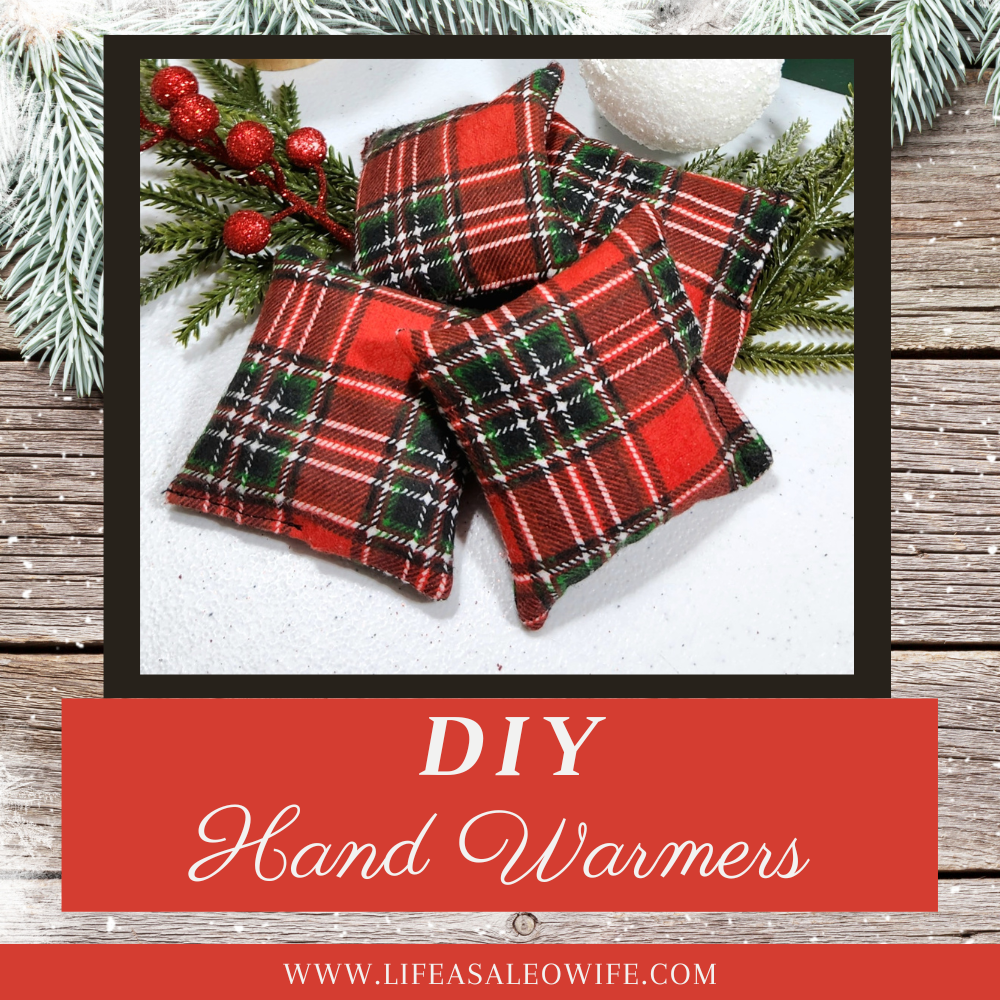
Temperatures are dropping, even down here on the Gulf Coast. Last week it was 84° and today it got down to 34°! What the heck?! (Don’t worry it will be 70° next week lol!) We are not used to those temps down here. My son had field day this past week, and it was going to be pretty chilly outside. He asked me if I had any hand warmers, but the pack I thought I had was nowhere to be found. I got a sewing machine back in July, so I thought I’d go ahead and make some DIY hand warmers for him and my stepdaughter. It was only my third project, but it was so easy to make them. You can make two sets in less than an hour. They make excellent little homemade gifts to give this Christmas.
These make perfect DIY Christmas gifts! They’re great for teachers that have to pull car rider or bus duty in the winter, our law enforcement officers who have to get out in the freezing cold to protect our families, shipbuilders and mechanics who work out in the elements, and all of the other people who work in the cold to make our world go around. You can make them in just minutes. You can see that my video tutorial is under 4 minutes long played a double speed, so about 8 minutes working time. These bad boys can be cranked out quickly in an assembly line. Let’s get to sewing friends!
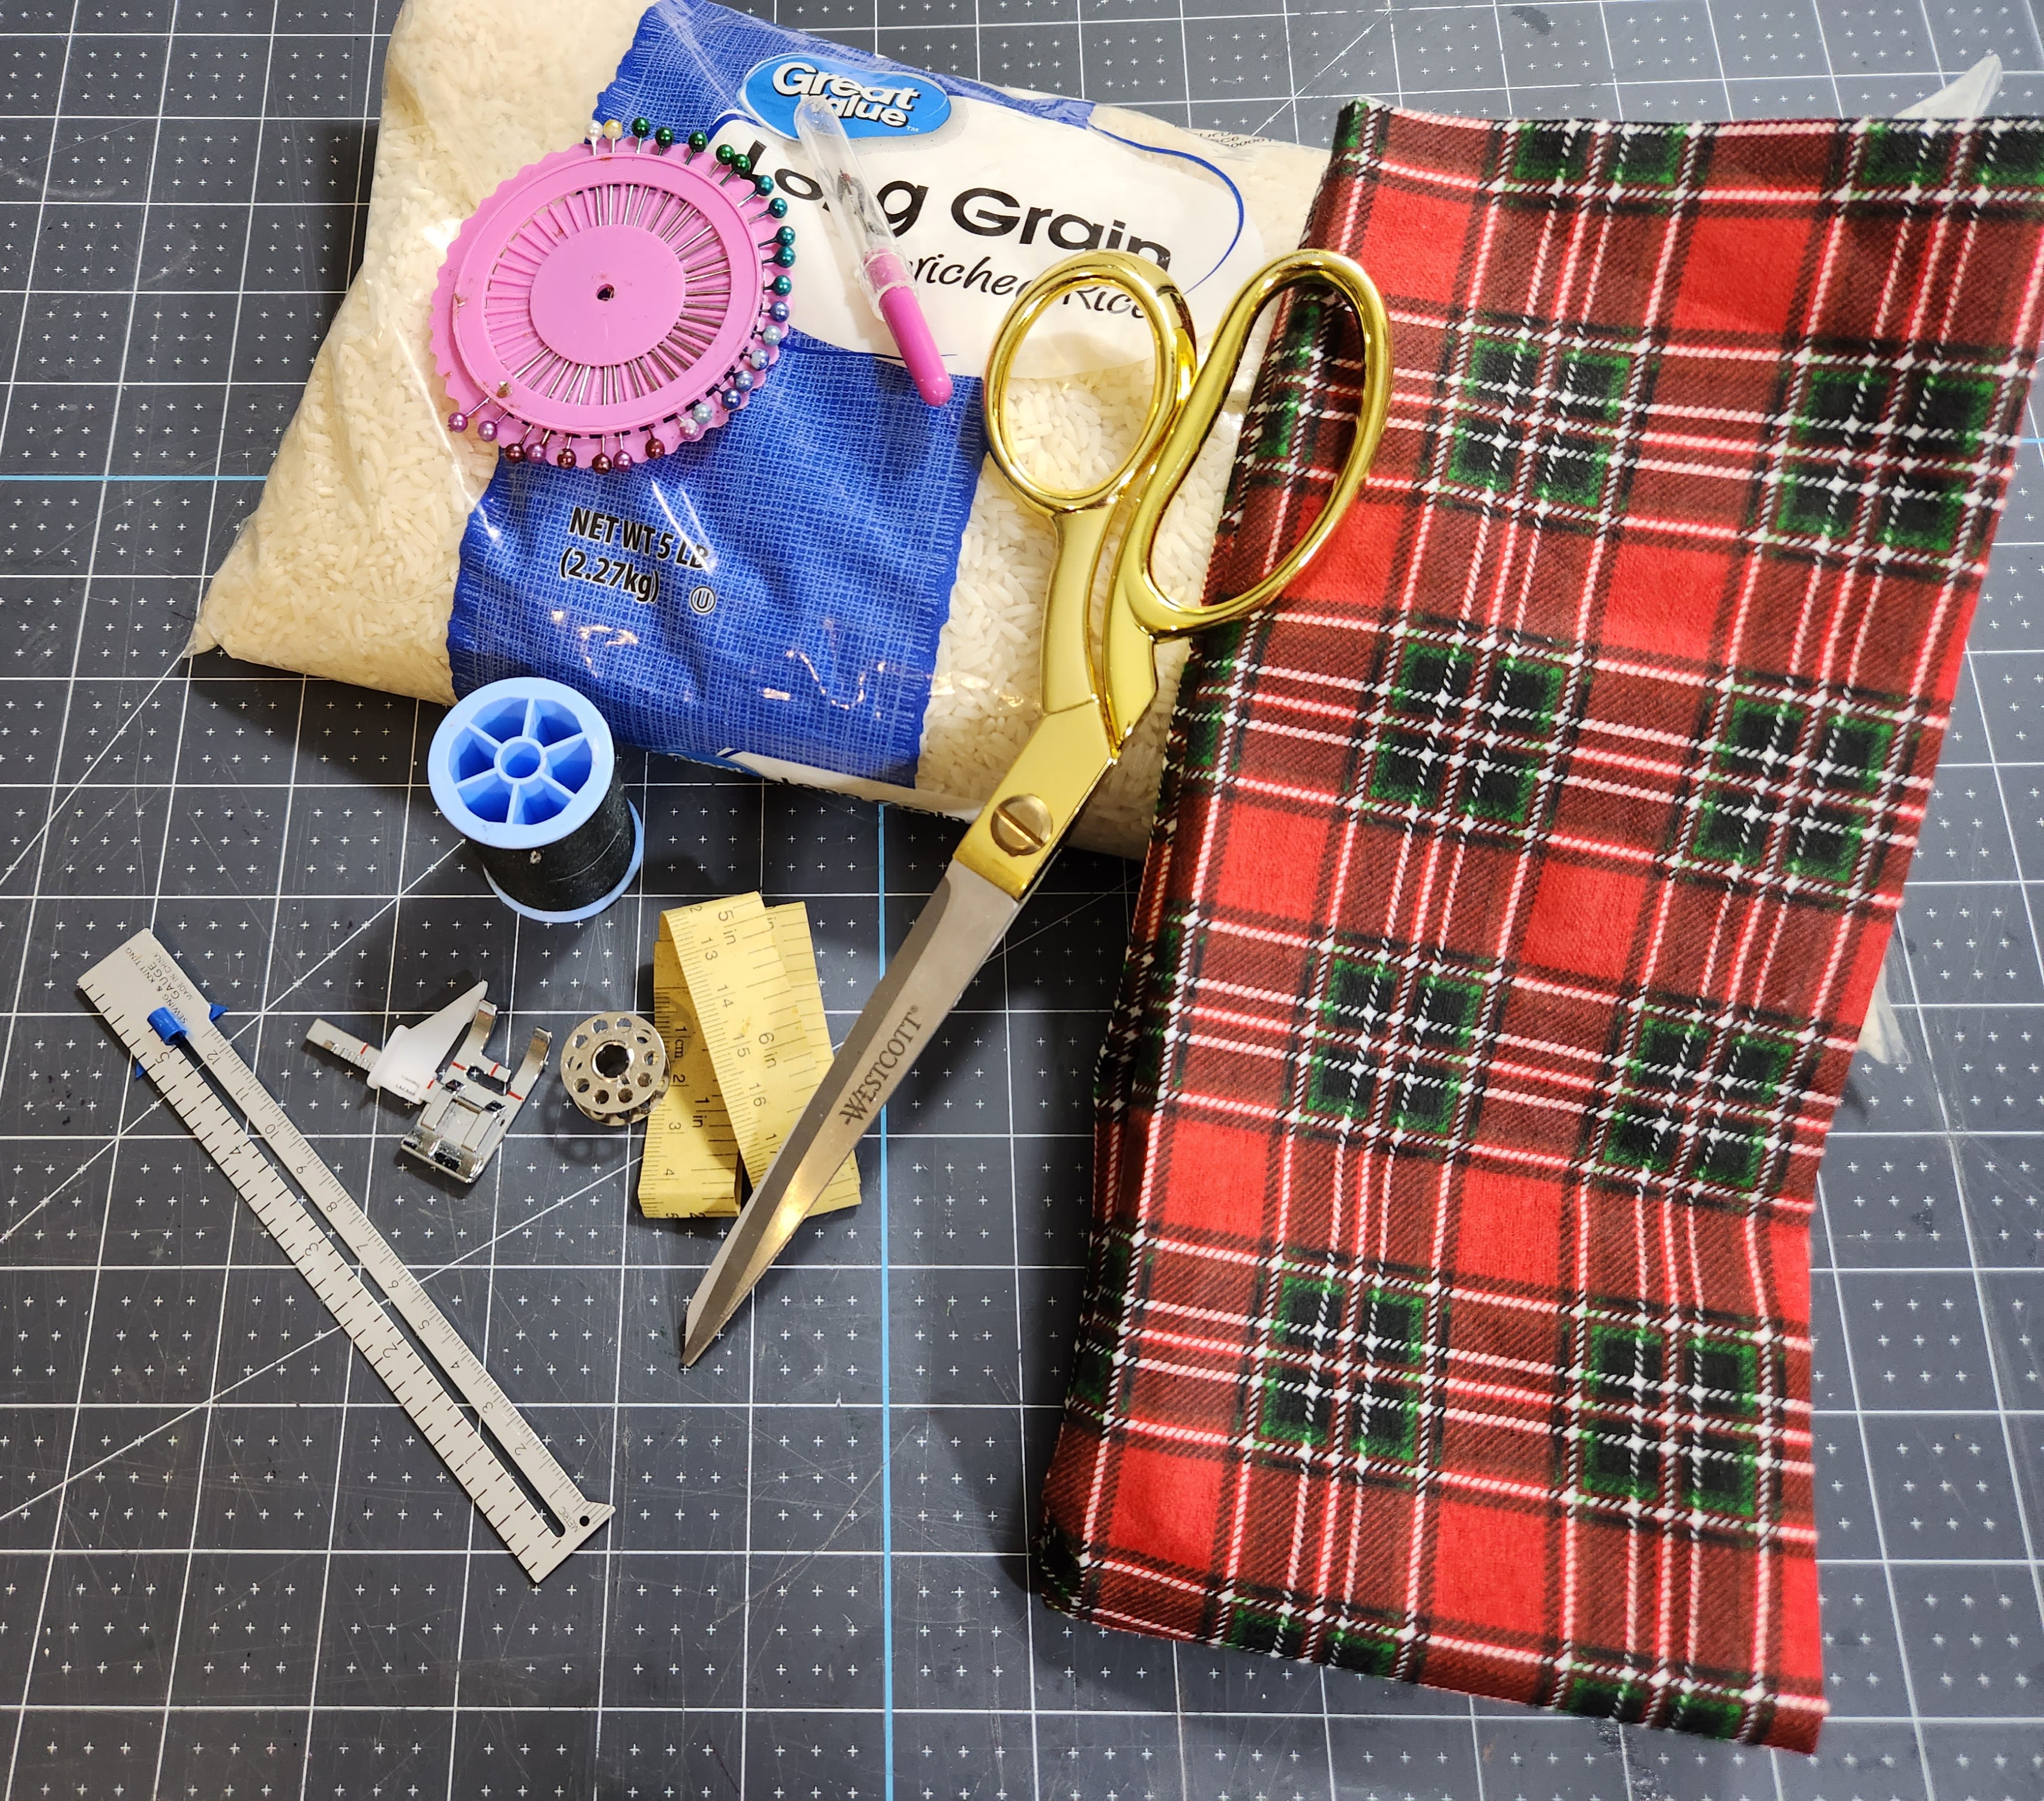
Supplies for DIY Hand Warmers:
- enough cotton fabric to cut two 4″x8″ pieces from (DO NOT USE FABRIC WITH METALLIC EMBELLISHMENTS- they will blow up your microwave lol)
- scissors
- pins
- rice
- thread
- ruler
- sewing machine or hand sewing tools


Measure & Cut Fabric
I made these hand warmers for my 11 year old son and stepdaughter who is the same age and they fit both of their hands well. My stepdaughter is a big girl, bigger than me, so they’re perfect for adults as well.
To make any sewing project you must first cut and measure the fabric. Well, vice versa actually. I made these hand warmers two ways, one with three sewn edges and one with all four sewn. This was because I had enough fabric to cut two 8″ long, but the fabric wasn’t long enough to have cut that the next two that long so I cut two 4×4 pieces. You can make yours either way.
If you have a length of fabric at least 8″ long, the easiest method is to cut and only have to sew three sides. Measure the fabric 4″ long and 4″ wide. Measure it on a section of fabric that you’re able to fold in half to cut it. I am a new sewer, having only made about 10 items (3 different patterns), so I gave myself 1/2″ seam allowances. If you don’t have a piece of fabric that’s at least 8″ long, you can measure and cut two separate 4″x4″ pieces.


Fold the fabric along the 4″ line that you marked and pin it in place. If your scissors can cut through more than two layers, you could fold it again to the second hand warmer. I decided to just cut one at a time because the fabric wasn’t long enough to fold for another 8″. I pinned the fabric in place to make sure it didn’t more and was cut properly.


Since you cut the folded fabric, you will have one piece of fabric 8″ long and 4″ wide. If you cut two 4×4 pieces, leave them pinned together.

Sew the Hand Warmers
If you haven’t yet pinned your fabric, pin the three cut sides. Sew two sides and sew the third about halfway. I used a 1/2″ seam allowance which made the finished hand warmer 3″x3″. Remember to back stitch at the start and end of your seams to keep the thread from pulling loose. You need to leave an open section to flip it right side out and to fill the hand warmer with rice. If you cut two 4×4 pieces, sew three sides closed.

I have a video tutorial that you will see at the end of this post. You’ll notice that I sewed each side separately, but if you’re good at turning corners, go for it. I don’t push my luck on that yet lol.
Trim the threads and the excess fabric from the edges and round the corners so they aren’t bulky. You can just press the seams if you’d prefer not to cut it. I chose to just trim mine. You do need to press the seams at the top edge so that you can sew it down once the warmer is flipped right side out and filled. You can use your fingernails if you don’t want to break out the iron.


Fill the DIY Hand Warmers
Turn the hand warmer right side out. It can be tricky since it’s so small, but you can use something like a BBQ skewer to push the corners out.


Now it’s time to fill the hand warmer with rice. If you have a funnel you can use it, but if not, no worries. Just roll a piece of paper into one. Place it into the open section of the warmer and use a spoon, an ice cream scoop, or something like that to pour rice into it. I didn’t measure the amount of rice I poured in. Use your judgement and don’t overfill it.

Sew the Open Section Closed
Push the rice away from the top of the hand warmer and sew the open section closed. I didn’t mind that the little seam showed on the finished DIY hand warmers. If you do, there are tutorials out there that show you how to hide the closing seams, but I’m not that advanced in my sewing skills yet.

Repeat the process to make another hand warmer so that you have a pair.
DIY Hand Warmers Video Tutorial
That’s it! Your DIY hand warmers are ready to use or wrap up & gift to your family & friends!
When you’re ready to use them, simply place them in the microwave for about 15 seconds. If you need to bring them somewhere to use later, you can wrap them in aluminum foil to hold the heat in for a bit or place them in a Thermos to keep them hot until you’re ready to use them. I heated my son’s and wrapped them up in aluminum foil in hopes that they would be warm when his class went out for field day. It worked and all of his friends wanted to hold them to warm their hands and asked if his mom could make them their own set of hand warmers. I guess I’ll by a busy little mommy/blogger!

Remember to pin the image below or share this post with the buttons on the left side of the page so you can find it when you’re ready to start your project! Also, follow me on Pinterest for new ideas added weekly! Be sure that you never miss a great tutorial for decor like wreaths, signs and other home decor, free printables, crafts, and other fun posts! Enter your email address below to be notified of new posts! Use the buttons below to follow me on social media for other great content.

Don’t go yet! There’s more to see!
There’s plenty more to see here on the blog! If you’re looking for something specific, use the search box in the sidebar to look it up. If not, you might enjoy these ideas. Don’t have time to read them all now? That’s ok, just click over to the posts using the pictures and pin them for later. You can also add Life as a LEO Wife to your favorites and check back for new ideas and free printables and SVGs every Wednesday, as well as link parties with tons of shared ideas on Sundays!


Could you use flannel to make them?
Yes you can. I used a red and black buffalo check flannel, and they were fine in the microwave.
What a great gift idea! Super cute Niki!
Thank you!