Happy Sunday everyone! It’s time for our monthly DIY Blog Hop where I join up with other talented bloggers to bring you a new DIY project on the first Sunday of every month, hosted by Tarah of Grandma’s House DIY. Our theme for this moth is organization. Since it’s August and time to send the kids back to school, I thought I’d share my re-organization of my craft room where we store the supplies my son might need for homework (paper, pens, markers, etc.). These DIY organization projects are perfect to use in kids’ rooms, offices, kitchens, and so much more. You can create them for a few bucks and one for FREE!
DIY Organization Supplies:
- rectangular clear bins (Dollar Tree)
- bins with holes (DT)
- cardstock
- scissors (or cutting machine if you want precision)
- empty tin cans (from veggies, soup, tomato sauce for different size)
- Mod Podge
- tiny removable hanging hooks (Like Command Hooks, I got mine from DT)

Organize Items in Clear Bins
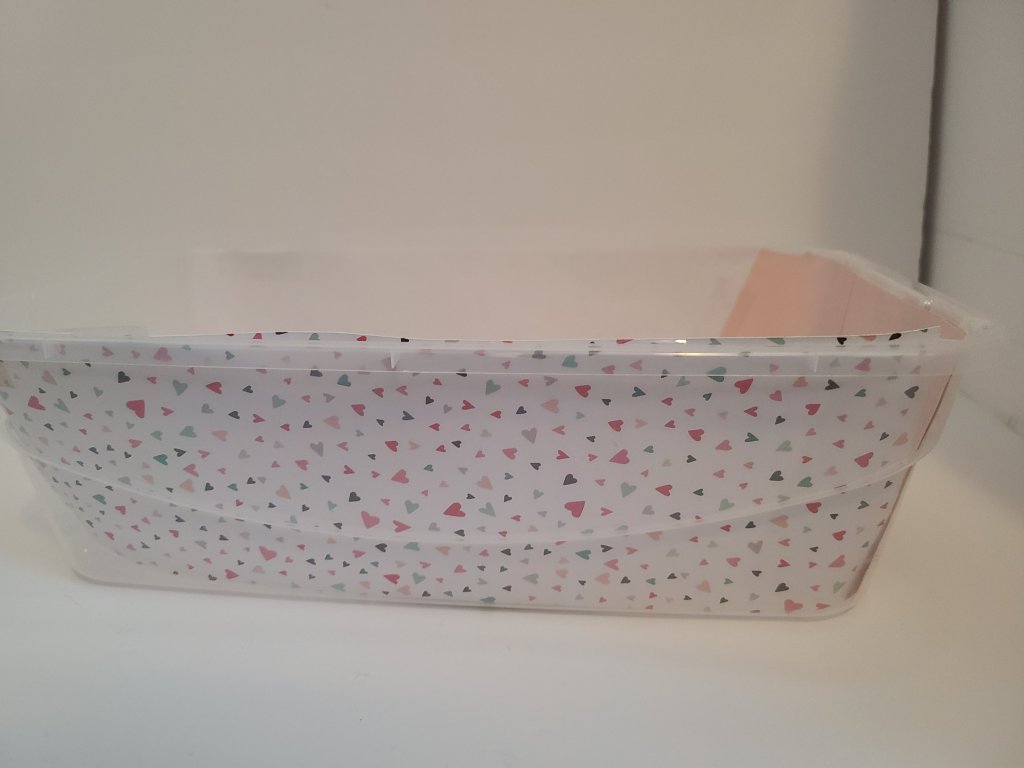
Several years ago I bought a bunch of clear tubs from Dollar Tree. They have snap-on lids and are great for storage of craft and school supplies, as well as smaller items like hair bows, nail polish, and assorted brushes that you might use in the bathroom. They’d be great in other rooms like in the kitchen for packets of seasoning, i.e., gravy or tacos, small boxes like food coloring, toothpicks, matches, etc., or in kids’ rooms for toy cars, Barbies, those little animal toys, action figures, you get it- small toys lol.
Anyway, the clear bins are awesome and so useful, but they’re clear. So even though you have everything put away and organized in these bins, it can still look messy because you can see all of the items placed in them. The shelf I had them is really tall, so there were about 15 or more on there at any given time. Still looks a little messy, right?

Label & Hide Items
To make my craft room look better, I decided to line them with cardstock matching the decor in the room. I had my Cricut cut the paper to fit along the length of the bins, but you can use scissors. The rectangular inserts I cut are 3.75″x12″. All you need to do is slide them into each side of the bin. I did add a little piece of tape on each side.

Next I labeled each bin so I don’t have to open every single one looking for what I need. I used my Cricut to write on cardstock then cut it to 3.75″x6″. You could also just write on the paper and cut it with scissors or print the list and then cut it.

Line all of the bins, then put all of the items in them.

Here’s my shelf of bins in my old craft room. Hopefully I’ll finish my new craft room setup soon, and I’ll share the other DIY organization ideas I have!

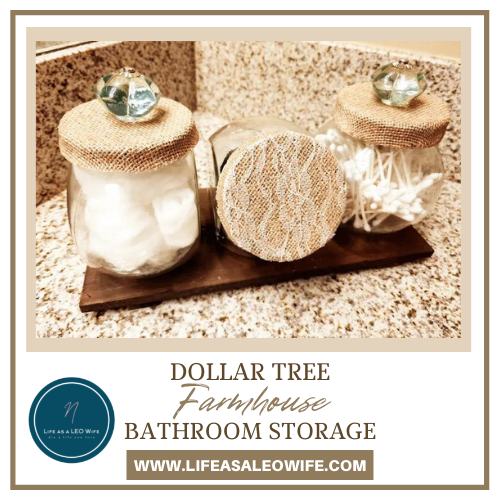
Tin Can Organization
The next time you’re cooking something from a can, save it. They make great storage items, and they’re free! They’re good for holding pens, markers, embroidery thread, clothes pins, and other small craft items. I created a whole wall of can storage, which doubles as decor.
I know what you’re thinking. Tin can storage and decor? Sounds crazy, but it’s cute. You can cover the can with any paper that you like. I used cardstock that matched my craft room at the time. Simply place your can, with the label removed, on a piece of patterned cardstock and mark the height with a pencil. Then wrap the paper around the can and mark the spot where the paper will overlap. Then cut the paper along the lines.


Brush Mod Podge on the can and the paper. Then wrap the paper around the can and add another coat of decoupage on top. Voila! Beautiful storage for free.


Now all you need to do is add something to hang the can on. I used a small piece of pipe cleaner twisted into a loop. Then I glued the pipe cleaner onto the can, right where the cardstock overlaps. That way when you hang the can on the nail or hook, that part won’t show. If you need a more in-depth tutorial check out this post.


Here’s the DIY organization wall in my old craft room. I think I’ll be hanging the cans on the sides of my two large bookcases in this house.

DIY Ribbon Organization
One final organization tip for craft room spaces is to use Dollar Tree bins with decorative holes in them for ribbon storage. Place your ribbon neatly inside the bin and thread the ends of the spools of ribbon through the holes a few inches. This will allow you to keep your ribbon organized and easily accessible. You can cut the length of ribbon that you need without dumping the entire bin looking for what you need!


On to the DIY Blog Hop!
Tarah – Grandma’s House DIY | Storage Organization – long overdue cleaning out in our attic space

I hope that you enjoyed this tutorial! There’s a week full of blog hops this week, so I hope that you’ll be back to check out what’s in store. I’ve got a DIY decor tutorial, back to school gift ideas, free printables, and a new sewing DIY. Make sure to follow me on social media and via email so you never miss out!
Don’t go yet! There’s more to see!
There’s plenty more to see here on the blog! If you’re looking for something specific, use the search box in the sidebar to look it up. If not, you might enjoy these ideas. Don’t have time to read them all now? That’s ok, just click over to the posts using the pictures and pin them for later. You can also add Life as a LEO Wife to your favorites and check back for new ideas and free printables and SVGs every Wednesday, as well as link parties with tons of shared ideas on Sundays!


2 thoughts on “DIY Storage & Organization: Both free & Dollar Tree ideas I use in my craft room!”