Designing Devotion Edition
This large farmhouse sign is extremely budget-friendly, and looks great on the wall. Originally I had a large magnolia painting with shutters on each side, but I didn’t feel like it really went with the rest of the decor in the living room. It needed something in its place, since I have added spring and Easter decor in pastel colors. I saw a few people on Pinterest doing large signs, so I thought I’d give it a shot.
To create your own large farmhouse sign you need (unless noted, all items are from Dollar Tree):
- full size foam board
- wood-like contact paper
- scissors
- vinyl stickers, stencils, a printer or
- Cricut (not at DT, but you can get this one from Amazon)
- black, teal, and gold vinyl (not at DT)
Pre-cut Vinyl
There are many pre-cut vinyl options from Dollar Tree that you can use on your large farmhouse sign. They have vinyl sheets now that are chalkboards to add to anything then you can write on them. In our local store they also have options like, “grateful, thankful, and blessed” and some foliage with it. “Let go and let God,” “always be joyful,” etc. Another option is to use stencils to paint what you want on your large farmhouse sign.
The next choice would be using your printer. Type the scripture you’d like in a word program, change the font to one you want hanging on your wall. Print it out, it may take many sheets of paper because you want to use a large font size to fill the entire foam board. Lay the paper on top of the board where you’d like the design, and trace the letters all around with a pencil. By pressing down a bit with a pencil you’ll leave an indention in the board. When you’re done, fill in the lines with paint. If you use the stickers, stencils, or a printer you will skip the next section, and jump to making the frame.
Using Design Space
Create the image you want to put on your farmhouse sign.
With my Cricut I cut Philippians 4:7ESV, “And the peace of God, which surpasses all understanding, will guard your hearts and minds in Christ Jesus.” Choose what you’d like on your sign, or use mine. Size the wording so that the scripture takes up a lot of the sign. Make sure you split the words up so that you can keep them under 11.5″ so that Design Space doesn’t force you to get bigger vinyl sheets. I used black vinyl on “which surpasses all understanding” then “will guard your hearts and minds.” In a metallic teal I cut “Peace of God,” and “Christ Jesus.” Then you should add some embellishments so that the sign isn’t too plain. I added a line of greenery leaves to the top and bottom in gold glitter.

Cut the design
At the top of the screen on the right side of Design Space, click the green “Make It” button. You can see it in the picture above.

You will come to the layout screen for each color you are cutting. If you have any colors that are to be cut with heat transfer vinyl (HTV), make sure to click the button under that color that says “mirror.” That will cut the HTV backward so that it will be correct when you iron it on. Having regular vinyl is better, but I didn’t have a sheet of black while cutting my vinyl so I had to use HTV for my sign.
Place the vinyl on a standard grip mat (shiny side up for regular, and shiny side down for HTV), and press the green “continue” button at the bottom of the screen. Set the dial to “Vinyl” if you’re using standard vinyl, or to Iron-on if you’re using HTV. Insert the mat into the Cricut, put a little pressure while sliding it in and press the blinking arrow button. When the “C” button lights up, press it, and the machine will start to cut your design. Once it is complete, press the flashing arrow button again and it will eject the mat. Follow these steps for each color of HTV you’re using.


Weed the design
Remove the vinyl from the standard grip map. Cut the design from the rest of the vinyl. Find a starting place, I usually start at a corner, and peel the uncut vinyl away, leaving the design. When that is all that is left, you’ll need to weed the design in places where pieces are inside part of the design. For example where you have an “O” remove the circle from the center of the “O.” Mine was easily weeded, but if you have a problem you can use a tool. I have a set of polymer clay tools that I use. I paid about $5 for six tools that are double-ended. The Cricut tools are a lot more, and they are not double-ended. Their five piece set is $26.99 at Michael’s.

Make the “frame”
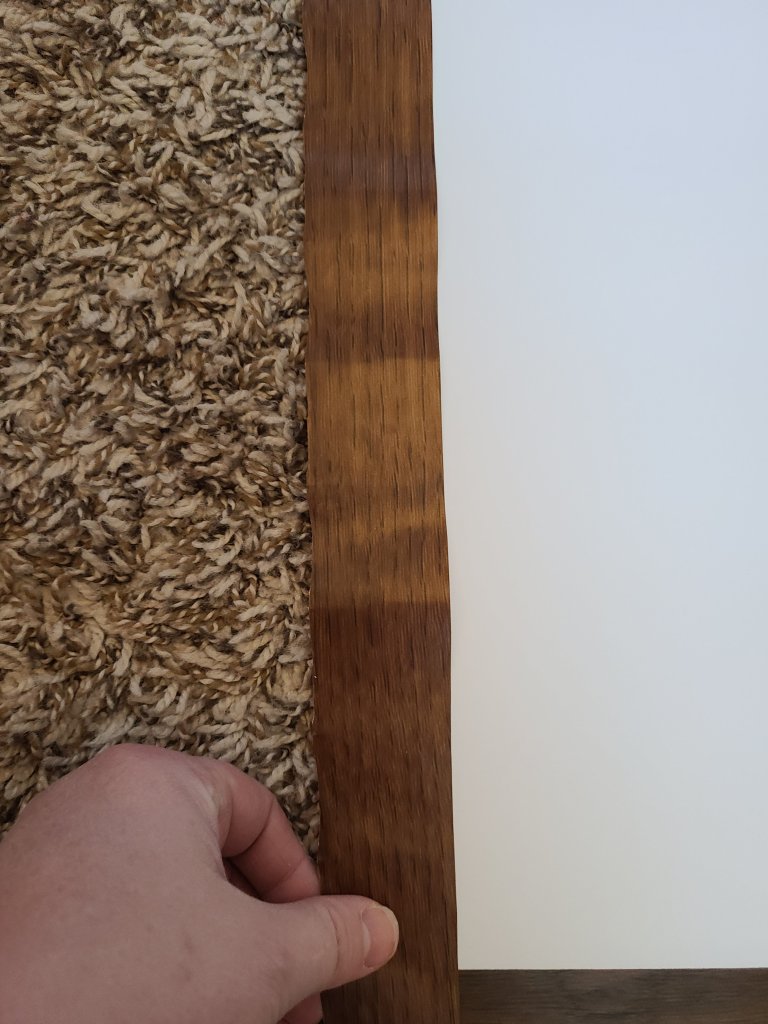
The next step is to use the faux wood contact paper from Dollar Tree to make a “frame” along the edges of the whole foam board.
Cut faux wood contact paper
The foam board’s measurements are 30″ long and 20″ wide. You will need to cut the paper 32″ long and 2″ wide. Use a pencil and mark the paper at those points. Cut two, one for each side. Cut the other two sideds 22″ long and 2″ wide. The back of the contact paper has grid lines that help. I tried marking the roll at the 2″ width, cut it with it rolled up. It made my edges jagged, so I went back to just cutting it normally.


Measure the cut contact paper and mark it to be able to add it to the board.
Now that you have all of the sides cut, you will have to make marks at the 1.5″ line. This will make sure the frame is straight and even all the way around the board. The other .5″ will wrap around the sides of the board like a real frame.

Once all the tick marks and measurements are done, start on one side the board. Starting half an inch from the top of one of the sides, lay the wood on the foam board, making sure the pencil mark at the 1.5″ lays right along the front edge of the foam. Continue down that side of the board carefully, making sure the pencil marks are right on the edge. Use a credit card to smooth it on, releasing any bubbles. Push the extra contact paper along the edge and on to the back, top, and bottom where you left the half inch.


Follow the above steps to cover each side of the foam board.
Put the scripture on the board.
Using transfer paper
With the frame on the board, you can start adding the scripture on to the foam board. Lay out the scripture on the board and move it around until you like the way it looks. I use the clear contact paper from Dollar Tree as transfer paper. I’ve had three rolls, and five years later, I still have some. That’s a good tip if you’re still ordering Cricut’s transfer paper. Whichever paper you use, lay it over the leaf embellishment that will go on the top of the farmhouse sign. Use a credit card or something like that, and begin tracing the over the vinyl with the card. When you’ve gone over the design, slowly pull the backing of the vinyl away from the design. If some of the words are still stuck to the backing, trace the design again with the card until it comes off easily.
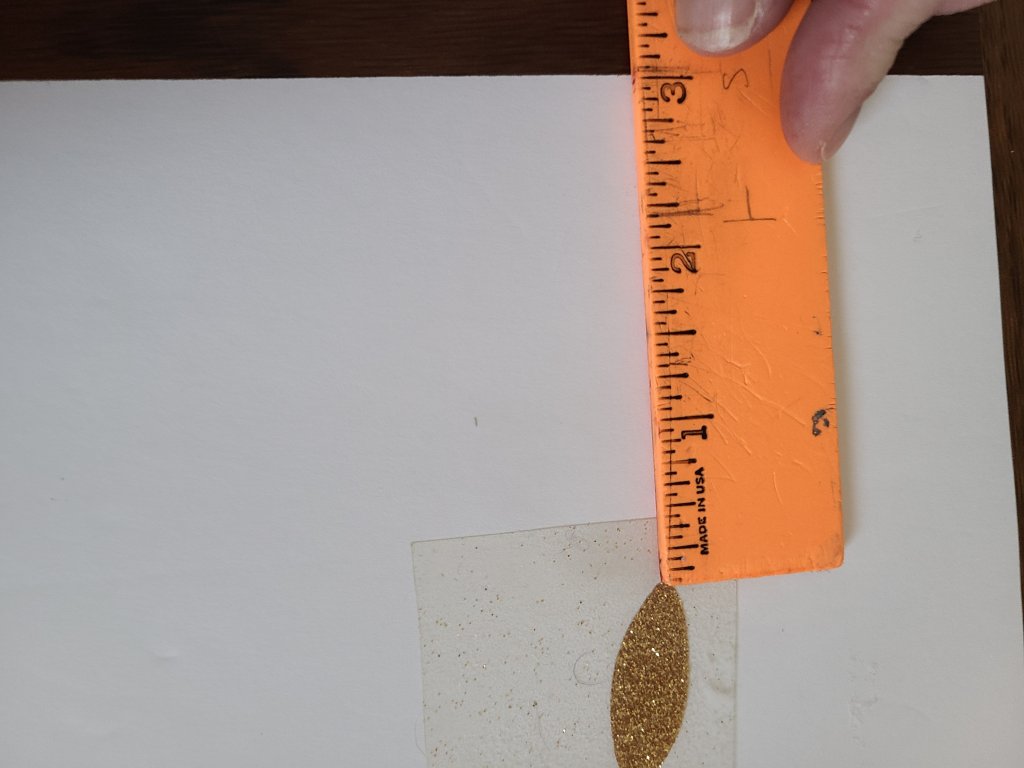
Measure the board to correctly place the design
Use a ruler and measure from the bottom of the wood contact paper and make a small dot at the 2.10″ mark. Now measure from the other end of the embellishment to the side of the contact paper, not from the edge of the foam board, make a mark at the 3.08.” Put the loopy end of the leaf embellishment on the 2.10″ pencil mark from the top, and the tip of the side of the design on the 3.08″ dot from the right side.

Repeat the above steps to attach the other leafy embellishment at the bottom of the board. Use the same measurements as you did with the first, just substitute the top wood paper with the bottom wood paper.
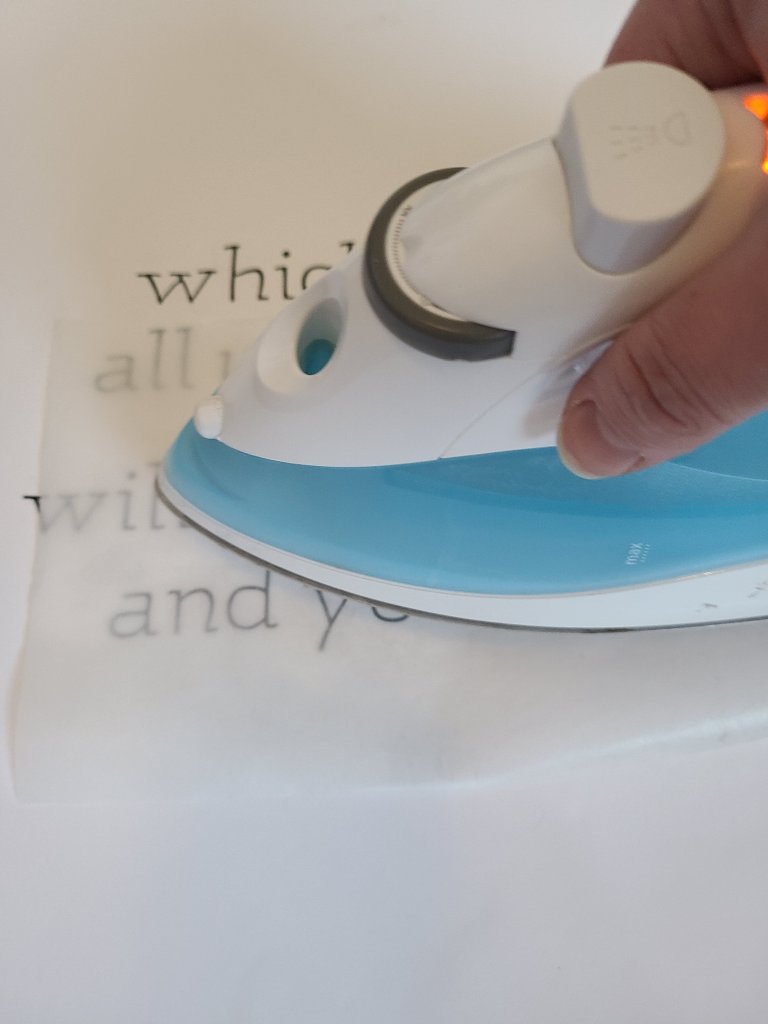
Iron-on HTV
Next lay the “and the Peace of God” and “Christ Jesus” design just below the top embellishment and just above the bottom one. Lay the designs, while still attached to the transfer paper, at the top and bottom. Then align the middle of the designs, the parts of the scripture, with the middle of the foam board.

The only black I had was HTV, so I had to go with it. It’s not ideal, but it worked out ok. Place wax paper over the designs, and press the iron down firmly and continue to move it back and forth over it for about 30 seconds.
Add on the regular indoor vinyl
Finally it’s time to add the last part of the scripture. I used a turquoise foil vinyl for the beginning and the end of the scripture. It’s so pretty, and I love the way it bounces light around though you can’t really see it well in the pictures. Attach the last part of the design to transfer paper. Make sure you get it in the right place, then use your credit card again to smooth and transfer it on to the foam board. If you lift the transfer paper and the words are on the sign, carefully take it off. Continue to go over the words if it isn’t completely on the sign.


Your large farmhouse sign is complete! I just love mine, and I now see myself making one for every room and for seasons and holidays! When I started out making this project, it was going to be just for spring. However when I read the scripture it seemed to fit my family and I right now. I think it will be up in between seasons and holidays.

I really hope you will add one or large farmhouse signs to your house. When I make one for spring and Easter, I will show it you. Post pictures of yours and your thoughts in comments section below. Enter your email to ensure you never miss a new post.
If you like this DIY tutorial, you may like this gold hoop wreath that can be customized for every season, this Dollar Tree re-fab frame. I think you will absolutely love this tiered tray made for $3! In the post I showed you how to style it or spring.
Please like this post and share it on you social media accounts. You can choose your favorite social media platform from the buttons along the side or at the end of the post, or better yet, follows us and share across several accounts!
Devotional
For this week’s Designing Devotion we will be discussing the scripture that we put on our large farmhouse sign, Philippians 4:7 ESV which says, “And the peace of God which surpasses all understanding will guard you hearts and minds in Christ Jesus.”

This is a wonderful promise that God gave to us through the apostle Paul. I don’t know how people who do not know Jesus as their Savior get through life; especially hard times in life. You’d have to rely on yourself. I can’t imagine the constant worrying, fretting, horrible thoughts on loop inside your head. When you know Jesus as your Savior, you have the promise that you can cast all your anxieties on Him because He cares for you (1 Peter 5:7). He wants to take them so that He can give you His perfect peace.
How do those don’t know Jesus deal with the loss of a loved one? I cannot fathom it. I still break down and cry over my Poppa, a God-fearing, Jesus loving, amazing grandfather. It’s been nine years, and still my heart misses him. I have something that non-Christians don’t. I know he’s waiting for me in heaven, hanging out with Jesus and other friends and family. Paul tells us that no man has seen or heard, and that no heart of man could even imagine what God has waiting for those who love them. Amazing, right?!
But, as it is written, “What no eye has seen, nor ear heard, nor the heart of man imagined, what God has prepared for those who love him.
1 Corinthians 2:9
Finally Jesus lets us know that we don’t ever have to worry about our lives here in this world because He came to overcome the world. Put Him in control of every part of your life. I am working on that too, because I know that when He has His will in my life like in heaven, I couldn’t possibly be any happier; joy will overflow. In John 14:27 ESV Jesus tells us, “Peace I leave with you; my peace I give you. Not as the world gives do I give to you. Let not your hearts be troubled, neither let them be afraid.”
Thank you Jesus for leaving Your peace with me. I am so proud to call Jesus my Savior, a better gift that anyone could ever hope for. Then He wants to pour out blessings on His children; wisdom, joy, love, hope, and peace. Those are only just a few of the gifts He pours out. I can make it through this life despite knowing I probably won’t be here to watch my son graduate, I will live in constant pain, so much stress with a husband working in law enforcement, I could go on and on. The reason I can go on is that He pours His peace that surpasses all understanding on me minute by minute. Call on Him when you are in despair or stressed or ill, He will pour His peace out on you!
Thank you for reading, check out our other tutorials and our other Designing Devotion posts. Share this with family and friends that can benefit from it. The Lord cares, and loves you! Until next time, have a great week.


2 thoughts on “Large Farmhouse Sign Tutorial”