
Halloween is less than two weeks away! I cannot believe how fast this year is flying by. I’ve finally gotten myself in gear to decorate my porch for the trick or treaters. This is my first year staying in to hand out candy in our new home. I plan to set up a table and a backdrop for parents to take pictures of their kiddos in front of, so our entryway needed a bit of spookifying before the big day. Today I’m going to share how to make your own Halloween porch sign and sharing free designs that you can use on it! By the way, you can make a porch sign even if you don’t have a Cricut!
It’s time for this month’s Creative Craft Hop hosted by Sara over at Birdz of a Feather. If you’re coming over from Donna at Modern on Monticello, I’m so glad you’re here! Wasn’t her wood bead garland cute? Stick around after the post to check out all of the great posts brought to you by some very talented bloggers!

Supplies for a Halloween porch sign:
- 6′ piece of wood or a wood fence picket
- black spray paint or latex paint
- white & silver vinyl or HTV or
- printer, paper, & a pencil with white paint (or another color of your choice)
- 2.5 wired ribbon
- scissors
- hot glue gun & glue
- pipe cleaner or floral wire

Paint the Wood
Check the wood for any marks that can’t be covered with paint or uneven surfaces. Sand it down if need be. I used the back of my everyday porch sign, so I can just turn it back around after the holidays. I will be making one for Thanksgiving and Christmas over the next couple of weeks, so be sure to follow me via social media and email so that you can get the free designs for those.

For personal use only. All of my free printables & cut files are copyrighted material. Feel free to download these free designs and print them or use on your Cricut projects for your own use at home. They are not for commercial use, not to be placed on items for sale. That helps me keep these printables, SVGs, and PNGs coming to you for free! Another note: you will not my logo overlay on your downloaded design. It is there to keep people from downloading the images straight from Google, or others from stealing them to use on their site. Thanks for understanding! Feel free to share this post for your friends and family to make their own projects with this design!
Designs for a Halloween Porch Sign
I made myself a Halloween porch sign design, so of course I’m sharing it with you as well. If you’re using a cutting machine, I’m sure you already know how to use it. I created the free printables & PNGs in separate pieces so that you can resize them in Design Space. PNGs work exactly like SVGs. Remember to duplicate the “l” and the “e.”
If you don’t have a cutting machine, you can still create a porch sign. This carbon copy tutorial will walk you through how to create a sign without one. Simply download and print the designs on regular paper. Cover the back of each letter with pencil then place them on the sign and trace over them. The pencil lead will be on the sign when you remove the paper. Paint the letters, and voila! A Halloween porch sign without a Cricut!
Remember my logo will not be on the downloaded images.
You can also swap the “a” in Halloween with this witch hat.
I also cut a jack-o-lantern for the bottom of my Halloween porch sign. It matches the ribbon that I used for the bow at the top.
Apply the Vinyl or Paint the Letters
Once you’ve cut the designs or used the carbon copy method to transfer the letters to the Halloween sign, place the vinyl on your sign or paint inside the pencil lines.
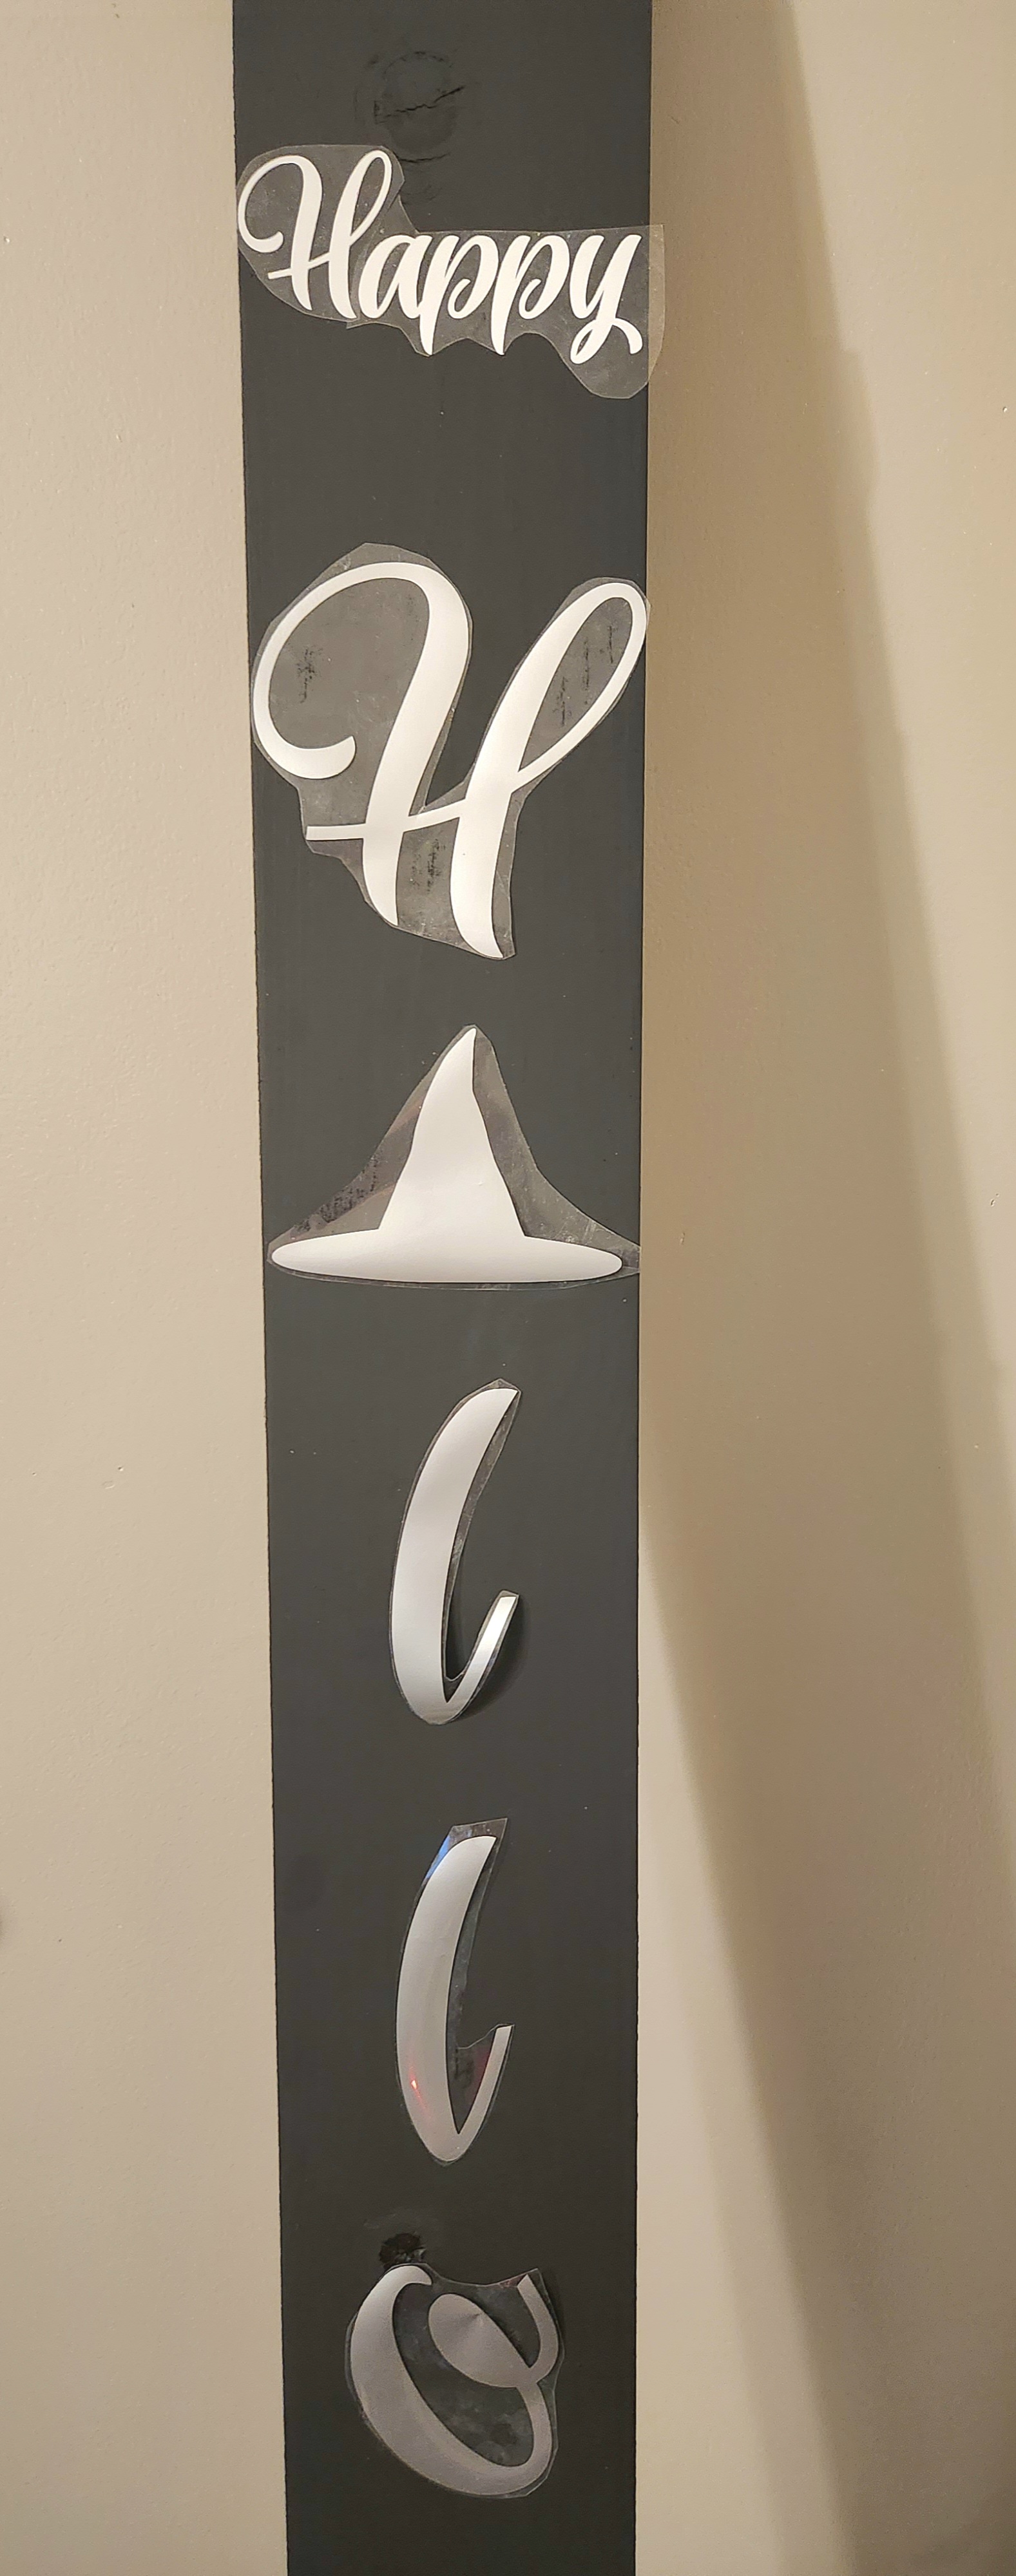
I used HTV so I ironed my letters 1.5″ apart, starting about 10″ from the top. Each of my letters are between 4″ and 5″ tall. The “happy” was wider, so I couldn’t make it very tall. It’s 5.25″ wide.

When all of my letters were securely adhered to the wood, I removed the backing, and my Halloween porch sign was complete! Easy peasy, right? Remember this is a blog hop, so keep reading to check out the other projects on this month’s tour!
Place your Halloween porch sign next to your front door & get ready to welcome all those trick or treaters!

Creative Craft Hop
Now it’s time for our Creative Craft Hop! The next stop on the hop is Ann from Apple Street Cottage. She will be sharing a DIY haunted house which you’re sure to love! She is so talented. I hope that you’ll stick around and check out all of the DIYs shared by these lovely ladies.
Donna – Modern on Monticello | Wood Bead Garland with Pom Pom Pumpkins
Ann – The Apple Street Cottage | The Haunted House
Terrie – Decorate & More with Tip | How to Make an Easy Christmas Swag
Carol – Blue Sky at Home | How to Make Wood Block Pumpkins
Jenna – The Painted Apron | Santa’s Christmas Tree
Gail – Purple Hues & Me | Minimalist Evafoam Oak Leaf Wreath
Cecilia – The Thrift Store Addiction | How to Craft Velvet Mushrooms (That Smell Like Christmas!)
Tammy – Patina & Paint | Santa Mugs and Bottle Brush Trees
Sara – Birdz of a Feather | Hamsa Wall Decor
Don’t go yet! There’s more to see!
There’s plenty more to see here on the blog! If you’re looking for something specific, use the search box in the sidebar to look it up. If not, you might enjoy these ideas. Don’t have time to read them all now? That’s ok, just click over to the posts using the pictures and pin them for later. You can also add Life as a LEO Wife to your favorites and check back for new ideas and free printables and SVGs every Wednesday, as well as link parties with tons of shared ideas on Sundays!


This is such a cute design Niki with that witch hat ‘A’. I know what you mean about this year flying by; I still haven’t gotten into gear lol. How exciting that this is your first Halloween in your new home; I’d love to see the backdrop when it’s done!
Thank you Sara! I’ll definitely post about it!
Your fall outdoor Halloween sign turned out so cute, Niki! It looks quite lovely on your porch! Thanks for the free printables and easy instructions, too! Happy Halloween!
Thank you!
Very cute Niki! I love how you used a witch hat for the A! The orange pumpkin and cute matching ribbon really make the sign pop! The trick or treaters will love it!
Thank you!
Niki this is so CUTE! I love Halloween – I know not all do – but it’s so much fun. And this sign is bringing the Fun for sure. Thanks for sharing. I’m pinning and hopefully finding time to make one!
Thank you! I love Halloween too. I’m a Christian so I understand why some people don’t like it. It doesn’t convict my spirit the way it may theirs. Thanks for the pin!!
Cute sign, Niki. How sweet of you to set up an area on your porch for photos! Lucky Trick or Treaters!
Thank you! I can’t wait to get the backdrop set up!
What a cute porch sign! Thanks for sharing! Blessings, Cecilia @My Thrift Store Addiction
Thank you!
This is super cute Niki. It would be perfect to place on the porch or on the hearth leaning on the mantel. Thanks for the printable.
Thank you! It’s on my porch now. I finished it so late that I had to get the pictures inside. My porch light wasn’t enough light since it is black.
Great project Niki. Thanks for sharing the design files as well. This will be a great project to get ready for next year. Pinned.
Thank you! Certainly appreciate the pin!!