I love this Valentine’s Tree, so I thought I’d give you a tutorial on it. It’s easy to do and looks great in your living room!
This post is our weekly Designing Devotion post. I love doing these posts! Following the tutorial for the Valentine’s tree, we will be discussing Queen Esther and God’s omnipotence and Will.
To go straight to the devotion click here.
Designing
For your Valentine’s tree you’ll need:
You don’t need much to make this at all. If you have some colored paper at home, you can make this for pennies.
For you information:
If you purchase any item from the links below I get a small commission at no cost to you. I thank you heartily for you patronage.
- cardstock paper in your color choices- two to three colors
- large vase- This is a white 12″ vase similar to mine.
- sticks- Yep, just sticks from your yard.
- hot glue gun and glue- This Chandler’s hot glue gun looks amazing! It comes with 10 glue sticks, and a base. My glue gun is always falling over and burning a hole in my table/desk, and leaking even when it’s standing up. I have little balls of glue to pick off and throw away every day!
- scissors- These Fiskars are precision detail scissors that will help you cut the hearts. Check out my other posts for links to get the scissors I use if you’re ready to put more money into them if you use them everyday like I do.
- pen- I love Uniball Singo micro 207 pens!

Gather sticks
Time for a nice walk in the cool air. Easy to say for me because I live in the deep south. We freak if it gets below 32; no I’m kidding, it’s when it’ll be under 45 all day.
You need to look for sticks that aren’t too thick. If they’re too long, you can always break a piece off. Look for the one’s that aren’t too thin so they won’t bend over when you glue the hearts on. The picture above shows my sticks. Actually a few look thicker than they really are. The larger your vase, the thicker the sticks can be.
Assemble your Valentine’s tree sticks
If you have a vase with a wide opening, placing some floral foam (you can get them for $1 for 2 at Dollar Tree) in the bottom will allow you to make sure your sticks stay where you want them. My opening wasn’t large enough so I had to resort to tying mine together with a pipe cleaner when I had them where I wanted them.
Begin putting in your sticks. Make sure to even them out so there’s the same amount leaning in every direction. If you have difficulty, put the wider sticks in first. Then when you have those in, it will hold the others in place between them. I swear I put them in and out about ten times! Finally I realized it shouldn’t be perfect since trees aren’t. Once they’re in the way you like, put a pipe cleaner around them to hold them in place. If you were able to get floral foam in the vase, you don’t have to worry about this step.
Cut hearts
I used teal, deep pink, and a very light blush pink cardstock for my hearts. You can use the same colors, or come up with your own color combo. You can even use one or two colors alone. I used the colors I did because that is the Valentine’s Day colors in my living room. They are the same colors I used in my Valentine’s sign upcycle, which now resides in the same room.

Cut your paper into heart shapes. You can do this freehand, draw the hearts then cut, use a die-cutting machine, or buy felt or foam hearts from Dollar Tree. I think I put too many on mine, so I’m considering removing some. The number of sticks you have, will determine how many you need. I cut 6 large, 8 medium, and 10 small. I ended up with 5 leftover.

Optional- Add words and Scriptures
I added some words and a few scriptures on my hearts. This is optional. I added “Niki & Robert” and “Jory, Jax, & Saylor” to two of my hearts.Then I added scriptures on three of the hearts, keeping with our Designing Devotion for this week. All verses come from the ESV.
The first scripture is Psalm 46:10 where God is speaking, saying, “Be still, and know that I am God.” That is the first part. I didn’t have enough room on the heart for all of it, and the first part is what we will be focusing on today. Following that is, “‘I will be exalted among the nations, I will be exalted on the earth.”
Next scripture up is Esther 4:14, “For if you keep silent at this time, relief and deliverance will rise up for the Jews from another place, but you and your father’s will perish. And who knows whether you have not come to the kingdom for such a time as this?” For the heart I wrote “You are here for such a time as this.”
On the last heart I put Proverbs 3:5-6, “Trust in the Lord with all your heart, and do not lean on your own understanding. In all your ways acknowledge Him, and He will make straight your paths.”

Finish your Valentine’s Tree
It’s time to glue you hearts on the sticks. Put a small strip of hot glue on the back of a heart and put it on one of the sticks. Start by placing a few at the ends of the sticks, and when you have a nice spattering of those done, you can start filling the other areas.


Now, alternating colors, glue the hearts in the middle, bottom, and tops of the sticks. When you have filled your Valentine’s tree as much as you’d like, move on to the last step.
If you want to place a bow on the top of your vase, you need 2.5″ wire ribbon in a complimentary color to your hearts. I used a beautiful shimmer blush wire ribbon from Michael’s. Make a two loop bow and tie it off in the middle with a pipe cleaner. Then cut two pieces of ribbon, 7″ long. Fold them in half with one top of the other, and cut a half V. Glue them to the back of the bow on top of the pipe cleaner, making sure the V is at the bottom. Cut a piece of ribbon about 2″ long and fold it in thirds. Wrap it around the middle of the bow, hiding the pipe cleaner and the glue. Glue it in place.

Completed Valentine’s Tree
Find a prominent spot and display the work of your hands. Everyone needs to see it!

Devotion
I wanted to stay on the love theme this week since this is a Valentine’s decoration. However, God’s plans are higher than my plans. These verses and words have followed me through out this week, so I guess He has a plan for this devotion!
Our nation is in turmoil, and most Americans are hurt, angry, and afraid of the direction we are going. What God did over the centuries with Israel, is what He seems to be doing to us now. When we no longer follow Him and lose the healthy fear of God, He eventually has no choice but to remove the hedge of protection from around us. There is so much evil celebrated in this country, and I know it must be breaking His heart.
God said in Psalm 46:10 ESV, “Be still, and know that I am God. I will be exalted in all the earth!” All ancient Israel needed to do was be still. Through David God created a thriving nation. They followed the Lord and they were able to fill their coffers, had farm animals and crops in abundance to feed the people. Many strong, fortified cities were built up so they could live in peace and safety. They didn’t even need massive armies with horses and chariots, which at the time was a sign of a mighty nation. They had GOD.
However, when Israel began to forget about the Father and started not following His commandments and chased after false gods, like Molech, the Baels, or things like money, He had no choice but let them go. They were running as hard and fast as they could away from Him. He took His hedge of protection from around Israel, allowing the armies He had held back get to them. Things like famines and plagues befell the nation. Evil kings came to power because God was not what they wanted anymore. They silenced and killed those who opposed them in any way. They worried not about their subjects, but about riches, sexual perversion, and making themselves feel powerful and important. It took the people decades to realize their mistakes and turn back to God who then took them back under His wing.
It seems to be the predicament the United States is in right now. We’re dealing with a plague. We are falling to the evil that seems to be all encompassing. Fear is palpable in this nation. Everyone can see that we’ve handed the country over to pure evil. Many have flipped the script, and good is called evil and evil is called good. How long will it take us, and what is going to happen first before we turn back to God. Right now we are not fighting flesh and blood. We are fighting the evil in this realm.
God has a plan. There is an enemy, and we have a choice.
Queen Esther written by Sight and Sound
Be still Christians. Listen for His still, small voice. I know it looks grim, but He will protect His children. Maybe not the way we’d like, because we are going to have to pass through the fire it seems. Many may fall while we are waiting, but He will still fight for those of us who haven’t bowed the knee. Just like He did with His remnant in Israel. Concentrate on His voice, meditate on His Word and He will let us know what to do.
This is the time to give all the hurt and anxiety over to Him. Follow Proverbs 3:5-6, “Trust God in all, don’t lean on your own understanding. Acknowledge Him in all things and He will direct your path.” Ask God to give you the discernment to recognize and follow His will in every decision, every step of your life.
Just like Queen Esther when she saved the Jews from slaughter, we are here, at this time for a reason. Mordecai asked her if God put her on the throne at that time, to save the Jews. Did He place you here for such a time as this? A line from the play Queen Esther, produced by Sight and Sound, says it perfectly. “God has a plan, there is an enemy, and we have a choice.” God’s Will will ultimately be done. Maybe we won’t have to wait as long as Israel did if we listen for His voice and play our part in what He has placed us here for. Trust God in all you do, don’t rely on your understanding. Be still, listen, and know He has a plan!
If you enjoyed this post, you will probably like the second Design and Devotion which is on the link I shared above with our DIY upcycle sign. The first Design and Devotion post comes with a tutorial for a Valentine’s DIY globe.
Thank you for stopping by today. Stay and check out our posts. I think you will like them! Please leave a comment below. When you make your Valentine’s tree, post a picture in the comments and share them on our social media pages! You can find the links to my accounts below.
Have a great week, and God bless!

Happiness is Homemade #547
Join us for Happiness is Homemade Link Party where you can share & be inspired by blog posts from bloggers around the world. You’ll find recipes, DIYs, crafts, home decor, fashion, gardening, & so much more!
Happiness is Homemade #546
Join us for Happiness is Homemade Link Party where you can share & be inspired by blog posts from bloggers around the world. You’ll find recipes, DIYs, crafts, home decor, fashion, gardening, & so much more!

8Happiness is Homemade #545
Join us for Happiness is Homemade Link Party where you can share & be inspired by blog posts from bloggers around the world. You’ll find recipes, DIYs, crafts, home decor, fashion, gardening, & so much more!

Happiness is Homemade #540
Join us for Happiness is Homemade Link Party where you can share & be inspired by blog posts from bloggers around the world. You’ll find recipes, DIYs, crafts, home decor, fashion, gardening, & so much more!
Happiness is Homemade #535
Join us for Happiness is Homemade Link Party where you can share & be inspired by blog posts from bloggers around the world. You’ll find recipes, DIYs, crafts, home decor, fashion, gardening, & so much more!

Happiness is Homemade #534
Join us for Happiness is Homemade Link Party where you can share & be inspired by blog posts from bloggers around the world. You’ll find recipes, DIYs, crafts, home decor, fashion, gardening, & so much more!
Happiness is Homemade #533
Join us for Happiness is Homemade Link Party where you can share & be inspired by blog posts from bloggers around the world. You’ll find recipes, DIYs, crafts, home decor, fashion, gardening, & so much more!

Happiness is Homemade #532
Join us for Happiness is Homemade Link Party where you can share & be inspired by blog posts from bloggers around the world. You’ll find recipes, DIYs, crafts, home decor, fashion, gardening, & so much more!

Floral Door Basket Pin Recreation: 2 Styles!
Let me show you how to DIY a beautiful floral basket to hang on your door or wall for less than $20 in less than 10 minutes!
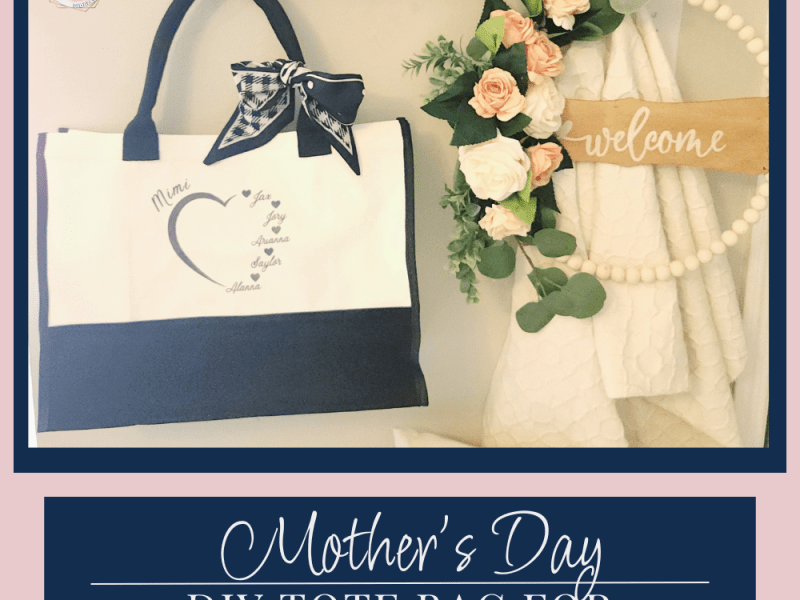
DIY Mother’s Day Tote Bag: Free Designs for Use with or without Cutting Machines
If you’re looking for a great DIY Mother’s Day gift, I have just the idea to share with you today- an adorable, personalized tote bag, perfect for your mom to tote around her items or extras for her grandbabies! I created several free designs that you can use for your mom or grandmother, no matter…
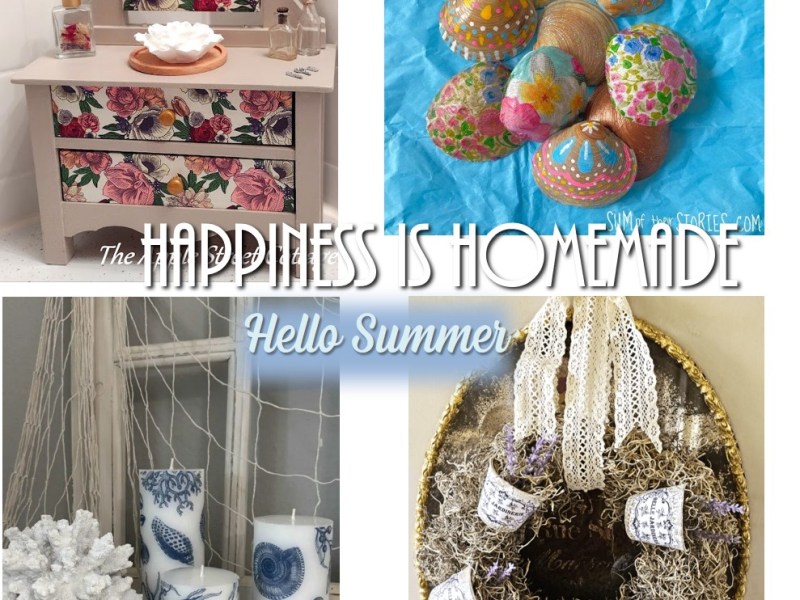
Happiness is Homemade #529
Join us for Happiness is Homemade Link Party where you can share & be inspired by blog posts from bloggers around the world. You’ll find recipes, DIYs, crafts, home decor, fashion, gardening, & so much more!
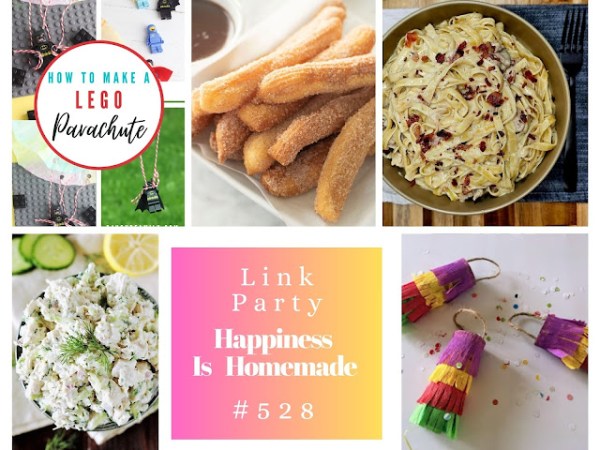
Happiness is Homemade #528
Join us for Happiness is Homemade Link Party where you can share & be inspired by blog posts from bloggers around the world. You’ll find recipes, DIYs, crafts, home decor, fashion, gardening, & so much more!

2 thoughts on “Valentine’s Tree Tutorial”