Today I’ve got a super easy summer decor tutorial to share with you! These DIY rope coasters are super easy to make, useful, and oh-so-cheap. What more could you ask for? Let’s get into it.
DIY rope coaster supplies:
- sisal rope
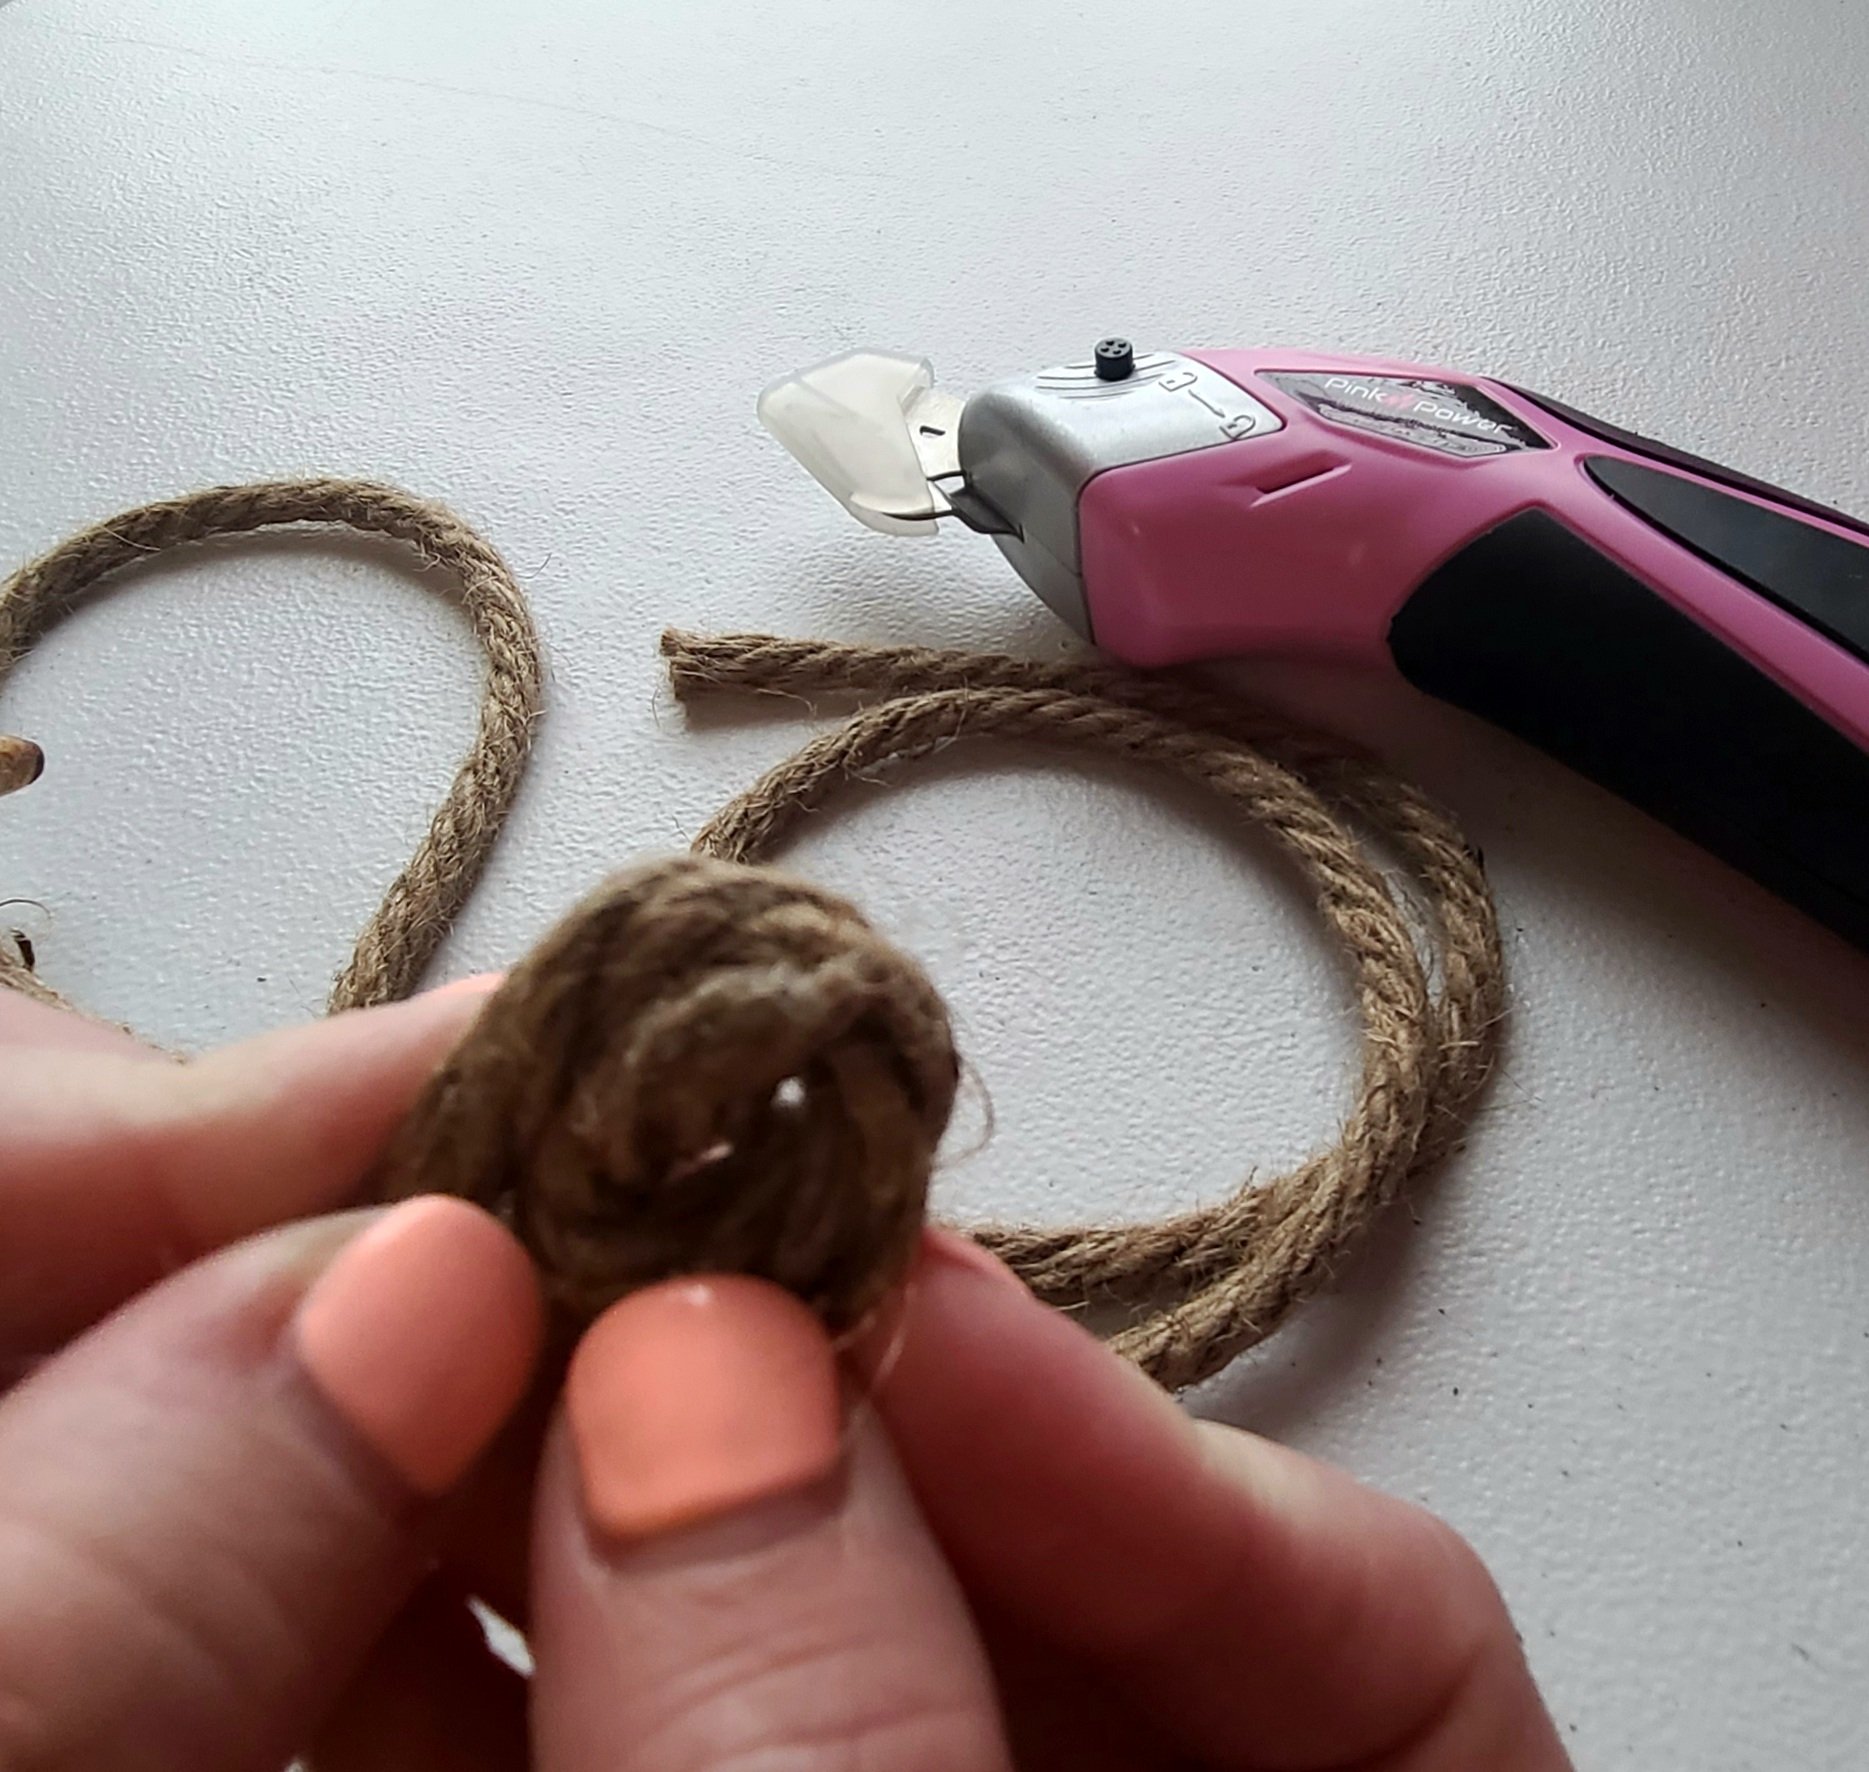
- hot glue scissors

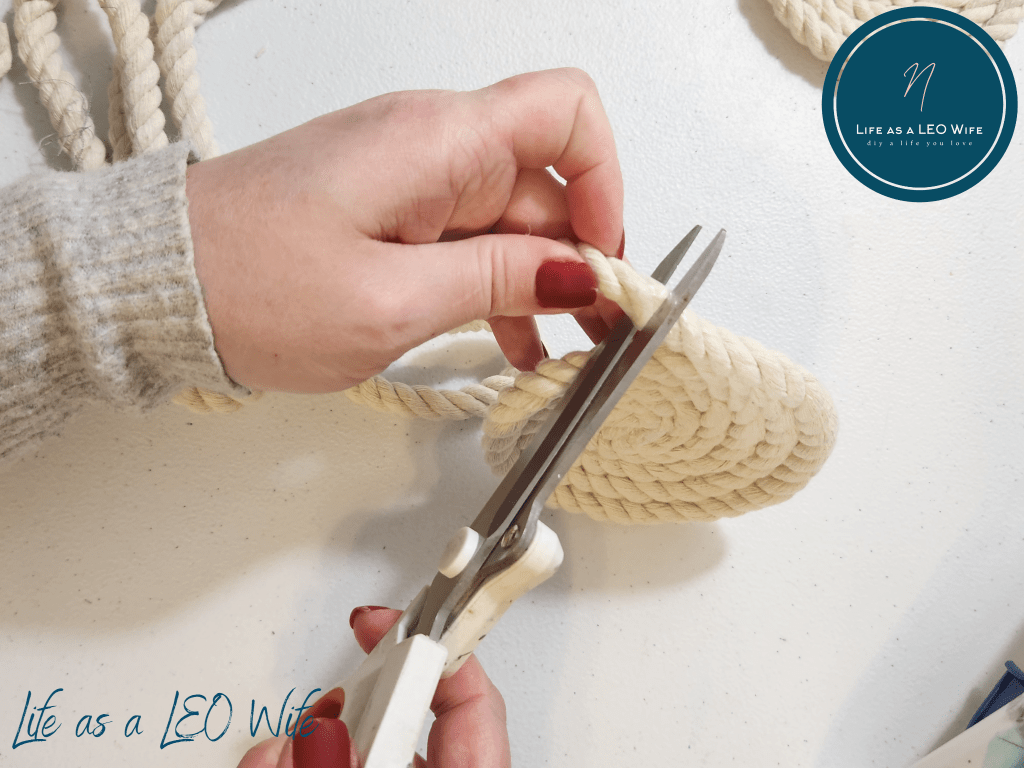
Glue the rope into a flat circle.
Begin by twisting the start of the rope back on itself, creating a c that becomes an O, adding hot glue as you go.

Continue rolling the rope around itself. Add lines of hot glue on the side of the rope you’re rolling the rope on to.


I used a coke can and a glass to judge how big I wanted the rope coaster to be. I stopped adding more rope when the coaster was 4″ wide. Cut the rope, and add some hot glue to the end you cut. With the glue on the rope twist it a bit to let the glue hold the rope together where it’s cut, so that it doesn’t fray. Now add glue along the rope that’s left, all the way to the end. Hold it together for just a second to make sure the glue is dried and the coaster remains together.


Continue this until you have the amount of rope coasters you want. I stopped with four today, but I might add to the collection later.

That’s all for today Wifers! I hope you add some rope coasters to your summer beach decor this year.
Remember to pin the image below or share this post with the buttons on the left side of the page so you can find it when you’re ready to start your project! Also, follow me on Pinterest for new ideas added weekly! Be sure that you never miss a great tutorial for decor like wreaths, signs and other home decor, free printables, crafts, and other fun posts! Enter your email address below to be notified of new posts! Use the buttons below to follow me on social media for other great content.

Check out my summer Pinterest board for other beachy and nautical home decor ideas.
Follow me on social media using the buttons below. I will see you all tomorrow!


2 thoughts on “DIY Summer Rope Coasters”