Summer will be here before we know it so today I made a flower pot nautical candleholder. This year I plan on having a relatively neutral nautical theme for my home. Last year I did brighter colors, so I wanted to change it up. This project is so, so easy. You have to make one or ten for your house!
In keeping with the blogger A to Z Challenge, today’s letter is F, thus the “flower” pot.
To make your own you need (all from Dollar Tree):
- terracotta flower pot (choose any size you’d like)
- glass candleholder tray
- shells
- acrylic paint
- hot glue gun and glue
- twine (optional)
Step 1- paint the pot and candleholder:
Begin by painting the flower pot and the bottom side of the glass candleholder. I used Apple Barrel in English navy. By painting the bottom of the glass, you will still have the shiny surface of glass. It took me two coats on the pot and three on the candleholder. Make sure you allow the glass to completely dry before putting on another coat.

Paint the bottom of the candleholder.


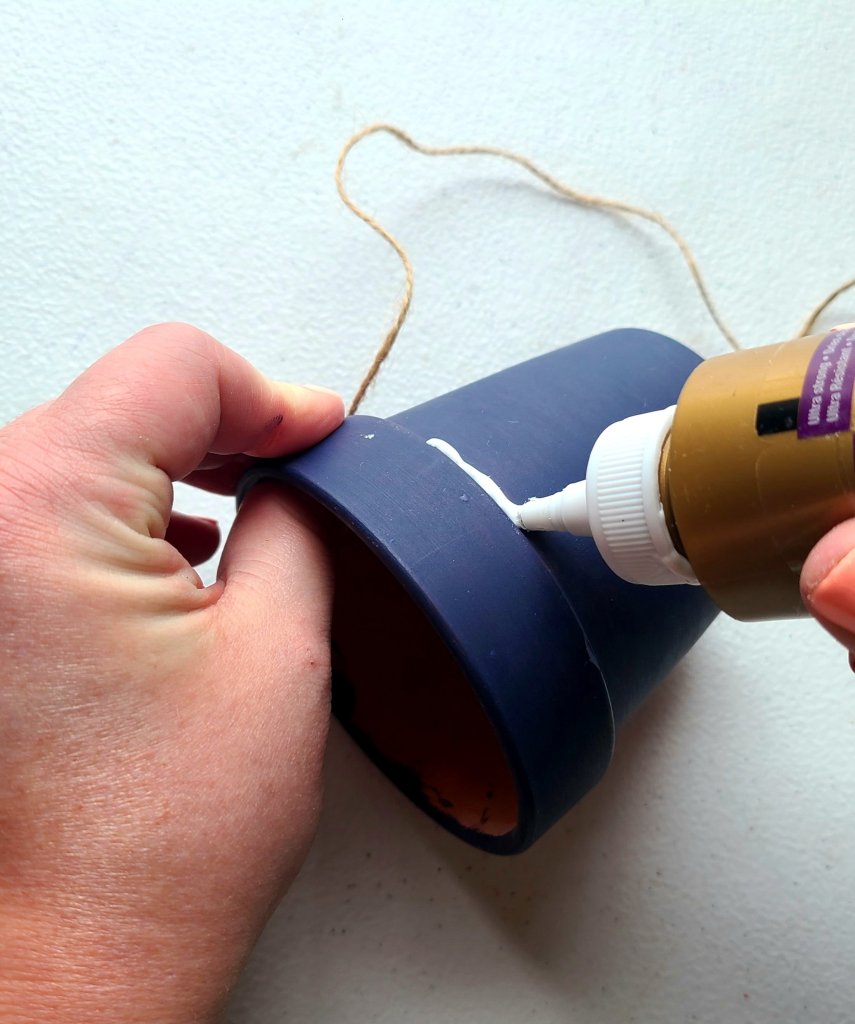
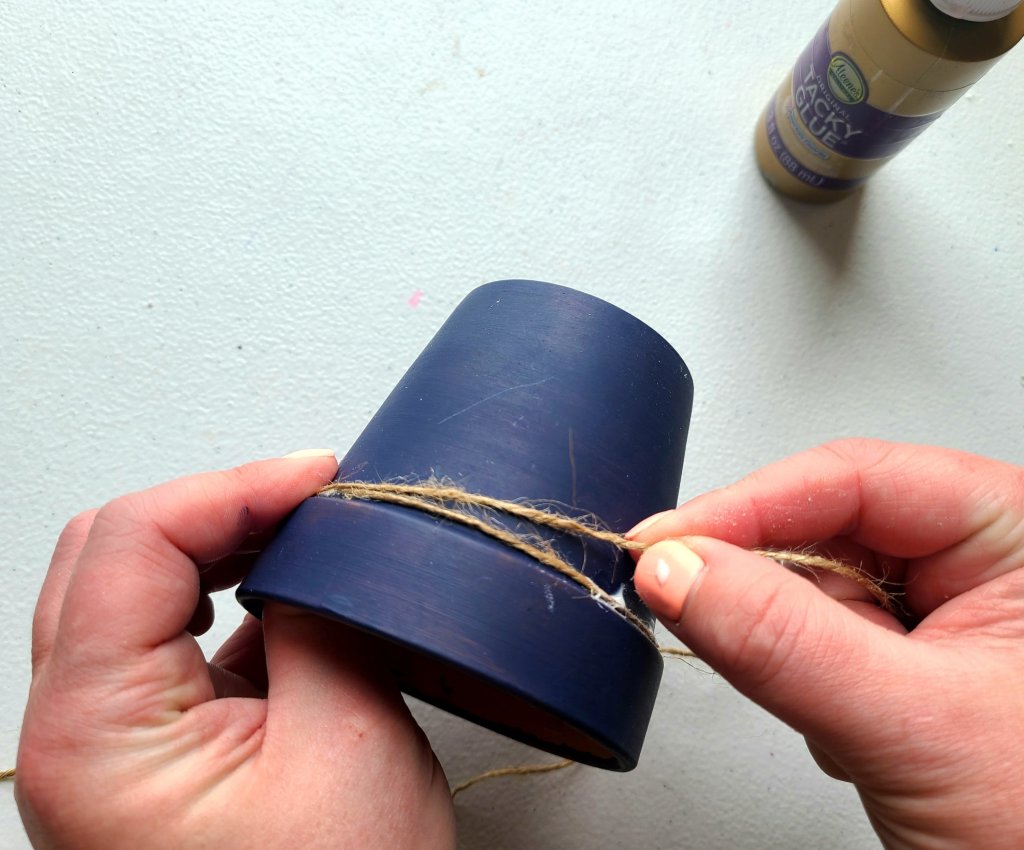
Step 2- Add twine to your nautical candleholder.
This part is optional, but it makes the piece more nautical and cute. You want to glue your twine just above (with the pot upside down) the lip of the pot. To make beginning of the twine stay in place, put a dot of hot glue on the pot and press the twine onto it. Use craft glue or Mod Podge and squeeze a small line around the pot while pressing the twine on it. Continue this process until you are satisfied with how much twine you have.


Step 3- Add seashells to the nautical candleholder.
Now it’s time to add some seashells to the flower pot. You can choose to have one all the way up to all the way around it. I glued a regular looking seashell, followed by two small conch shells, one on each side of the regular one. I used hot glue for this part.


Step 4- Glue the pieces of your nautical candleholder together.
Finally, place a ring of glue around the top of the pot (what is now the top, originally the bottom). Press the middle of the glass candleholder to the pot. Press down with some pressure while the glue dries.

Your nautical candleholder is ready to be displayed! All I had was a very large candle, so I will have to show you candleholder with an array of seashells. It still looks great. I will update the pictures when I buy a new candle. Actually I think a reusable LED candle. They usually have sets of various sizes at crafts stores or Walmart.


I hope you like this tutorial and my bloggers project letter F. I will be back tomorrow with a post for the letter G.

Stick around and check out my other posts, including yesterdays letter E. If you are a fellow blogger, join our link parties Happiness is Homemade and You’re the Star Blog Hop.
If you don’t want to miss a post, enter your email address in the box at the bottom or along the side of the screen. You will get an email when I put a new post up. Follow me on Pinterest to get all kind of DIY projects. Also use the buttons below to follow me on your choice of social media!


