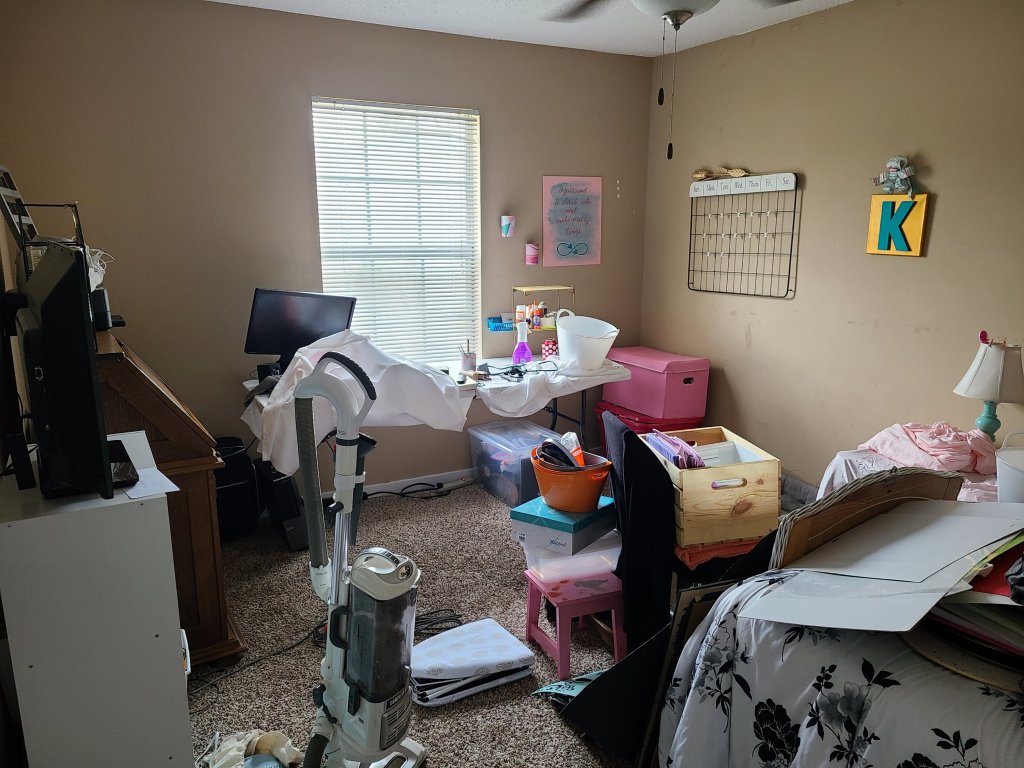
Over the past few days I have begun to organize my craft room/office. Ya’ll, this is a huge job! I have so much stuff and so little room. Below is a picture mid-organizing and shifting things around.
This will just be a teaser for all of my other organizing tips and ideas. I have such a cute organizing project I’m working on, and you are going to love it. Check back often for the tutorial. Better yet, enter your email to get an alert whenever new posts are uploaded. You will never receive anything else from us.
Help others and yourself by cleaning out while you organize.
I like to start by putting anything that is on or in something I will be moving, in the center of the room. Doing this will allow you to clear things out and work freely in the space.
Anytime you are deep cleaning or organizing you will come across things you don’t need anymore. Get several bags or boxes to organize the stuff you go through. Use one for trash, one for donating, one for selling, and another for things you’re keeping.
As you sort, throw away any trash and things that are broken. When you come across something you don’t need or use anymore, put it in the donate box. It’s tax time again, so donating will help you as well as others. Another great option is to sell what you don’t need. Take pictures and put them for sale on social media. Put them in a sell box. Last Christmas I made an extra $400 selling things that we didn’t want or use anymore. My husband is a detective with a cop salary so that really helped.
Use another box and put things in it that don’t go in that room. Like if you come across a stray superhero, put in that box. If you’re a LEO wife, you may come across a few bullets, put them in the box. Once the box is full, put it in the hall or a set place, and when you have finished your organizing you can put them away in their designated place.
Move the Furniture
When you begin organizing your space decide and move your furniture to the places where they will best accomplish your goals. In my craft room, I put my table along the wall with the only window. The table serves as my desk and where I do my DIYs. The sunlight provides the light needed to work on those projects.
Having done that, you can now get to the organizing. You will need bins and containers. What kind depends on what you’re organizing. From here on we will work as if you’re organizing your craft room.
Organizing Supplies
Here are a few things you will need when organizing a craft room:
- large storage bins- This is a set of two 64 quart clear storage bins.
- small storage bins- These bins are clear to show what you have in the bins, and they’re stackable.
- buckets and desktop bins- Dollar Tree has a wide array. I have a ton of them in my craft room.
- decorative storage cubes- These come in a 4-pack, have lids, and come in many colors.
- rolling cart- Three-tier, rolling cart on wheels to move your tools and supplies where you’re working.
- Cubby storage shelf- This 3 shelf unit is budget-friendly and comes in many colors.
Find storage places wherever you can.
I began with storing my blanks, which are items that I use for different projects. Picture frames, tumblers, shirts, signs, canvases, etc. I put them in a large bin, and when it was full, I slid it under my 6-foot table. I can fit two to three large bins, and five to six medium to small bins under it. Under your desks and other furniture are the perfect places storage places that won’t take up extra places in the room. The picture below is what I had under my table before I went through these bins to better organize things.

In another large bin, I put all of my silk and faux flowers and greenery. I labeled a medium bin with an index card for projects that I am working on, but not yet completed. Then I have a large bin full of Easter and spring items. That should be in our storage room outside, but, hey, it’s almost that time so it’s under the table with the other bins until after the season.


I have some other items I’ve stored under my long table. Having some things under there frees up other spaces for things I need to get to more easily and more often. I have a small ironing board for HTV projects that fits under it nicely. In a shoe box I have all of the electrical cords, wires, and chargers in the craft room. It helps to know where they are, all in one place. There is also a space for bins that I haven’t filled yet. My husband is very good at keeping ahead of my collecting and buys bins ahead of time because he knows I’ll need them. What a great husband!
I have moved things in their correct spaces and labeled everything that in each box. That is an important part of organizing. Use an index card, cardstock paper, or a piece of scrap paper and write down all of the things in the box. This will keep you from dumping bin after bin, searching for something you need right now. In the picture below I used generic descriptions because I know what my home decor is in the box. Those items will go back up after Valentine’s Day. In the pink box is all of my faux flowers, and it’s the only one of those type boxes I have. My bins with smaller items are completely detailed and taped on the containers. You will see that section of the room soon.

How to make this look a lot better.
Looking at the space under the desk from the door, I knew it’s organized, but I hated it. I know that organizing doesn’t always have to look beautiful, but I really didn’t like it looking “messy.” I wracked my brain trying to decide what to do. I thought about trying to shove it in other closets, trying to fit it in smaller boxes, or maybe putting it in the storage room outside. I had no room in any of our closets (I just “spring organized” our master bedroom closet), couldn’t stand re-organizing it again, and I need the things in the boxes often so putting them outside wasn’t on the table.
Use fabric
Then I thought of a solution. Covering it somehow. A few years ago I bought white fabric for some occasion, and I was going to use it as a white tablecloth. I don’t sew and I don’t know what different types of fabrics are needed for. The fabric I had is a yard of white linen. I got this fabric from Hobby Lobby for $4 give or take. So for you this is an easy and cheap way to make your room look better.
It was so wrinkled, and I ironed for about an hour to get most of the wrinkles out. Unfortunately, it re-wrinkled a little. Again I cannot sew, so I had to think of a way to put it up and make the edges not fringe-y. I think the term might be hem?
Prep the fabric
To cover your storage space with fabric, you first need to iron it. Once you’ve ironed the entire yard, use fabric glue to hem it. Fold the edges of fabric about a half inch and squeeze a strip along the edge to secure it. This will make it look more finished.
If you are going to use things that are stored under the table, you will need a way to get them in and out. Measure your table and fabric and find where the middle of your table will meet the middle of the fabric. Add about four inches to one side and cut the fabric from top to bottom at that spot. The choice of what side you give the extra inches to will be yours. You will want to give it to the side that will help you to get things in and out of the bins most easily. Hem along that cut with the fabric glue.
Hang the fabric
I didn’t have any velcro to hang the fabric, but I wanted to go ahead and hang it while my determination to finish the project was still set to the max. If you have any, you can place it along the top of the fabric that will be on the edge of the table and on the table itself. Then you will be able to take it down to wash it, which is a must when you’re hanging fabric on a craft table.
Without velcro on hand, I decided to use hot glue. It will hold until I want to wash. In that case, I can carefully pull it off starting at one end, then pulling to the other side. I made sure it would work before I glued it on completely. When you hang it, allow the extra inches you cut the middle of the fabric, let those inches hang over the left side edge. This will allow you to open it wider.


Final Outcome
Seeing the final product of organizing your craft room will make all your efforts worth while. If all of your craft supplies fit in these bins and the space under your desk, then lucky you! You are done!


You can see above that I also organized my desk top area, but I will be sharing that tutorial with you in a later post. I hope I have given you some tips on finding extra places for you to store your craft room items. Check back soon, because I will be sharing a very cute and unique idea for further organizing your craft room. Actually you will be seeing a few projects on organizing your craft room! Spring cleaning and organizing is coming up soon!
Please like and share these tips to your social media. That way you can spread the love and you will have this post saved for when you begin your project. Post a pic and share your thoughts and ideas in the comment section below. I love to hear from my readers!
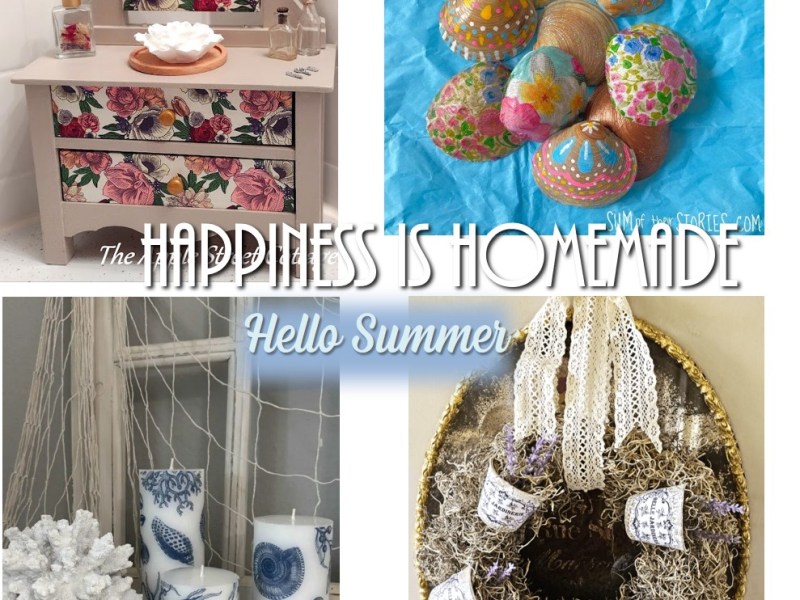
Check out these DIYs for Valentine’s Day

Happiness is Homemade #547
Join us for Happiness is Homemade Link Party where you can share & be inspired by blog posts from bloggers around the world. You’ll find recipes, DIYs, crafts, home decor, fashion, gardening, & so much more!
Happiness is Homemade #546
Join us for Happiness is Homemade Link Party where you can share & be inspired by blog posts from bloggers around the world. You’ll find recipes, DIYs, crafts, home decor, fashion, gardening, & so much more!

8Happiness is Homemade #545
Join us for Happiness is Homemade Link Party where you can share & be inspired by blog posts from bloggers around the world. You’ll find recipes, DIYs, crafts, home decor, fashion, gardening, & so much more!

Happiness is Homemade #540
Join us for Happiness is Homemade Link Party where you can share & be inspired by blog posts from bloggers around the world. You’ll find recipes, DIYs, crafts, home decor, fashion, gardening, & so much more!
Happiness is Homemade #535
Join us for Happiness is Homemade Link Party where you can share & be inspired by blog posts from bloggers around the world. You’ll find recipes, DIYs, crafts, home decor, fashion, gardening, & so much more!

Happiness is Homemade #534
Join us for Happiness is Homemade Link Party where you can share & be inspired by blog posts from bloggers around the world. You’ll find recipes, DIYs, crafts, home decor, fashion, gardening, & so much more!
Happiness is Homemade #533
Join us for Happiness is Homemade Link Party where you can share & be inspired by blog posts from bloggers around the world. You’ll find recipes, DIYs, crafts, home decor, fashion, gardening, & so much more!

Happiness is Homemade #532
Join us for Happiness is Homemade Link Party where you can share & be inspired by blog posts from bloggers around the world. You’ll find recipes, DIYs, crafts, home decor, fashion, gardening, & so much more!

Floral Door Basket Pin Recreation: 2 Styles!
Let me show you how to DIY a beautiful floral basket to hang on your door or wall for less than $20 in less than 10 minutes!
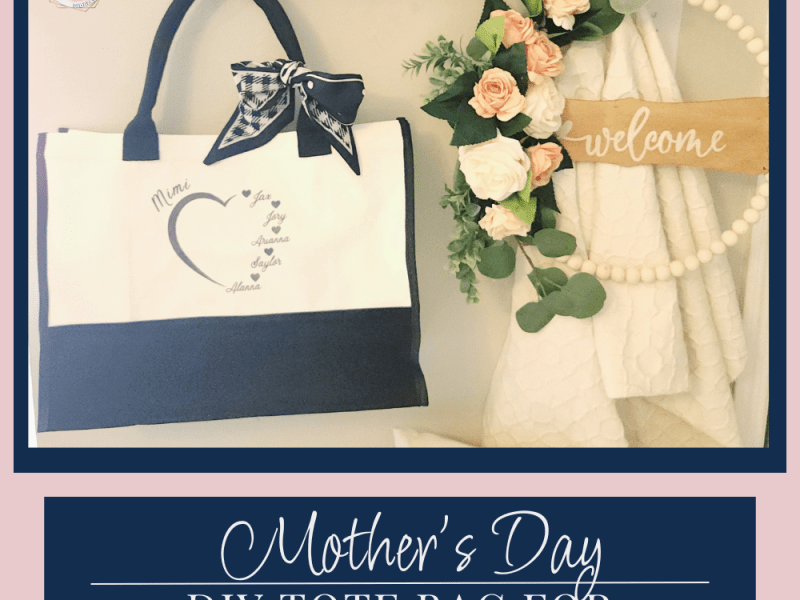
DIY Mother’s Day Tote Bag: Free Designs for Use with or without Cutting Machines
If you’re looking for a great DIY Mother’s Day gift, I have just the idea to share with you today- an adorable, personalized tote bag, perfect for your mom to tote around her items or extras for her grandbabies! I created several free designs that you can use for your mom or grandmother, no matter…
Happiness is Homemade #529
Join us for Happiness is Homemade Link Party where you can share & be inspired by blog posts from bloggers around the world. You’ll find recipes, DIYs, crafts, home decor, fashion, gardening, & so much more!
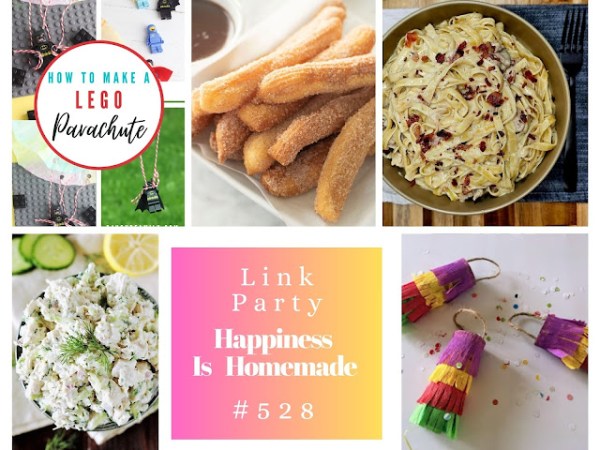
Happiness is Homemade #528
Join us for Happiness is Homemade Link Party where you can share & be inspired by blog posts from bloggers around the world. You’ll find recipes, DIYs, crafts, home decor, fashion, gardening, & so much more!
