To get a little love moving this year I decided to make a DIY Valentine’s Day doormat. They are easy to make and look super cute in front of your door, in the kitchen, or wherever you want to put it. You can make with just a few dollars in material and one of those plain doormats from Dollar Tree. Can you believe you can make something so cute with those ugly things?!

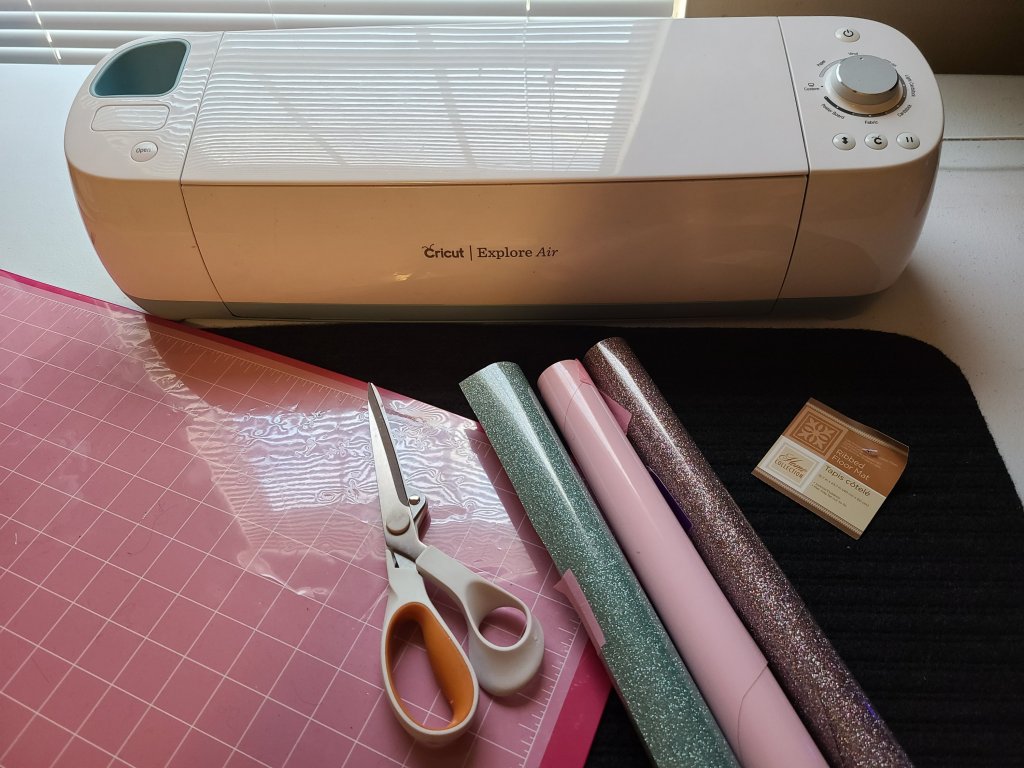
For your Valentine’s Day doormat you need:
- black doormat from Dollar Tree
- mermaid glitter, Tiffany blue glitter, and ballet pink HTV or paint and stencils
- scissors
- iron if you’re using HTV
- wax paper
- die-cutting machine- Cricut, Silhouette etc & this link to my already made Cricut design. You can use it free with Cricut Access.
Open the Design Link
I have already made the design for the Valentine’s Day doormat. This saves you about 30 to 45 minutes of creating and perfecting your own design. If you are using a Cricut, open this link to the design. It will open Design Space and the project will be shown. Click “make it,” or if you want to change anything about the design click “Customize.” Use this if you have a larger doormat, so you want to make the font bigger, or change any element of the design. Once you are done, click the green “Make It” button at the top right of the screen.
The color of the design on the computer will not be the same as you cut. They don’t have glitter options, ha. So you can use any combo of the colors you wish, but I used mermaid glitter for the heart embellishment at the top of the design and the heart fillers inside the angel hearts. I used pink for “LOVE” and the angel hearts. Finally I used the Tiffany blue glitter HTV (heat transfer vinyl) for the words.
If you have Cricut Access you can cut this design for free. I use Cricut Access because it allows me to use so many fonts and designs for $7 a month, instead of paying for each one separately. If you don’t plan on using any other designs often, then your best option would be to pay once for the items used in this design. To lower the price, you can change the font used to a free one or one downloaded from DaFont.com, and that will save you $4.99 (I think that’s how much each font it, but I don’t pay individually).
Just a reminder to you fellow Cricut users, make sure you choose the mirror option for every mat that you’re using. Set your wheel to “Iron-on.” Place the HTV on the mat with the shiny side down. If you forget to do this, the design won’t be usable because when you iron it on, it will be backward. Since the design is already made for you, you won’t have to worry about doing anything except this on your own.

How to add the design to your Valentine’s Day doormat
Weed all of the extra HTV around the designs. The mat is 23.5″ wide and 15.75″ tall. If you want to be precise with the placement you can use a ruler to make sure that each side of the wording is the same amount, ensuring it’s centered. I did a bit of measuring and a bit of just eyeing it. I mostly eyed it. On my Valentine’s Day doormat I placed the wide heart with the leaf embellishments centered at the top. “Faith, hope, and love abide” and “but the greatest of these is” are together with the “LOVE” design centered below it. I filled in the extra space on either side of love with the adorable hearts with angel wings. You can always change up the placement of your design. How perfect is that while using a scripture?! Under that is the chapter and verse.
If you are a Christian this perfect to place on your porch. It opens the door to witness when someone comments on it. This is more likely to happen if you live in apartments, town homes, or condos. This follows Jesus’ teaching to go into all the world and spread the gospel.

Next tear some of your wax paper off and place it over the design to keep the sticky part of the HTV from melting onto the mat. Use an iron set to a medium-high setting and press firmly down, while moving over the entire design. Doing this one area at a time is best. Make sure you iron over each section for about 45 seconds. Lift up the wax paper and lift up the sticky part just a bit. If it lifts up easily and your design is adhered to the mat, then you can remove all of it. If it’s not on the mat, put the wax paper back over it, and iron firmly over it for another 30 seconds.


All done!
Go ye therefore and place your mat wherever you like it. Mine is at my front door, but I did move it around in my kitchen and inside the front door for a while. I might make one for inside if I can find a budget friendly blank one that’s nice and comfy. When I do, I will of course share the pictures with you.
I hope you have enjoyed this tutorial. Please leave a comment below and add a picture of your mat when you make it. Know someone who would love this? Please share! Follow me on social media and sign up using your email below so you don’t miss a post.
If you like this, you might like this Valentine’s Day globe, this scallop wall art that you can use in so many ways, and this Valentine’s Day tabletop decor piece. I am using it as a V-day back drop in our living room now, but in the past it was made for the backdrop behind the dessert table for my daughter’s Sweet 16 and then used as a headboard for my stepdaughter’s bed.


Happiness is Homemade #528
Join us for Happiness is Homemade Link Party where you can share & be inspired by blog posts from bloggers around the world. You’ll find recipes, DIYs, crafts, home decor, fashion, gardening, & so much more!
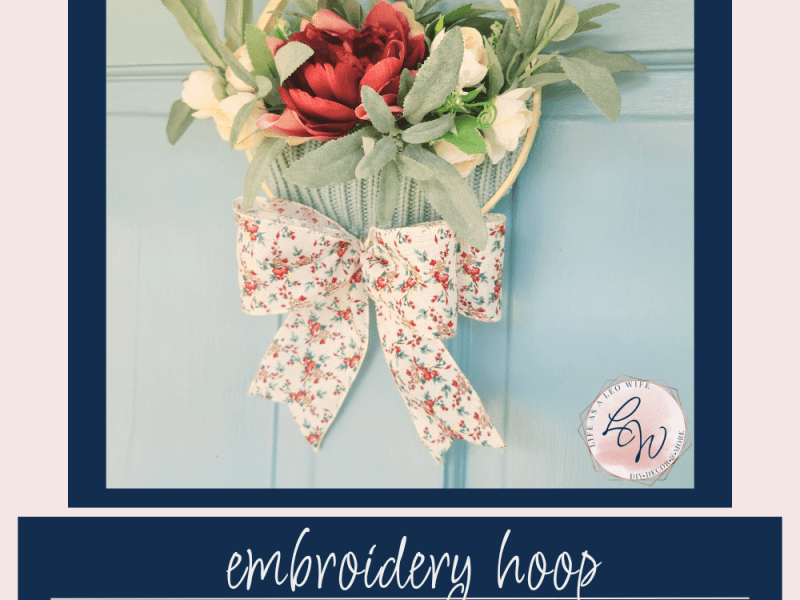
Embroidery Hoop Pocket Wreath Tutorial
Hello friends! I’m so glad to be back blogging and creating this week after surgery last week. Boy, am I glad that’s over because I’ve missed y’all (and being able to eat, ha!). With spring in full swing and Easter past, I felt like it’s time to create a new wreath. I have lots of…

Happiness is Homemade #527
Join us for Happiness is Homemade Link Party where you can share & be inspired by blog posts from bloggers around the world. You’ll find recipes, DIYs, crafts, home decor, fashion, gardening, & so much more!
Happiness is Homemade #526
Join us for Happiness is Homemade Link Party where you can share & be inspired by blog posts from bloggers around the world. You’ll find recipes, DIYs, crafts, home decor, fashion, gardening, & so much more!

Happiness is Homemade #525
Join us for Happiness is Homemade Link Party where you can share & be inspired by blog posts from bloggers around the world. You’ll find recipes, DIYs, crafts, home decor, fashion, gardening, & so much more!

One thought on “Valentine’s Day Doormat”