Our third post on how to organize your craft room will also be our weekly Designing Devotion. This one was kind of a hard one to write on the Devotion side. Normally I hear God leading me early in the week, but this week I had to pray especially hard for Him to show me the what He wanted me to share with you. If you want to skip the Designing section and go straight to the Devotion click here.
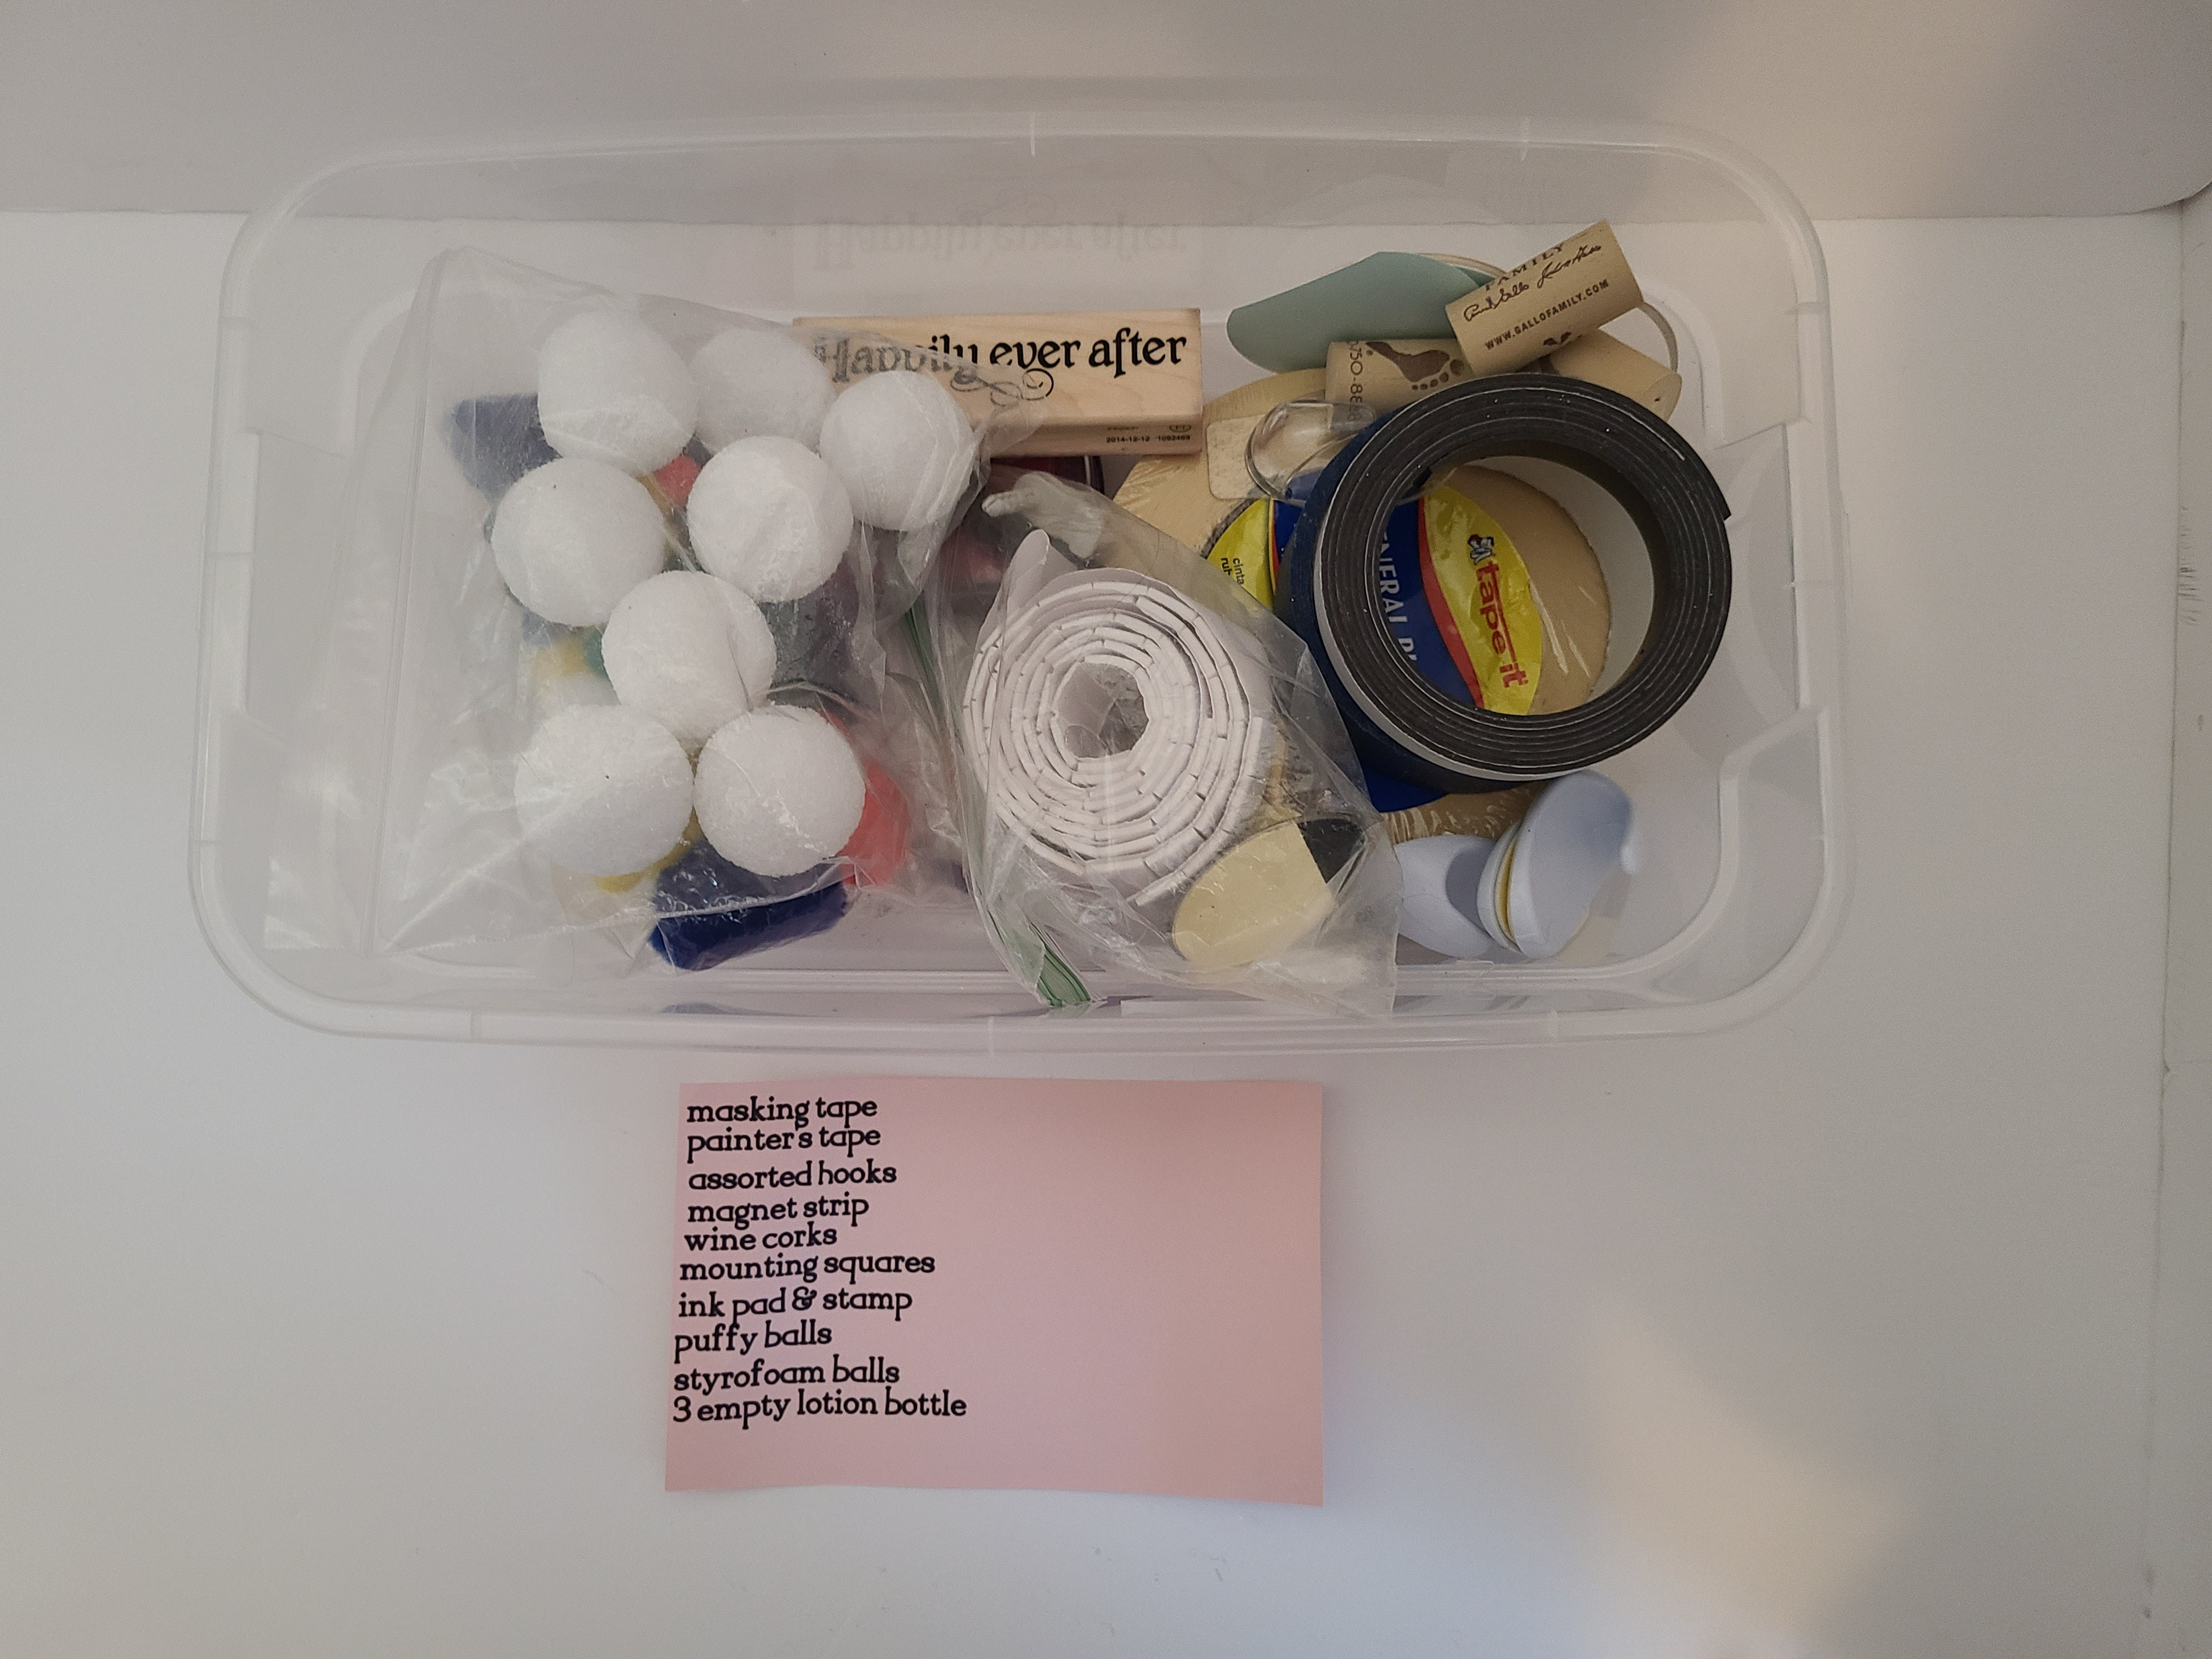
I’ve been working on ways to organize and make my craft room beautiful for the past week and a half. I’m about half of the way done. I have so many supplies, and if you’re a crafter you probably do too. I had a lot of my supplies put away in small 12×4 clear bins with white lids. I got the from Dollar Tree in 2 packs. The only thing I hated was that you could see through them, which made the shelves look messy even though they weren’t.


Everything is in it’s place, yet it looks crazy! The bins are labeled with everything that’s in it, but it looks like it’s in disarray. I had to do something about it, especially since I’ve created storage as wall art here, and created more storage that is covered with fabric here. So I cover the clear bin with cardstock that matches the storage as wall art.
To create your own cute storage bins to organize your craft room you need:
- bins- clear from Dollar Tree.
- cardstock paper- Your choice in colors and patterns.
- ruler
- pencil
- scissors or slide cutter
- pen or marker
- die-cutting machine- If you have one, you won’t need the previous four items.
- tape or glue- You may not need these, it just depends on your bins and preference.
Cut your cardstock to fit in the bins.
I used my Cricut to not only cut my cardstock, but also to write on the paper what supplies are in each bin. I will be doing a tutorial later for how to use a Cricut to cut the paper, and write on it. For now, I’ll give you the tutorial for doing the project without one. Use an old-fashioned ruler, pencil, and scissors. Measure and cut two 12×4″ pieces of cardstock for every bin you have. One for each side. Then you need to cut 4×4″ sections for the fronts of the bins. If you will see the back of the bins, you need to cut two 4×4″ for each bin.
Once you’re done cutting, it’s time to assemble the paper and bins. Slide one 12×4″ piece on the left side of the bin, on the inside of the bin, and one on the right. Now put the 4×4″ on the front side of the bin. If you can see the back side of the bin, put another piece on the back. Again, you will slide them into the inside of the bin, not the outside. If they won’t stay in place, use tape to hold things in place. Mine stayed in without adhesive.


Label each bin.
There is nothing worse than having your craft room or kids room cleaned up and organized, only to have to tear the place apart looking for something you need. I found that out real quick once I began crafting! I’d forget where I put the pipe cleaners I needed to finish a project, so I had to dump everything to find it.
To keep your organized craft room organized, you need to label your bins with all the supplies that are in it. All. Of. The. Supplies. I know it seems tedious, but I promise you will thank yourself for it later. For example I have two bins for my paints, so I labeled each with the types of paint in them; acrylic and chalk paint on one, acrylic, puffy, chalkboard, and metallic on the other. I even did all the small items like erasers, pencils, confetti scatters, etc.
Whenever you have all of your pieces of cardstock labeled, put them into the bin with the labeled side facing out.


Repeat this process with all of your bins.
If you have enjoyed this organization post, you may like this one on finding extra storage place, and this one that doubles as storage and wall art!
Say hello to your beautiful, organized craft room.
These bins stack very well. They are also pretty sturdy. I’ve had these Dollar Tree bins for about two years and they’re holding up pretty good.
I have a metal shelf that I keep my formerly clear bins on. I think it was once a garage shelf or something along those lines. I think I’m going to eventually paint it, but for now it’s good as it is. You can stack them on top of your desk, on shelves, or on their own on the floor. They will look great anywhere. This is how mine turned out.

Devotion
This week’s devotional is an extension of last week’s in a way. If you haven’t yet read it, you can read it here. We discussed that God is always in control, and to slow down, be still and hear Him. He may have you here for such a time as this like He did with Queen Esther. This time we are discussing the mandate that God gave us to renew our minds in Christ Jesus daily so that we can hear Him when He calls.
We are told in Romans 12:2, “Do not be conformed to this world, but by the renewal of your mind that by testing you may discern the will of God, what is good, acceptable, and perfect.” When we are heavily in the secular world, it becomes harder and harder to hear God. However when we renew our minds in Him every day, we are brought closer to Him so that we can hear His still, small voice and be able to discern His will.
Renew your mind in Christ Jesus
Romans 12:2
But how do we renew our minds in Him? First we need to immerse ourselves in His Word. How could we know how He wants us to hear, see, think, or feel about the world around us? We need to read the Bible daily and focus on what He tells us to do in it. Do like Jesus did when He wanted to talk to the Father. He woke up, separated Himself from others, and prayed before He did anything else every day.
Be selfless. Give without expecting anything in return. A good thing to try is to give without anyone else knowing it. Jesus said in Matthew 6:6, “But when you pray, go into your room and shut the door and pray to the Father who is in secret. And your Father who sees in secret will reward you.” Also be grateful for everything the Lord has blessed you with. Look for new things to thank Him for daily. Looking for them will help renew you mind.

The devil comes at Christians at every angle possible. He gets in your head and tells you lies like, “They’re talking about you,” “You will never be good enough,” “How could anyone love someone as fat and ugly as you.” I know this because he does it to me daily. To combat this, you need to get into the Word and find the truths that God protects you with. He says He loves you, will never forsake you, and you are fearfully and wonderfully made. Put off negative thoughts that harm you, and put on the words and ways of God.
Finally refocus your mind. Anytime you see that your mind is wondering into negative territory refocus on Jesus. Give the Holy Spirit the reigns. Let Him bring scripture to the forefront of your mind. When you are living the life God has set out for you, you will find complete joy. In the world you see people who have a ton of money or fame, but they continue to seek joy through drugs, alcoholism, or sexual perversion. They seek happiness, but never seem to find it. That’s because God has set us here for a reason. When you are living that reason He will fill you with joy and love. The posts below are a few Designing Devotions. I hope you’ll take a minute to read them!
Have a great week!
I hope that you will join me this week in trying to renew your mind in Jesus this week. I know that’s hard with all the things we have going on in this busy world.
I’m so glad you stopped by today. I hope that you have found some joy in this post. If you makeover your bins, leave us a picture in the comments below. Follow us on social media, and share this post with your friends. I post several times a week, one of them will be our Designing Devotion posts. I hope you will continue visiting us. Sign up with your email at the bottom of this post, and you’ll get an email whenever a new post is added.

Don’t you just love it when everything is neat and organized? Looks great! Thanks so much for linking up with me at the Unlimited Monthly Link Party 23. Pinned!