
You’ve probably seen my other Dollar Tree doormats for Halloween and fall. They are so easy and look great, so I have decided to do one for each holiday or season.
They are also very budget friendly! To create your own, you’ll need:
- doormat from Dollar Tree
- Die-cutting machine and Heat Transfer Vinyl in an orange glitter shade that’s Thanksgiving-ish, white, and gold glitter. If you don’t have a die-cutting machine, you can easily do this with stencils and acrylic or spray paint. See the bottom of this post that somewhat explains how to do this.
- scissors
- wax paper and an iron
For this post I’m going to explain how to use your Cricut to cut your vinyl since I haven’t gone into the process in my other posts.
Open your Cricut Design Space program. Click “new” at the top left corner of the screen. Now select “images.” This will pull up a page that allows you to choose what you’d like on your mat.

In the search bar at the top of your screen type Thanksgiving for a variety of fall images, or if you want the same image I used, type #MC96C597. There are a lot of options to choose from, or you can create your own. I have the Cricut all access pass, it’s worth the fee. I used to create my own designs and it took for-ev-er! This is so much easier..

Size your image appropriate for the size of your mat. If you use the Dollar Tree mat, it’s about 23.24″ wide and 1.5″ tall. Edit your image making it 16.721″w by 13.128″h.
Your image is now ready to cut. Click “make it” in the top right corner.

Use the selection wheel on your Cricut machine and turn it to “Iron-on.” If you use the same measurements, you’ll need the larger mat, 12×24″. If you don’t have one, you’ll just need to make your measurements less that 11.5″ each. Click on each piece of the design in a column on the left, and check the box that says “mirror.”

Click continue on the bottom left then feed the cutting mat into the machine by pushing the arrow button below the selection wheel while giving a slight push on the mat. Then press the “C” button, and the machine will begin the cutting the HTV. Repeat each step with the leaves.
Once your designs are ready, cut around the design in order to weed it. I try to cut as close as I can to the design because it saves HTV, and more importantly, it saves money!
Then begin weeding your design. Pull off the vinyl that you don’t need on your doormat and discard it.


Next lay your designs on your doormat. Try to leave the same amount of space on both ends of designs.

Cut a piece of wax paper that covers the designs. You’ll probably need more than one piece. The wax paper will allow you to iron over the plastic, shiny side of the vinyl without melting it onto the doormat. Heat your iron to medium-high. Mine has number settings, 1-6. I used the setting between 4 and 5. With your design covered, begin ironing over the words and leaves. Press down pretty hard, and continue ironing over it for it for about 45 seconds or so.

Now you’re headed for the finish line! Remove the wax paper and lift up a bit of the transfer paper. If the design is strongly attached to the mat, go ahead and remove the transfer paper (the sticky part). If the design lifts off with the transfer paper, leave the paper on and cover it with the wax paper again. Use the iron and again go over it, pressing firmly. Once it’s all on the mat, remove both papers (wax and transfer).
Behold your fabulous Thanksgiving doormat! Share your results with us in the comments or on social media. Feel free to leave any comments or questions below. Thank you for stopping by!
If you like this mat I’ve also made this one this one for the fall season.

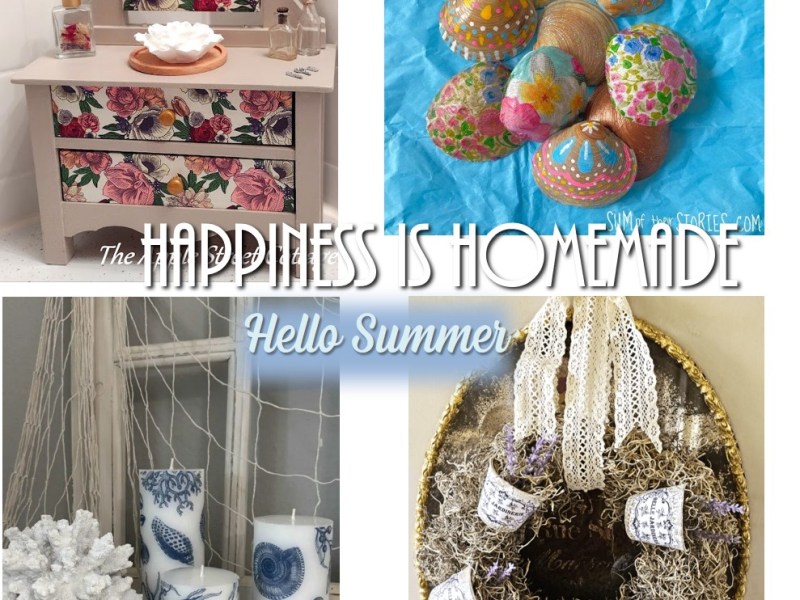
Happiness is Homemade #547
Join us for Happiness is Homemade Link Party where you can share & be inspired by blog posts from bloggers around the world. You’ll find recipes, DIYs, crafts, home decor, fashion, gardening, & so much more!
Happiness is Homemade #546
Join us for Happiness is Homemade Link Party where you can share & be inspired by blog posts from bloggers around the world. You’ll find recipes, DIYs, crafts, home decor, fashion, gardening, & so much more!

8Happiness is Homemade #545
Join us for Happiness is Homemade Link Party where you can share & be inspired by blog posts from bloggers around the world. You’ll find recipes, DIYs, crafts, home decor, fashion, gardening, & so much more!

Happiness is Homemade #540
Join us for Happiness is Homemade Link Party where you can share & be inspired by blog posts from bloggers around the world. You’ll find recipes, DIYs, crafts, home decor, fashion, gardening, & so much more!
Happiness is Homemade #535
Join us for Happiness is Homemade Link Party where you can share & be inspired by blog posts from bloggers around the world. You’ll find recipes, DIYs, crafts, home decor, fashion, gardening, & so much more!

Happiness is Homemade #534
Join us for Happiness is Homemade Link Party where you can share & be inspired by blog posts from bloggers around the world. You’ll find recipes, DIYs, crafts, home decor, fashion, gardening, & so much more!

One thought on “DIY Thanksgiving Doormat with Cricut Tutorial”