
I love this snowflake Christmas garland! I found a silver shower curtain with white snowflakes last year. Right away I thought of silver bells and presents of blue, which led me to this garland.
I made several things for this bathroom decor, so there will be several tutorials. Today I’d like to show you how to DIY a cute Christmas snowflake garland. You can hang these anywhere. This year I hung mine across the top of the mirror that runs the length of the bathroom.
To make your own garland, you need:
- 10 pack clear snowflakes from Dollar Tree- You will only need four of them for this project.
- 2.5″ blue wired ribbon- I got mine from Hobby Lobby a few years ago.
- 5/8″ silver ribbon- White would also work.
- 1/8 silver ribbon
- scissors
- hot glue gun and glue
- double sided tape or regular tape you can fold around to make both sides sticky
- pipe cleaners

Measure the place you want to hang the garland on. Add a few inches to this to allow the ribbon to drape in between the snowflakes. My mirror is 67.5″ so I cut the ribbon off at 87″.
Now you need to make the bows that will be glued to the snowflakes. Check out this post to get a more thorough tutorial for the bows. It shows you how to make a double bow, but you will only do a regular two loop bow.


Once the bow is made and you tie the bow off with the pipe cleaner, you will need to cover the pipe cleaner with the silver 1/8″ ribbon. Place a dot of hot glue on the back of the bow and wrap the ribbon around until the pipe cleaner is completely covered. When it is, cut the ribbon off and hot glue it to the back again. Place the tails on top of one another and fold them them in half. Cut the bows in a half “V.” Repeat this process four times to make the four bows for the four snowflakes. You can do more bows and snowflakes to the garland if you wish. For my mirror four looked best.


There is a small circle in the middle of each snowflake on which you’ll glue your bow. Put a dot of hot glue on the circle and press the bow on to it.


Assemble the Garland
With all of the bows glued to the snowflakes, you need to glue them on to the 5/8″ ribbon. Glue the first snowflake to the first end of the ribbon. Depending how long you want your garland will determine how much space is between each snowflake. My snowflakes are 21.5″ apart. Your first and your last snowflake will be glued on each end of the ribbon.


Put up your Christmas Garland
To hang your garland you will use either double sided tape or tape folded over so it’s sticky on each side. You could use other things to hang the garland, depending on if you want to make holes in your walls (nails, hooks, etc). Since I hung mine on our bathroom mirror I had to go with double sided tape. Place a strip on the back of the snowflake and silver ribbon and press it down where you want to begin the garland. Now put the tape on your last snowflake and press it down on the spot you want to end the garland. Then you can determine where you want the middle two snowflakes. Let the ribbon drape a bit between each bow. Again use your tape to hang the final two bows.


You now have an adorable Christmas Garland of snowflakes and bows to hang up each year!

Come back soon to see the walk-through of our Christmas bathroom decor. I will also be posting other DIYs that I used in it as well.
Thank you for stopping by! I will be posting daily until Christmas so I hope to see your soon. Like and share this post on your social media. You can follow Life as a LEO Wife on Facebook, WordPress, Instagram, Pinterest, Parler, and MeWe.
Please like and comment in the section below. Post a picture of your project as well. I love to see your DIYs!
If you enjoyed this post you might like my other Christmas posts.Like this Christmas cabinet wreaths or this candy cane wreath. I have also posted our Christmas kitchen decor. Here’s another Christmas DIY wall art piece that I used in the kitchen. I think you’d really like this Christmas reindeer wreath the is illuminated from behind.

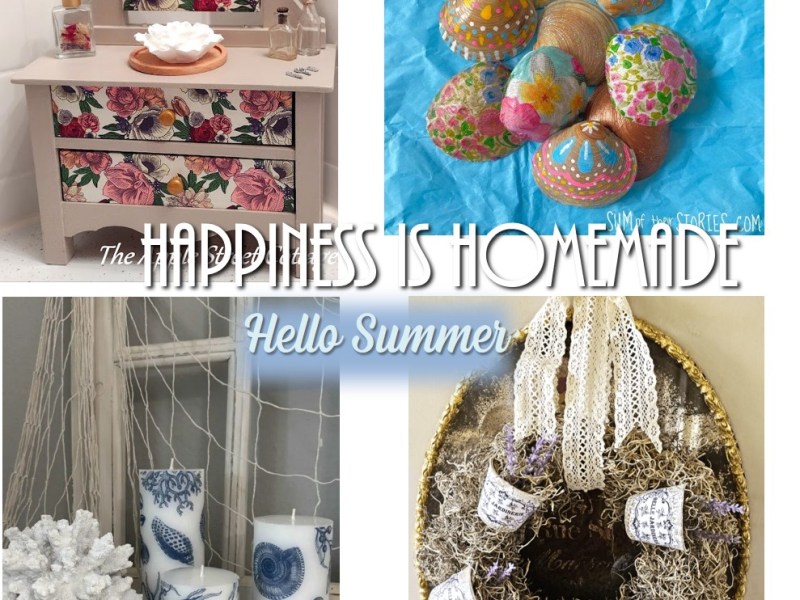
Happiness is Homemade #547
Join us for Happiness is Homemade Link Party where you can share & be inspired by blog posts from bloggers around the world. You’ll find recipes, DIYs, crafts, home decor, fashion, gardening, & so much more!
Happiness is Homemade #546
Join us for Happiness is Homemade Link Party where you can share & be inspired by blog posts from bloggers around the world. You’ll find recipes, DIYs, crafts, home decor, fashion, gardening, & so much more!

8Happiness is Homemade #545
Join us for Happiness is Homemade Link Party where you can share & be inspired by blog posts from bloggers around the world. You’ll find recipes, DIYs, crafts, home decor, fashion, gardening, & so much more!

Happiness is Homemade #540
Join us for Happiness is Homemade Link Party where you can share & be inspired by blog posts from bloggers around the world. You’ll find recipes, DIYs, crafts, home decor, fashion, gardening, & so much more!
Happiness is Homemade #535
Join us for Happiness is Homemade Link Party where you can share & be inspired by blog posts from bloggers around the world. You’ll find recipes, DIYs, crafts, home decor, fashion, gardening, & so much more!

Happiness is Homemade #534
Join us for Happiness is Homemade Link Party where you can share & be inspired by blog posts from bloggers around the world. You’ll find recipes, DIYs, crafts, home decor, fashion, gardening, & so much more!
Happiness is Homemade #533
Join us for Happiness is Homemade Link Party where you can share & be inspired by blog posts from bloggers around the world. You’ll find recipes, DIYs, crafts, home decor, fashion, gardening, & so much more!

Happiness is Homemade #532
Join us for Happiness is Homemade Link Party where you can share & be inspired by blog posts from bloggers around the world. You’ll find recipes, DIYs, crafts, home decor, fashion, gardening, & so much more!

Floral Door Basket Pin Recreation: 2 Styles!
Let me show you how to DIY a beautiful floral basket to hang on your door or wall for less than $20 in less than 10 minutes!
