Make this beautiful coastal rope tray to add some beachy summer decor to your home. I made some coasters and placemats from Dollar Tree nautical rope over the last week. I’m participating in the bloggers’ A to Z Challenge and the theme for today is the letter R, R for rope tray.
Supplies for your rope tray:
- 5 to 6 packs of nautical rope (9.5′ each) from Dollar Tree
- hot glue
- scissors
- satin or wired ribbon (optional)
That’s it! You do need quite a few hot glue sticks. I used an entire pack of mini hot glue sticks making the tray and one placemat.

Update 2022: If you like this coastal rope tray, check out this tutorial where I brought mine up a few notches in this coastal rope tray and coaster set tutorial. You won’t believe how great this addition makes the set looks!
Starting off
Check out my tutorial for my coasters and placemats if you need a full tutorial on how to begin the tray. I don’t want to bore you if you’ve been around the last few days. You will end up using about three packs of ropes for the base.

Build up the rope tray sides.
Once you’ve got the placemat finished, you will start to build up the sides. Place a strip of hot glue on the outer ring of the placemat, then put a new pack of rope on top of the hot glue.
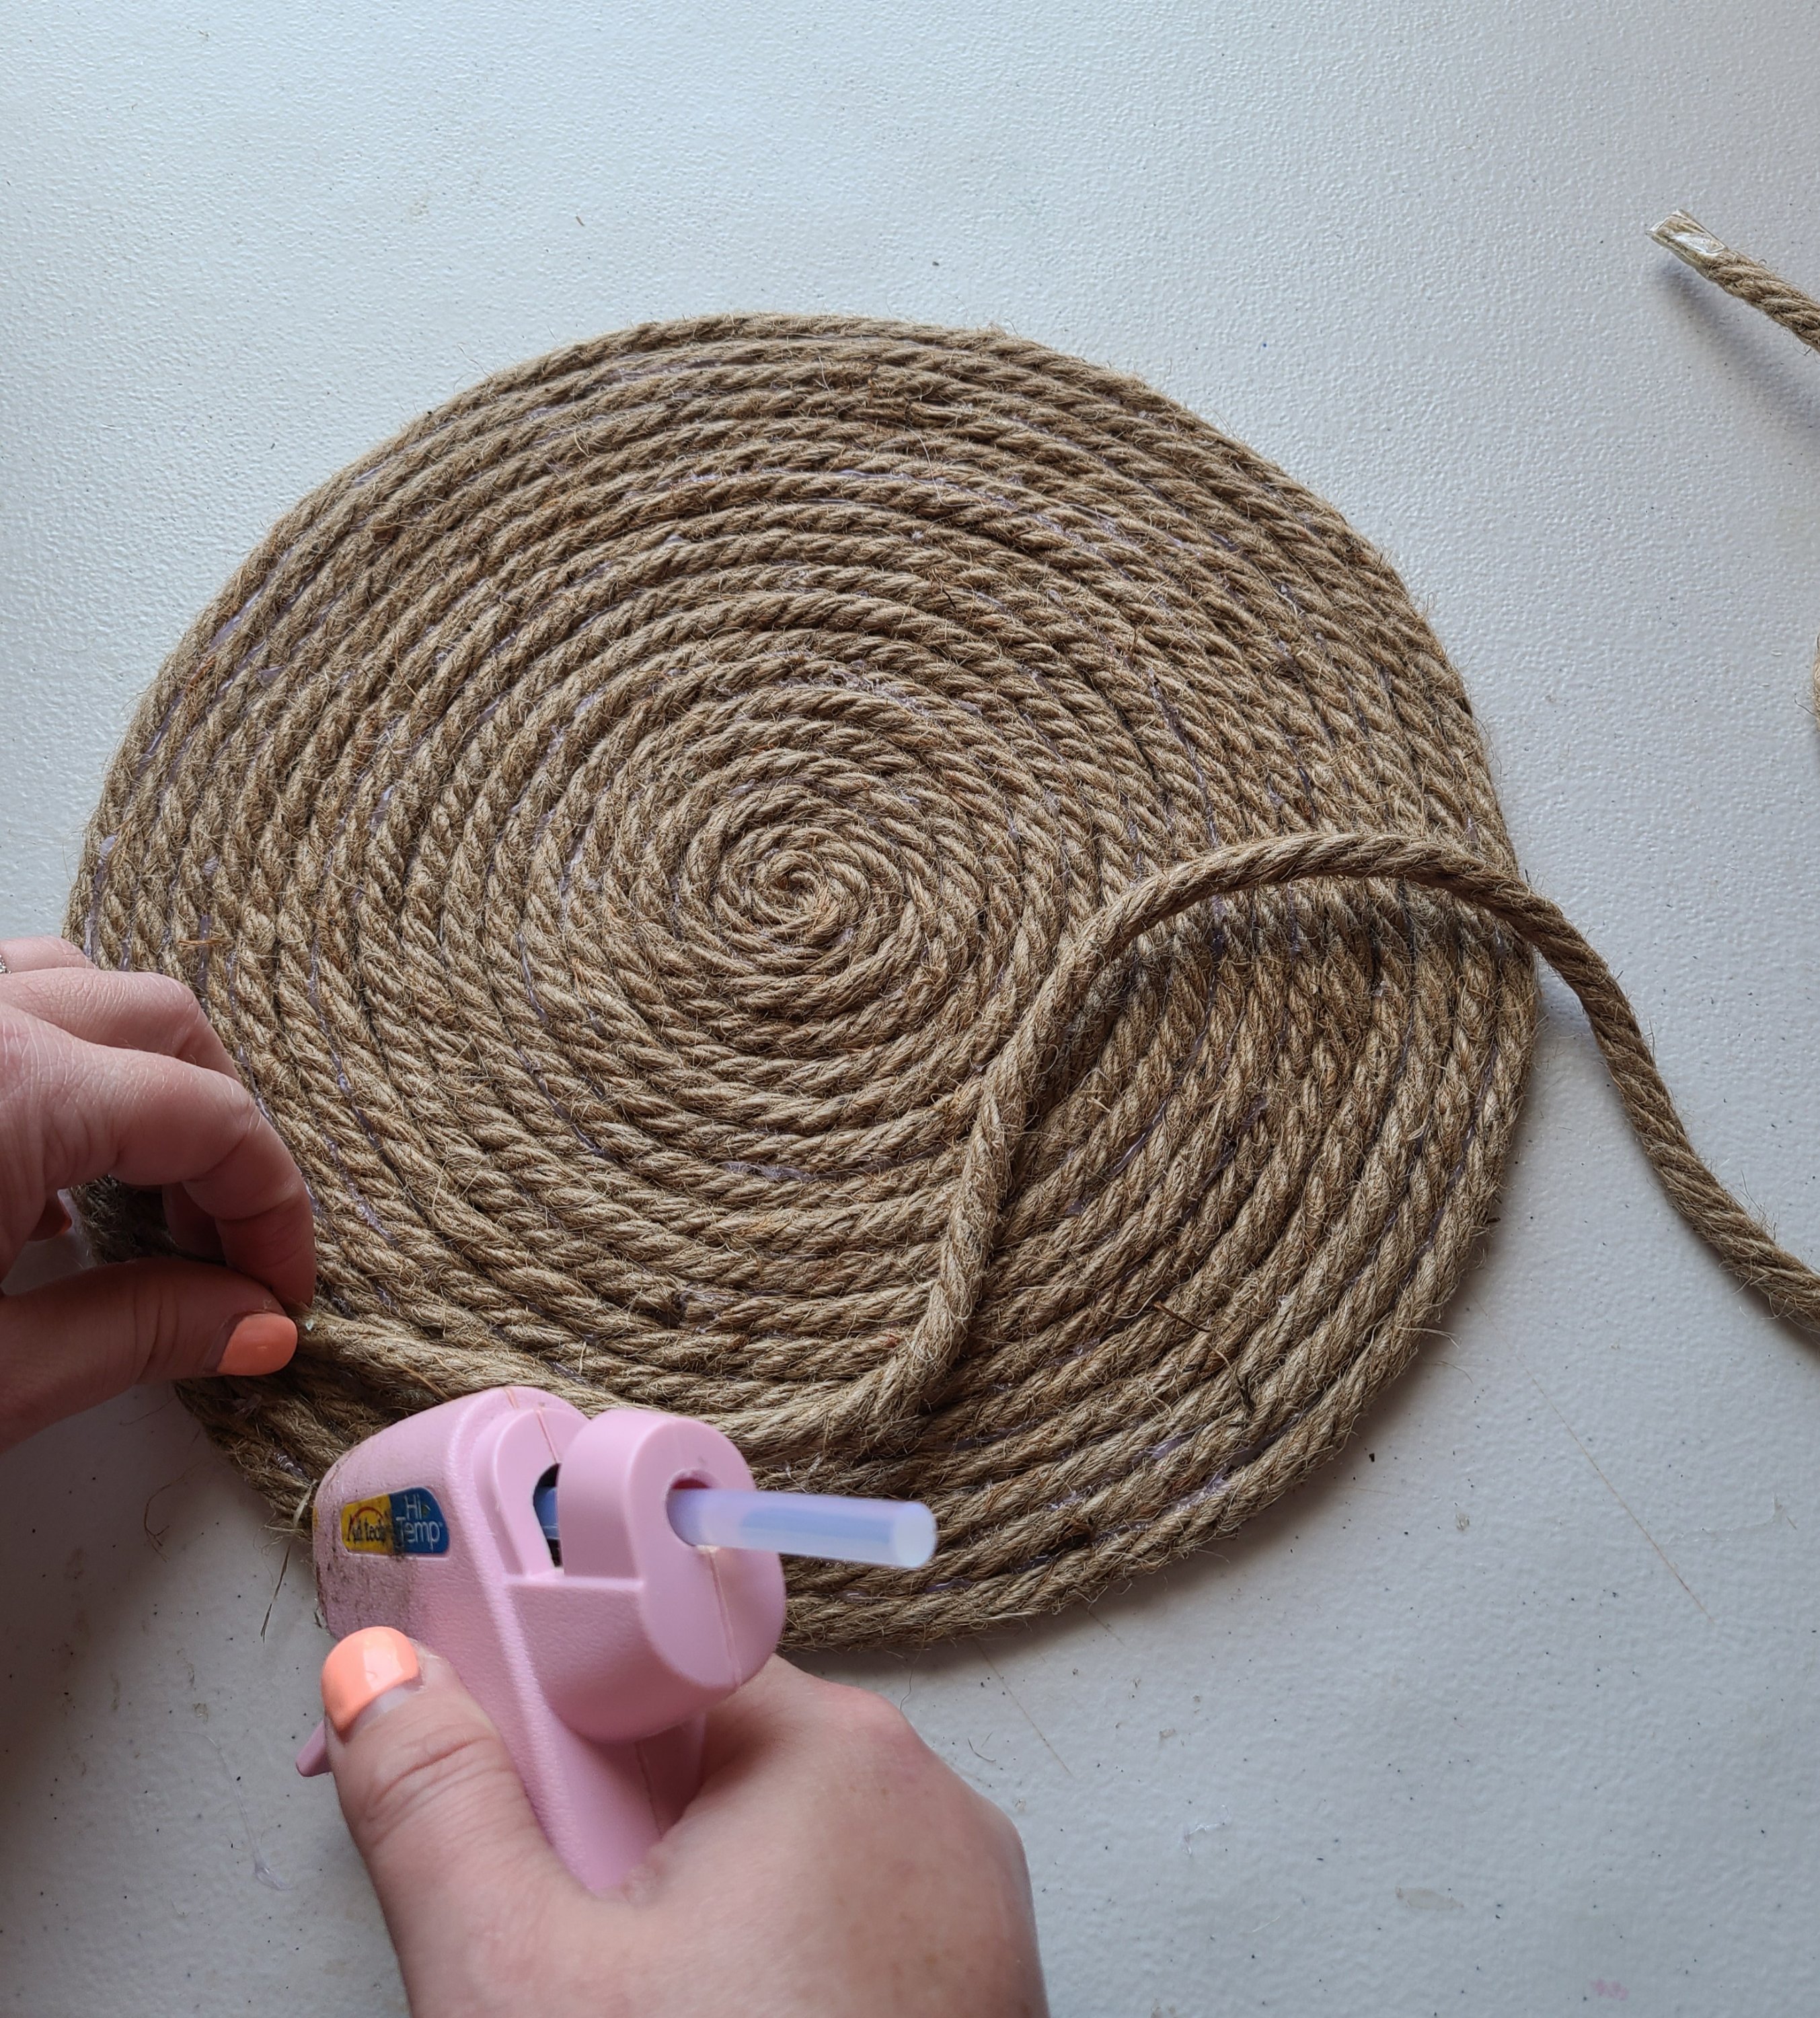

Continue building up the tray, adding hot glue then layers of rope. You can stop adding hot glue and rope when you have four layers on top of the base layer.

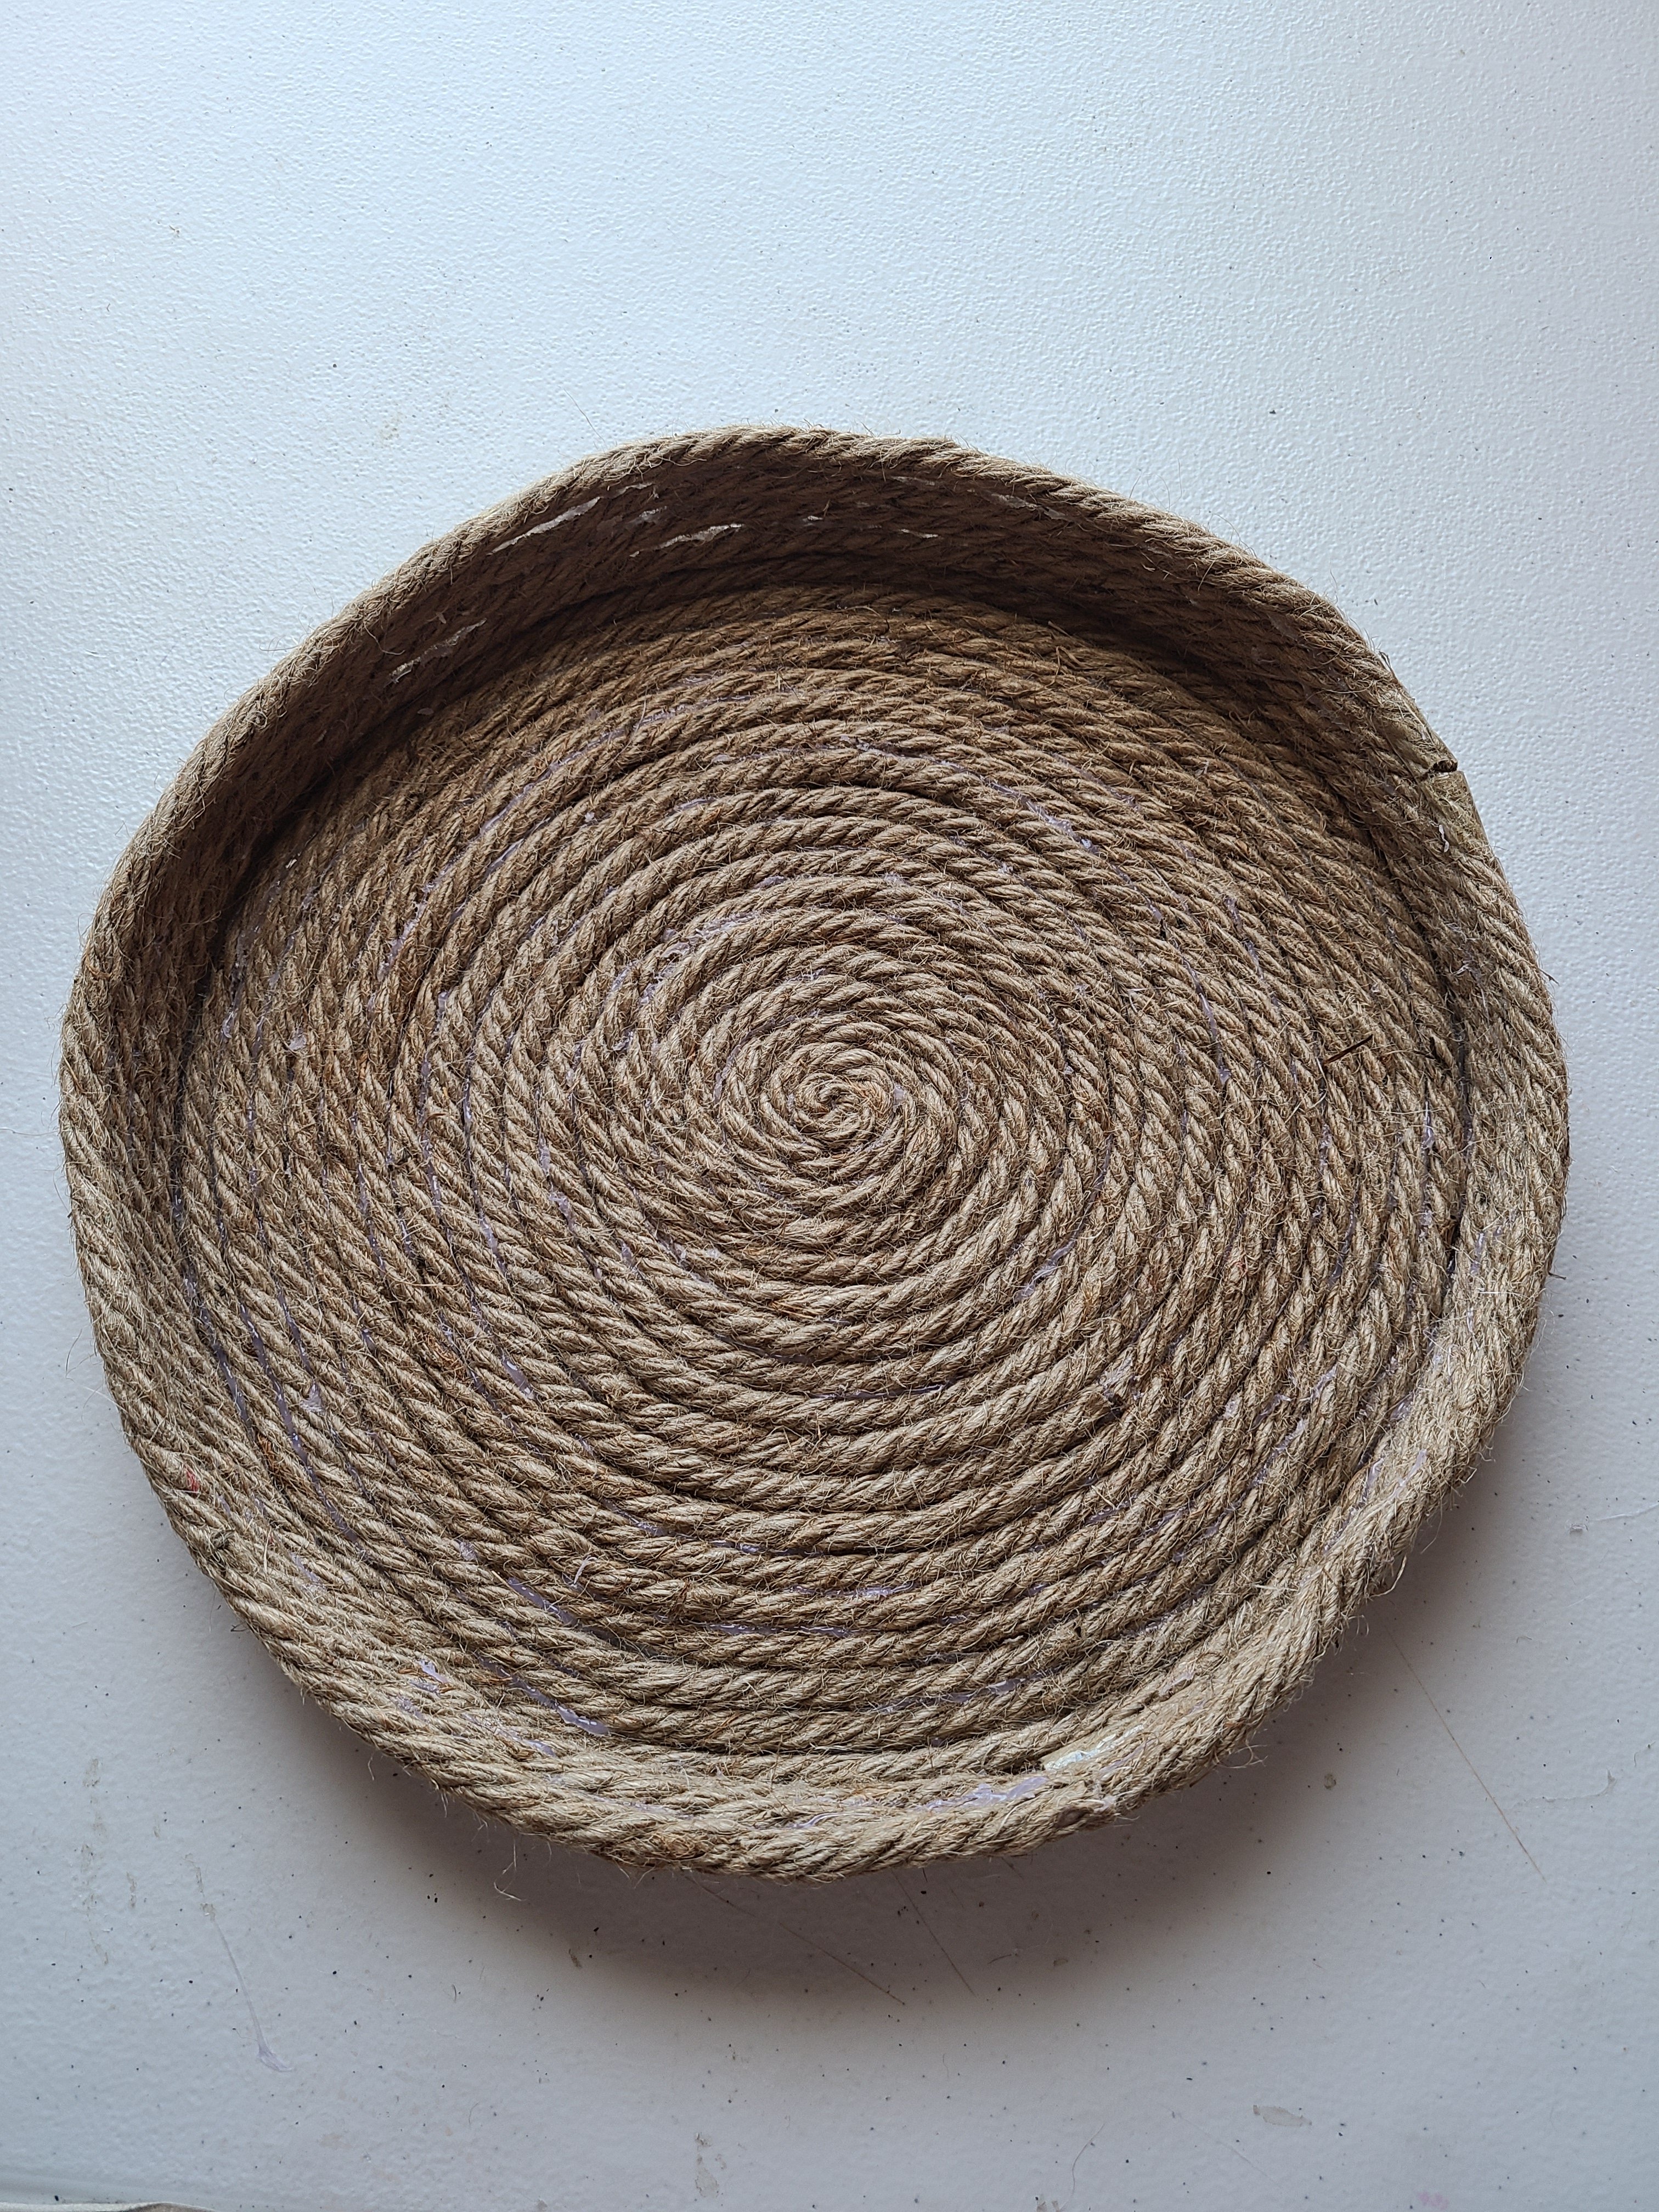
Complete your rope tray.
You can choose whether or not you want to do this step. I thought adding handles looked a little more complete. Use a ruler and cut two 6″ pieces of rope. You’ll see in my picture that I used 8″ at first. That made the handles way too long! Learn from my mistake lol. I actually had to pry them out of my completed rope tray!
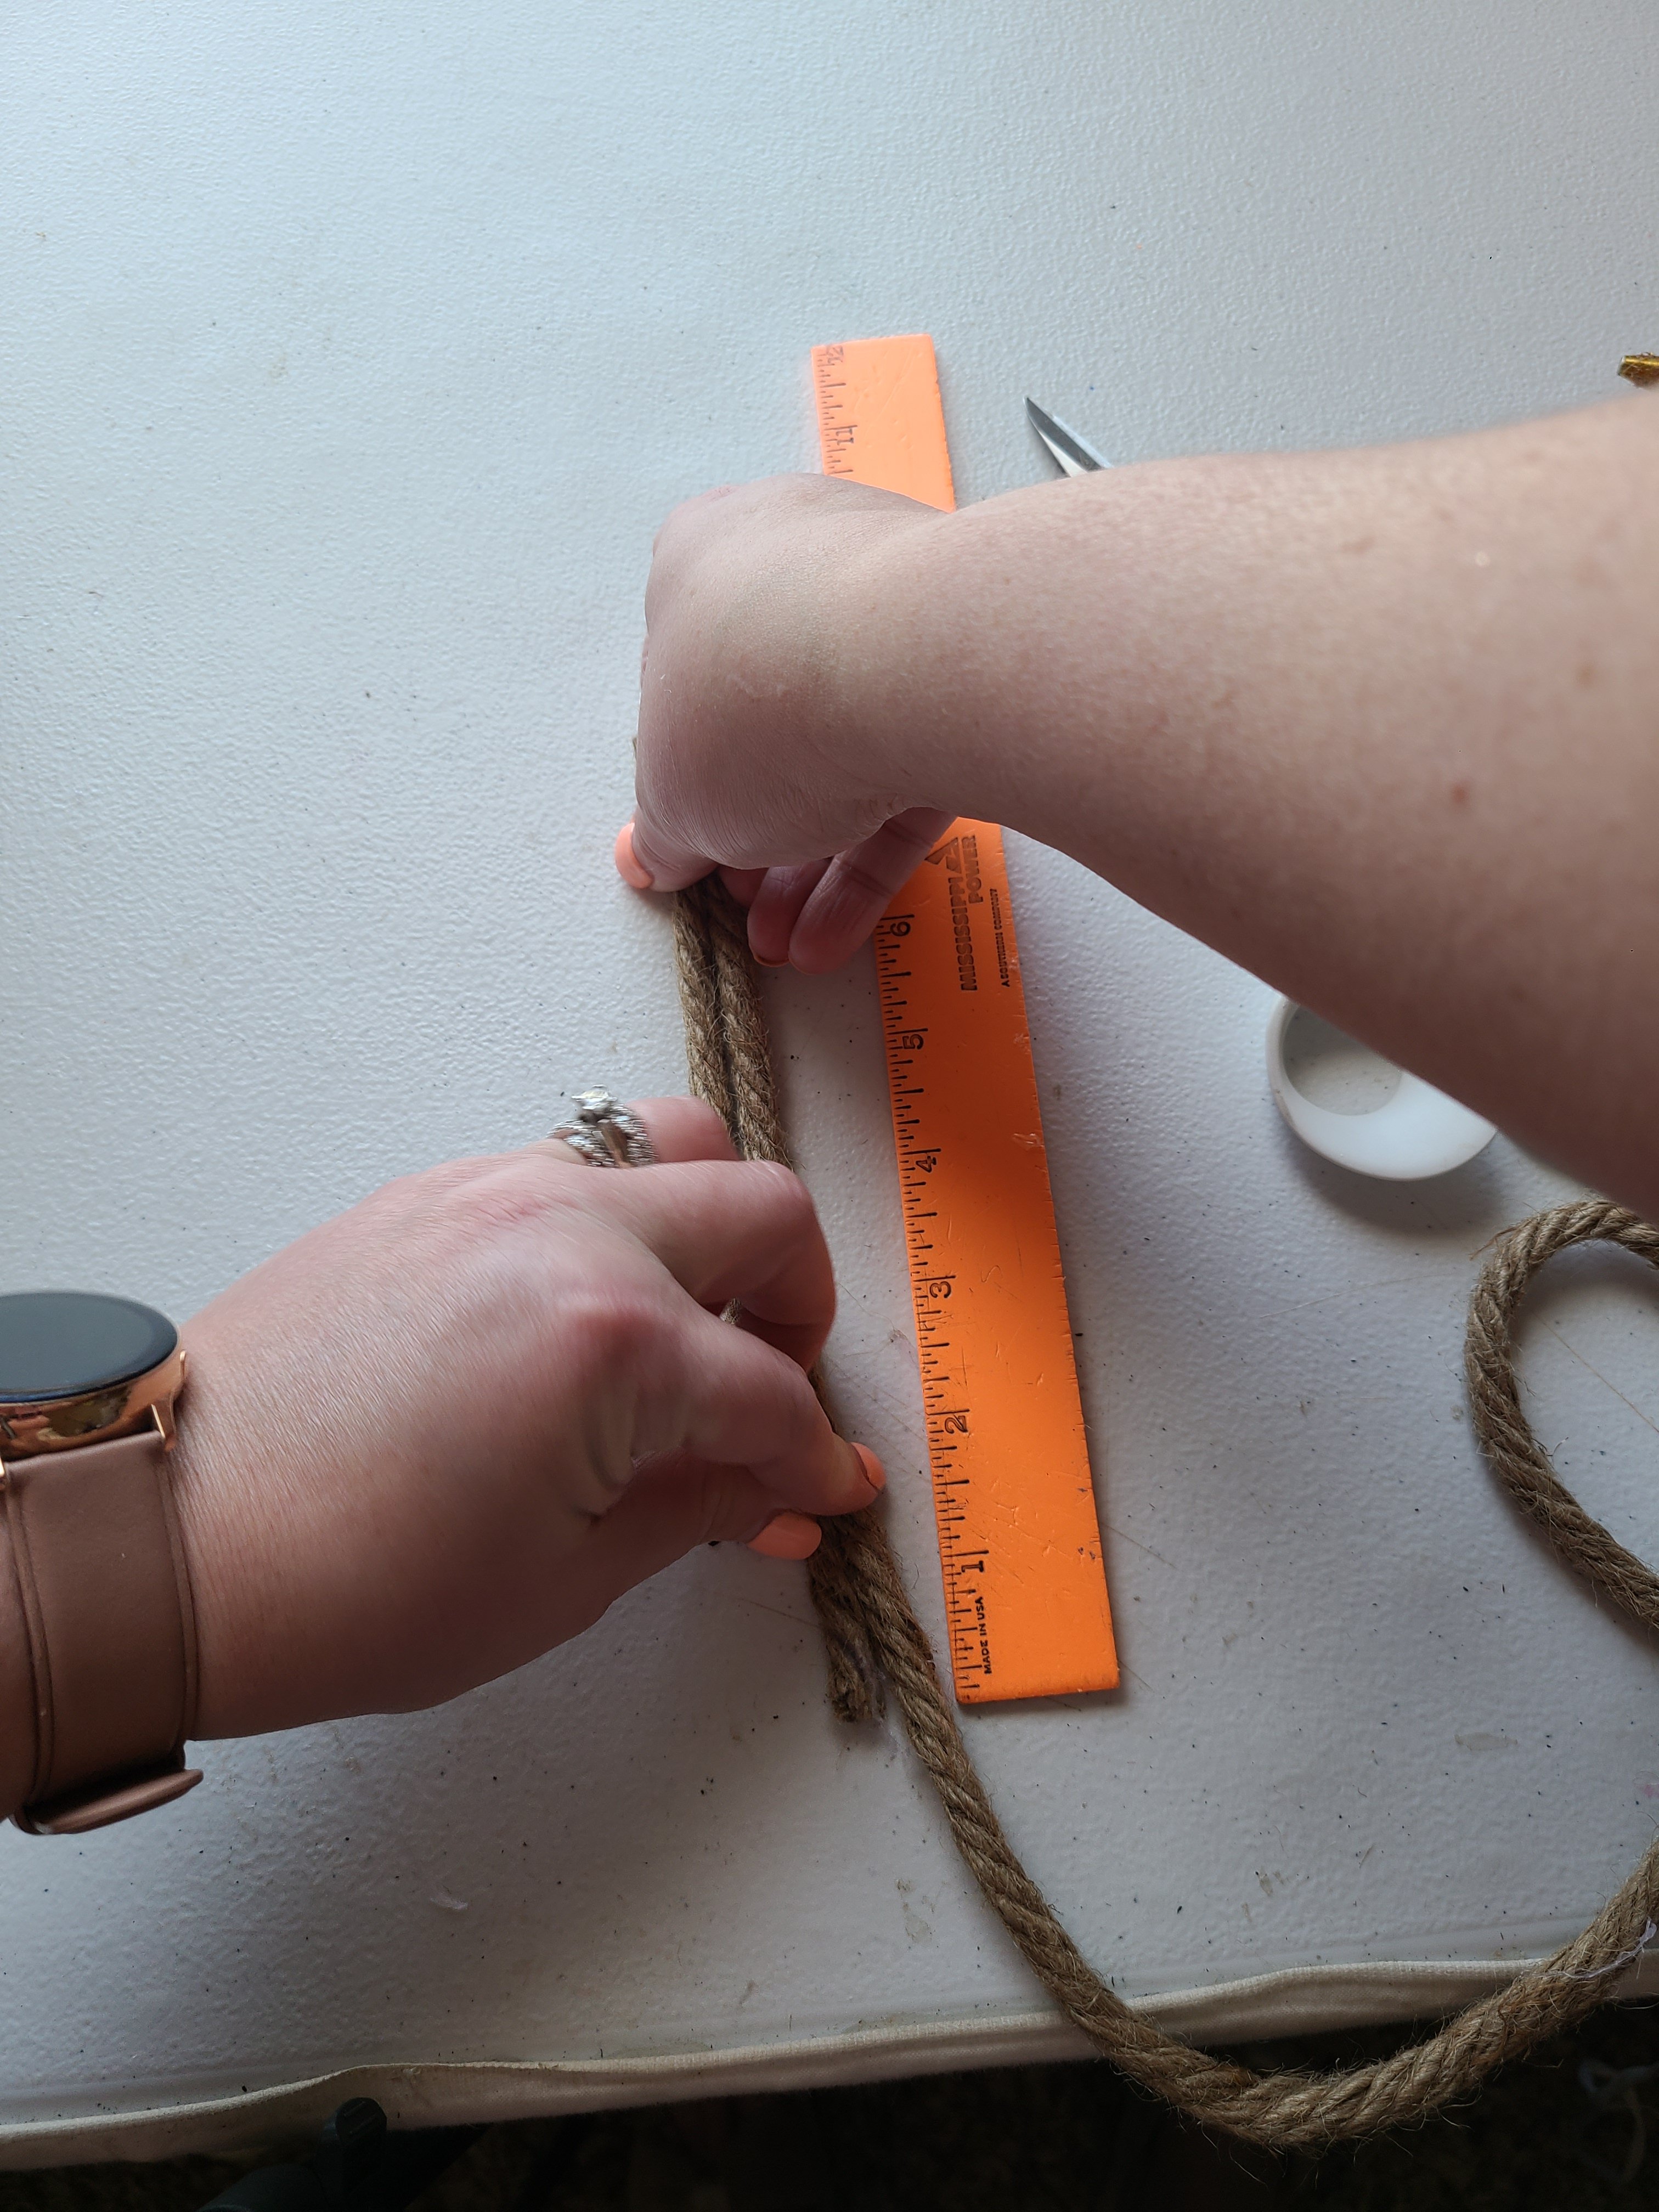
Use your fingers to see how wide you want the handles to be. I glued and made my handles about 2.75″ apart. Add hot glue to the end of one piece of rope and push it down on the bottom of the tray, right against the vertical layers. Measure and glue the other end 2.75″ or as wide as you want your handles.


Glue your other handle directly across the tray from your first one. Measure and glue this handle as wide as you did the first.

I decided to add a bow to the front of the rope tray. I’ve been using navy satin ribbon in my other summer decor I plan on putting out, so I decided to use it. I made a bow about 4″ wide. Then I glued it on the front, or what I wanted to be the front, of the tray. Now it’s complete!
If you’d like to see how I made this rope tray a little more coastal farmhouse and a set of matching coasters, check them out here!


Remember to pin the image below or share this post with the buttons on the left side of the page so you can find it when you’re ready to start your project! Also, follow me on Pinterest for new ideas added weekly! Be sure that you never miss a great tutorial for decor like wreaths, signs and other home decor, free printables, crafts, and other fun posts! Enter your email address below to be notified of new posts! Use the buttons below to follow me on social media for other great content.

Thanks for stopping by!
Don’t miss out on all of the summer and coastal decor and free printable and SVGs that I have here on Life as a LEO Wife because there’s some great ones I’m sure you’ll love! You can also check out the other letter (E to Q) themes from the A to Z Bloggers Challenge as well. Then come back tomorrow for a tutorial for the letter S.


Very creative, I like it!! Would go perfect with the placemats. Thanks so much for linking up with me at the Unlimited Link Party 24. Pinned!
Thank you!
I love this project Niki! Great instructions so I’m thinking even I can pull this off! Thanks for the inspiration!
Super cool project and you make it look so easy! Great instruction and step by step photos. Thank you for joining the challenge at Love To Craft Challenge Blog. Dorlene DT LTCCB
Thank you Dorlene!
This a really cute tray to go with your nautical theme! Thanks for linking!
Shelbee
http://www.shelbeeontheedge.com
Thanks!