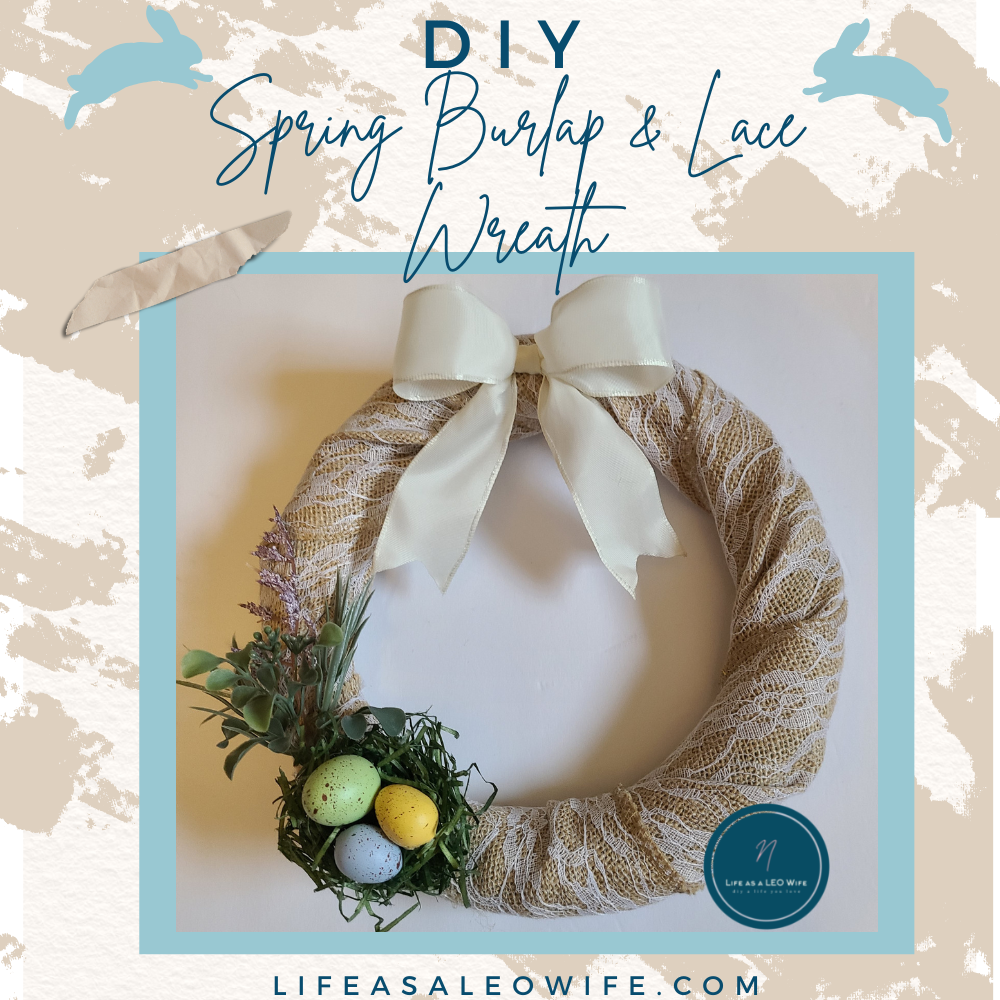
This spring I have a neutral theme in my dining room and kitchen. I always hang wreaths from sconces in our dining room, so I had to figure out how to make two wreaths that fit that theme. I couldn’t be happier with this spring wreath turned out! It’s relatively quick and easy to make. I had all the supplies on hand, except the styrofoam wreath form, which I ran out and got from Dollar Tree. Let me show you how I did it so you can make your own!
To make this spring wreath you need:
- styrofoam wreath form- Dollar Tree
- burlap (You can get several different colors at Dollar Tree.)- I used a burlap table runner covered with lace that were gifted to me after a wedding.
- scissors
- hot glue gun & glue
- white 1.5″ wired ribbon (or 1″ ribbon from Dollar Tree)
- greenery
- small faux eggs
- moss or faux grass- Dollar Tree
Wrap the spring wreath form.
My burlap is really wide so you’ll have shorter wrapping points than mine. My beautiful cousin got this lace burlap from a wedding that they were just throwing away. Uhhh… no. We save in our family, ha!
It’s very simple to do. Just hot glue the end of the burlap in place, then wrap it around the wreath until it’s covered.
If you’re using wide burlap and want that pretty wrinkled look, glue the end in place. Then wrap the burlap while pulling to the side a bit as you wrap around the back and over. Continue wrapping in that manner until you get back to the beginning and glue the end in place.
(Sorry that I was unable to photograph this step. This was back before I had a tripod, then a nicer tripod, and now a super nice one that extends over the table that I can extend over tables. Woohoo lol!)
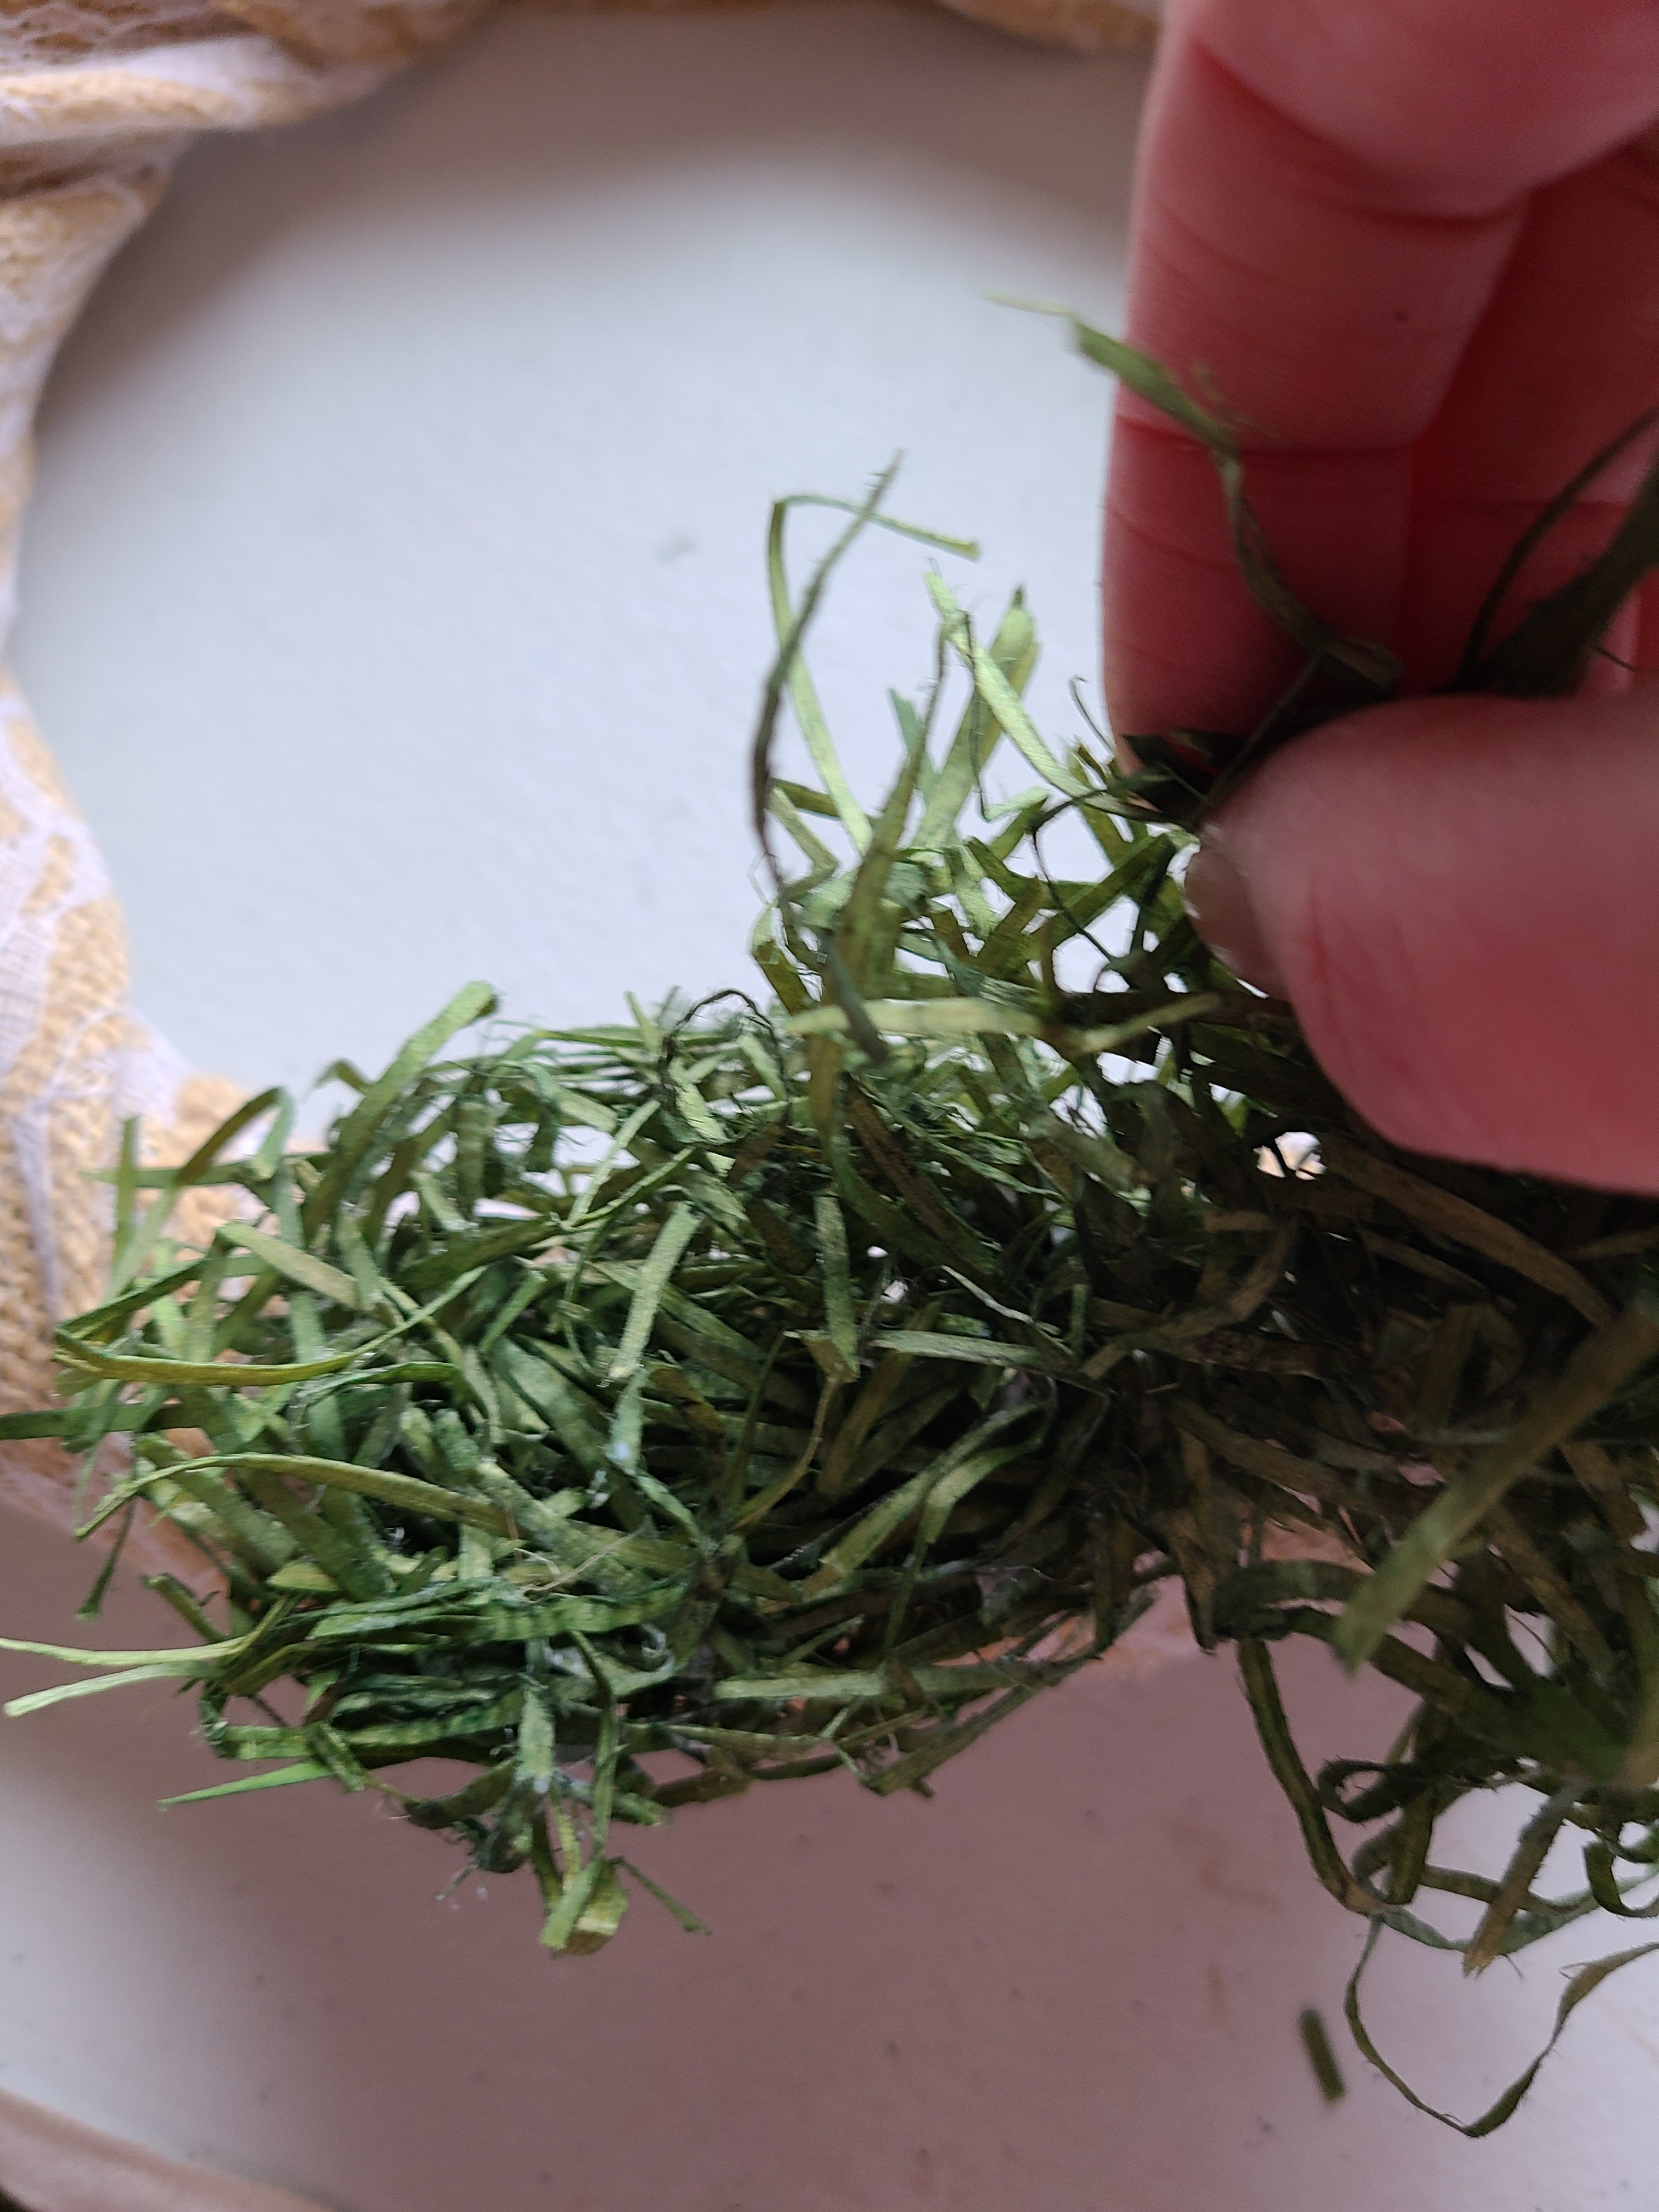
Make the nest.
Use your moss or green raffia to make into a bird’s nest. The moss is easy to do, but the raffia will take some strategic thinking. It’s pretty much a nest in the bag. However, when you try to break off some to make smaller nests, it’s every woman for herself. I spent so much time on this y’all. It’s sad. Try to break off the amount you think you need for each spring wreath (if you make more than one like I did).
On the off chance you failed in you endeavors as I did, I can tell you what I did. I was able to pull one nest from the bunch, but not the other. With the second, I gathered the amount of raffia that I needed to use to make the nest. Much of it was separated with pieces of it sticking out here and there. Roll it around and squeeze it all together like you’re making a ball. Break the long pieces off, and put it into the ball. In the middle of the ball, press down while pulling the extra to the outsides. You want the middle to be lower and the outside higher. If you need to, add either the hot glue, which works quickly, or some liquid glue. I ended up using a little of both.
Once your nest is formed, glue it on the wreath. You want it a little to the left of the bottom center; that will put it around the 7 o’clock area.
Next glue the small, speckled eggs into the nest. I used three small eggs in pastel colors speckled with a neutral tan color. If you’re like me, you may move them around a few times until they are exactly where you’d like.

Add the finishing touches to your spring wreath.
Bow
I felt that my spring wreath was a little bare with just the nest on it, so I decided to add a bow.
Make a simple two loop and secure it in the middle with a pipe cleaner. Cover the pipe cleaner with a piece of ribbon or twine.
Place a dot of the hot glue on the back of your bow and add it to the top of the wreath.

Flowers or Greenery
The final step is adding some greenery to the spring wreath. This is optional so if you don’t have any faux flowers or stems around, you don’t have to go out and buy them. During the Christmas holiday season I bought several grab bags from Michael’s two for $5; best deal ever! They contained several greenery garlands and faux flowers. I really cleaned up with this deal. If you ever see them for sale, definitely buy a few.
Cut the stems of the flowers to fit along the side of the wreath form. To cut them to the correct length, place them tucked behind the nest then raise or lower it until you like the position. Snip it off, add a small amount of hot glue on the end, and tuck the ends under the nest.


That’s it! Your burlap & lace spring wreath is ready to hang!
Hang it proudly in your home from now until the end of spring. I am loving the neutral spring palette that I am working on in our dining room, and I hope that you will try it in one of your rooms this season. I have a lot more projects I am working on, so come back soon for more DIYs you can add to your room.
(Sorry for the horrible lighting! Our old house had zero windows that were even anywhere near the dining room!)


Remember to pin the image below or share this post with the buttons on the left side of the page so you can find it when you’re ready to start your project! Also, follow me on Pinterest for new ideas added weekly! Be sure that you never miss a great tutorial for decor like wreaths, signs and other home decor, free printables, crafts, and other fun posts! Enter your email address below to be notified of new posts! Use the buttons below to follow me on social media for other great content.

Don’t go yet! There’s more to see!
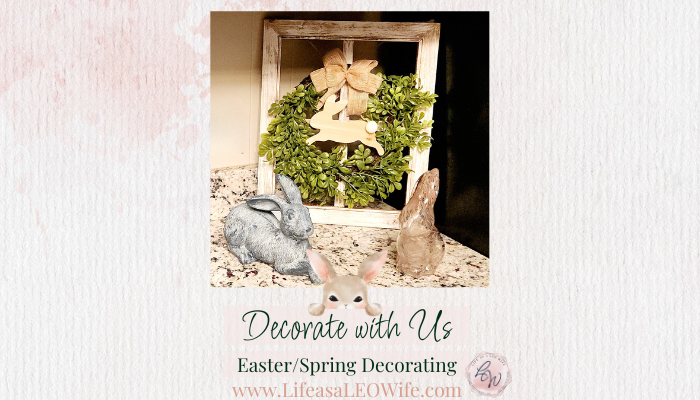
There’s plenty more to see here on the blog! If you’re looking for something specific, use the search box in the sidebar to look it up. If not, you might enjoy these ideas. Don’t have time to read them all now? That’s ok, just click over to the posts using the pictures and pin them for later. You can also add Life as a LEO Wife to your favorites and check back for new ideas and free printables and SVGs every Wednesday and Saturday, as well as link parties with tons of shared ideas on Sundays and Thursdays!
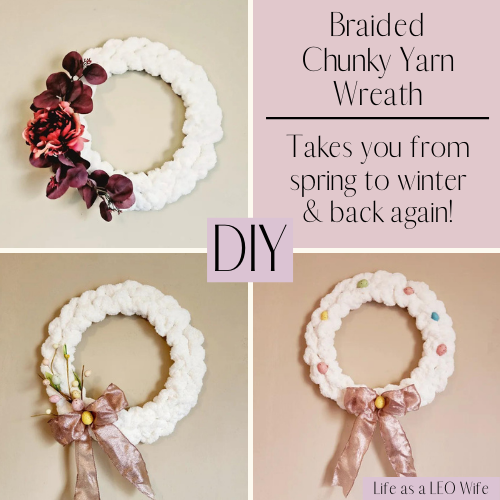


I hope you have enjoyed this post. You may like this spring tulip hoop wreath, that looks like you spent a pretty penny on it! If you like decorating with tiered-trays, I think you will like this one that’s perfect for spring and summer. March is quickly approaching, so if your child’s school has them dress up for Dr. Seuss’ birthday, this Fox in Socks costume is easy to put together for him or her.


Burlap and lace, perfect combination. Thanks so much for linking up with me at the Unlimited Monthly Link Party 22. Pinned!
Thanks, Dee!
Visiting again to say thanks so much for linking up with me at the Unlimited Monthly Link Party 23. Pinned again!