
Tutorial for Making a Fall Doormat
Who knew Dollar Tree had doormats? Not me, but I’m glad they do. I picked up three of them with no clue as to what I was going to do with them, but I’m in the process of changing my summer decor to fall decor, so I decided to do a fall DIY doormat.
I picked up the rug for $1, and I already had all of the other supplies. To create your own, you’ll need:
- doormat
- white spray paint (if you choose, I probably won’t paint the next one)
- acrylic paint in your color choices- I used Robin’s Egg blue and Spiced Carrot
- paint brushes or sponges
- You can skip the paint & use HTV if you wish.
- stencils- you can get some at the Dollar Tree or I used my Cricut to cut some
- vinyl and transfer paper if you cut your own stencils
- scissors

First I spray painted the rug white, or tried to at least. I used Martha Stewart’s white spray paint. It didn’t go well. I think it’s just because of the material. I sprayed it at least five times, and it never got whiter that what you see here. I wouldn’t paint it all if I were you. I don’t know why I felt it needed to be white!

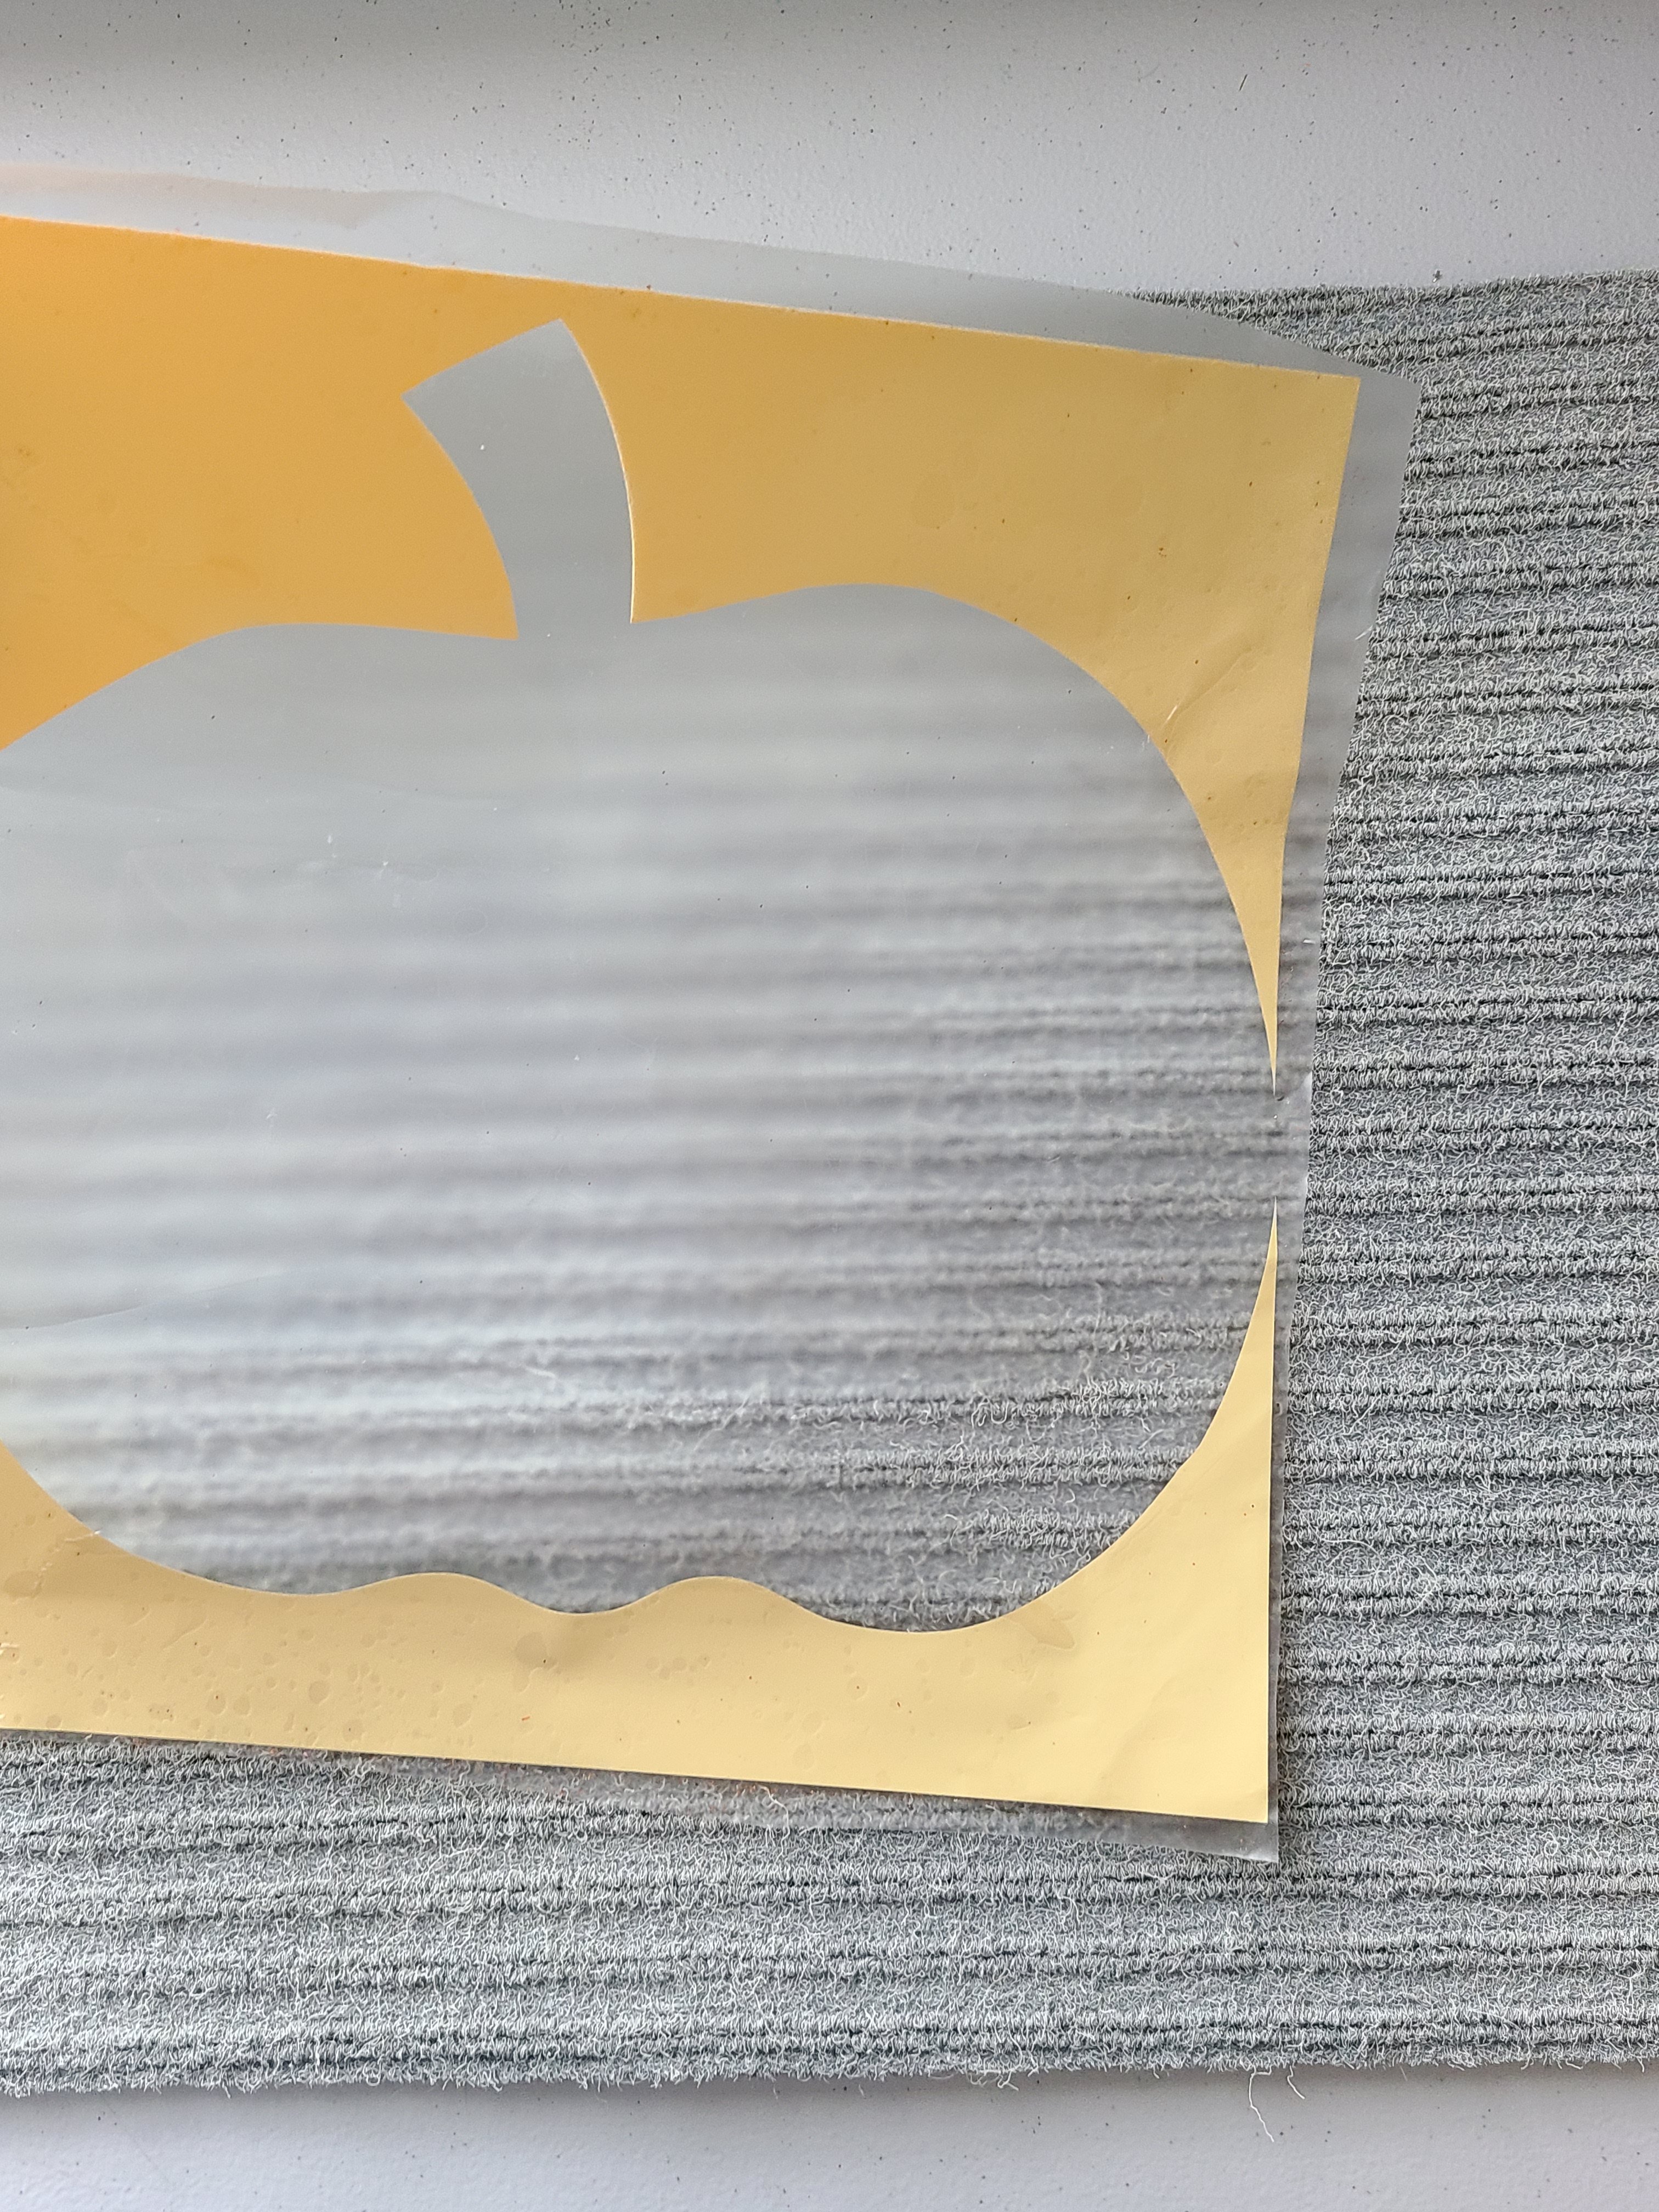
Next, if you’re making your own stencils, cut them out on your machine or by hand. I made a pumpkin and “happy fall y’all” images. Once they’re cut, cut a square around your words or image. Weed out the actual words and pictures so you’re left with your stencil. Like the picture below. Another way to create a stencil is by finding fall clip art online & use a word program on your computer (like Microsoft Word or PicMonkey) to get it to the right size. In the program you can type the saying you’d like on the mat, & change it to your favorite font & correctly size it. Print the images out & place them on your mat & follow the instructions below. Make sure to use painter’s tape or masking tape to hold the paper in place.

Cut your transfer paper big enough to transfer the image on to the DIY fall doormat. I actually use contact paper from the dollar store. I’ve been using the same roll for years. Place the transfer paper on top of the vinyl then use a credit card or scraper to go over the vinyl to adhere the two pieces together. Total LEO wife because I usually use a credit card size card with Miranda warnings on it, ha!

Now place your first image on to the mat. I put my pumpkin on first. Get your credit card again and rub hard on top of the image, adhering it more to the mat than the transfer paper. It won’t stick down completely, but you just need it to stay in place while you paint.
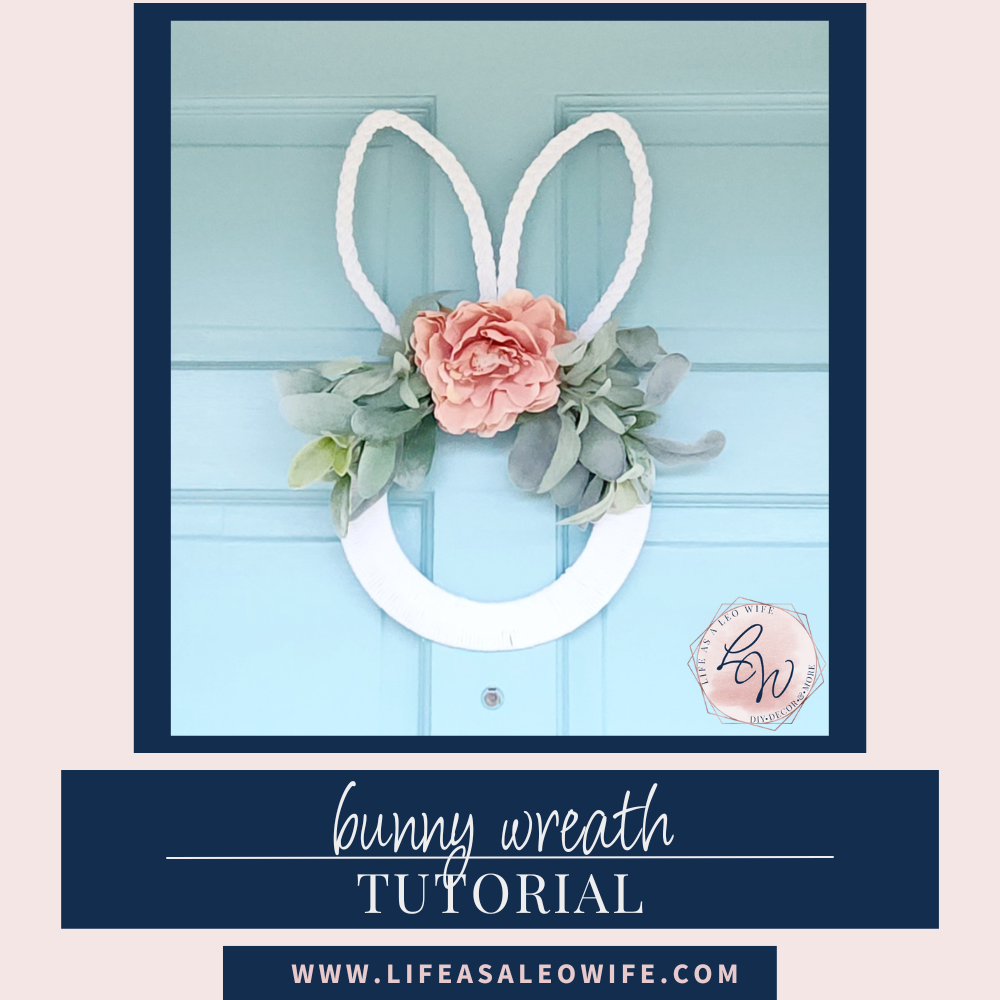
Now begin dabbing your paint inside the pumpkin with a regular paint brush or a foam brush. I used Robin’s egg blue because it matches this adorable DIY pumpkin wreath. I gave my pumpkin about 3 coats.

Once that has dried, you can transfer your second image on top of the pumpkin. The words were a lot harder to get on. I had to pull the transfer tape very, very slowly, using my credit card/scraper to hold the vinyl on the rug as I pulled the tape. Once the stencil is on, you can begin to paint your words. I used a small brush about 3/4″ wide. It was much easier & worked better to get in the small areas. Allow it to dry, then remove the vinyl stencil.

Now you’ve got a fun mat for the fall season. You can place it outside of your front, back, or balcony doors. You can even make others to put in your kitchen in place of your regular rugs in front of the sink or stove. It would also be cute for your fall bathroom decor; it just wouldn’t be very soft for your bare feet.

I hope you enjoyed this fun tutorial! Make sure you enter your email address below so you don’t miss any great tutorials or other posts! You will never get any spam, just an email when a new post is uploaded. I’m finally trying to grow my social media presence, so I would love for you to use the buttons below to follow me on social media. Let me know when you do, either there or in the comments below, & I’ll make sure to follow back!
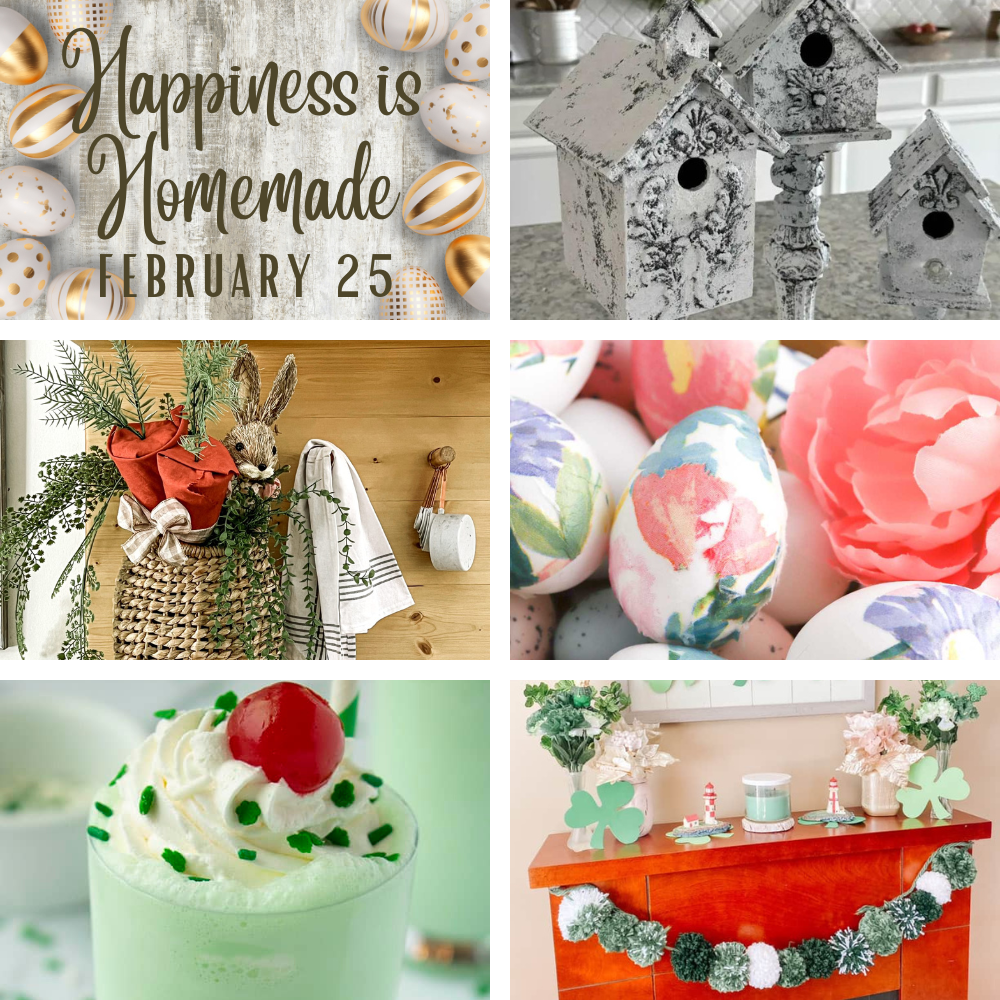
For my blogger friends, share your family friendly posts in our link parties to widen your audience for a chance to be featured next week. If you’re not a blogger check out these posts for tons of ideas for crafts, gardening, recipes, DIYs, home & seasonal decor, fashion & much more! They are Happiness is Homemade, You’re the Star Blog Hop, and Traffic Jam Weekend.


You make it look so easy. I think I may even be able to do it.